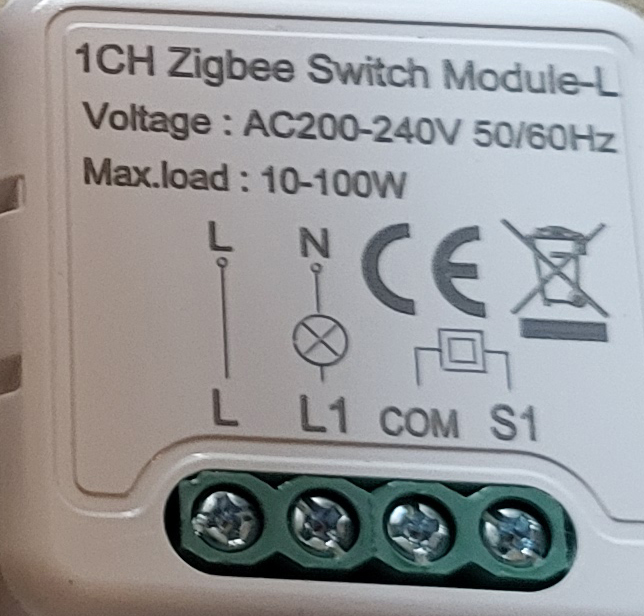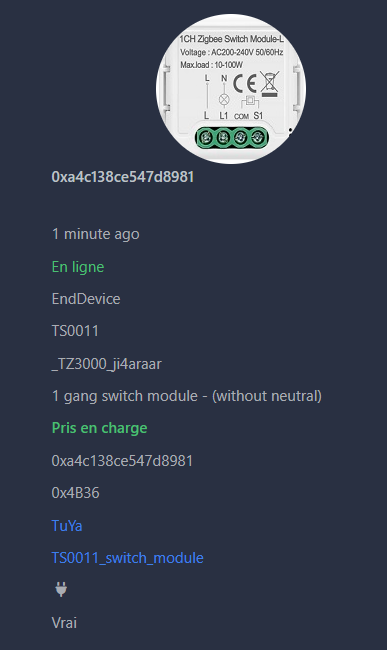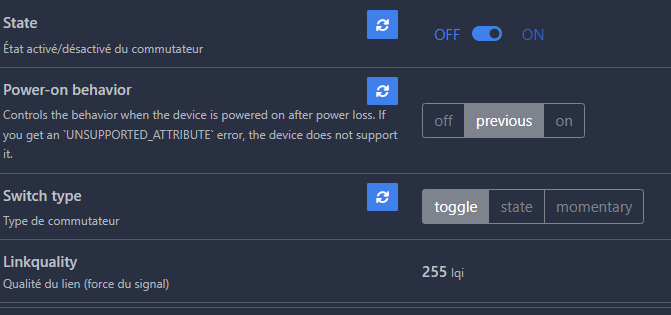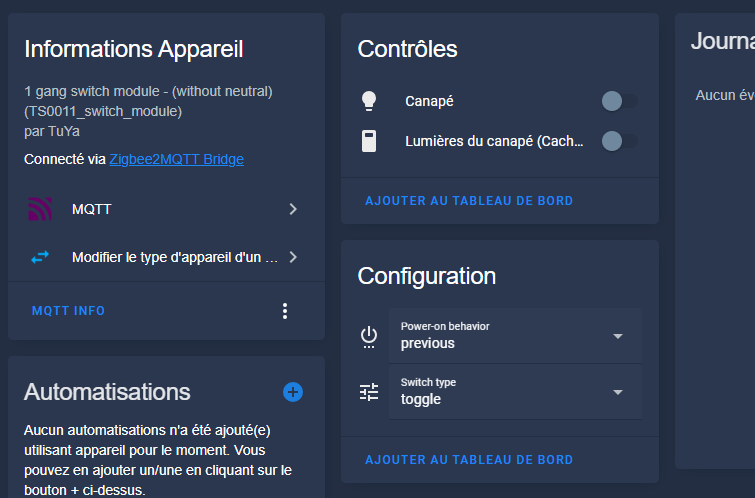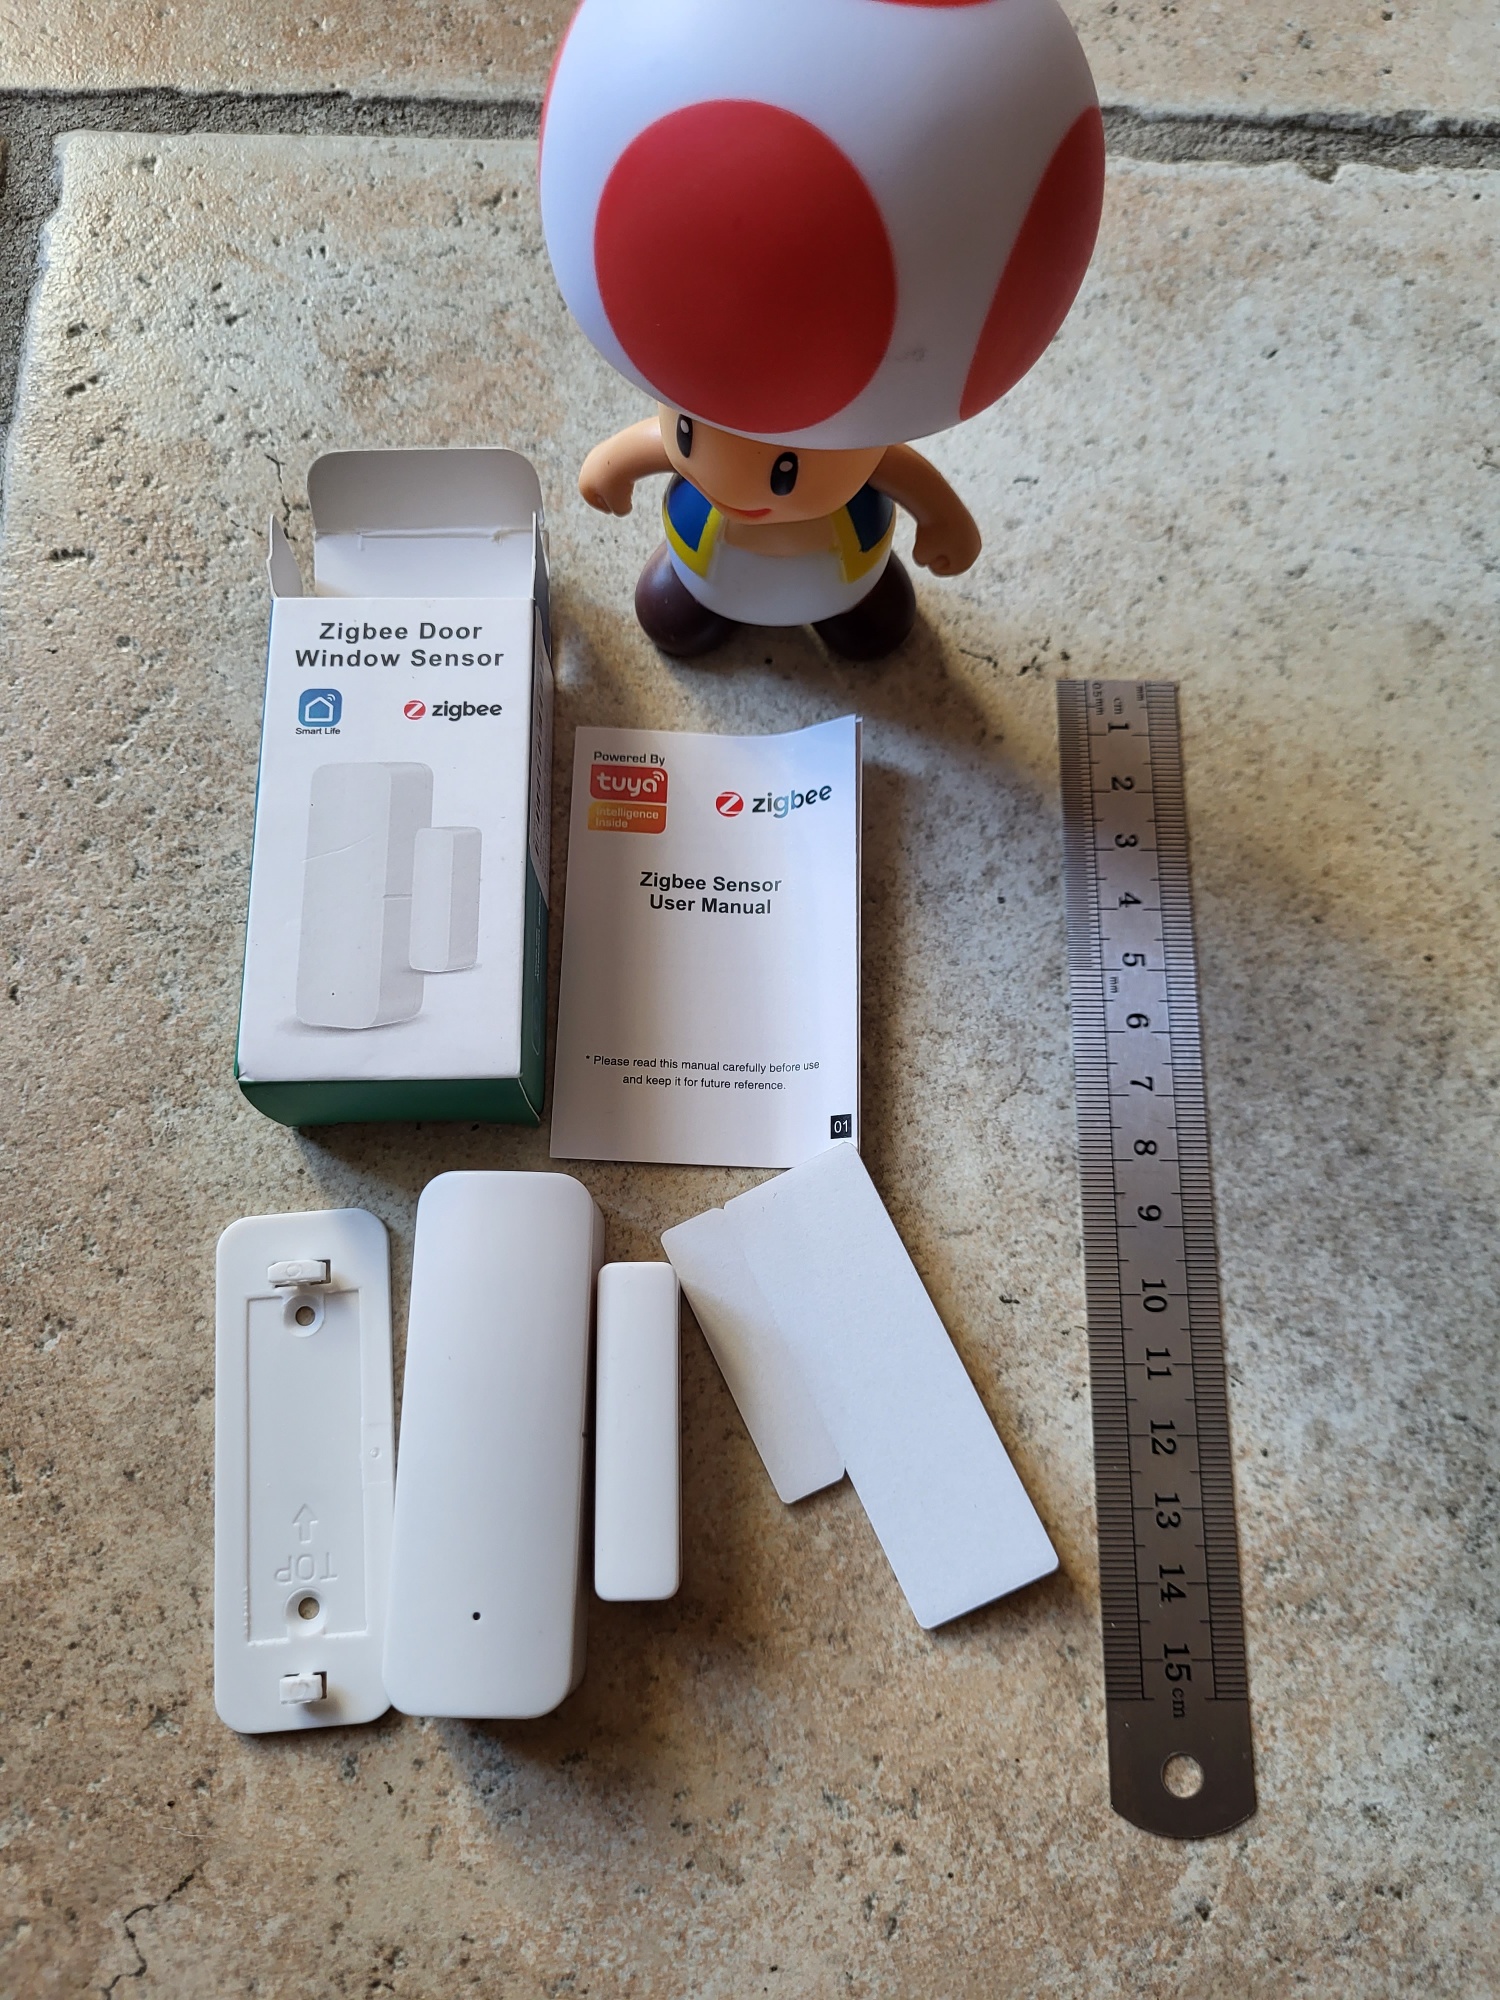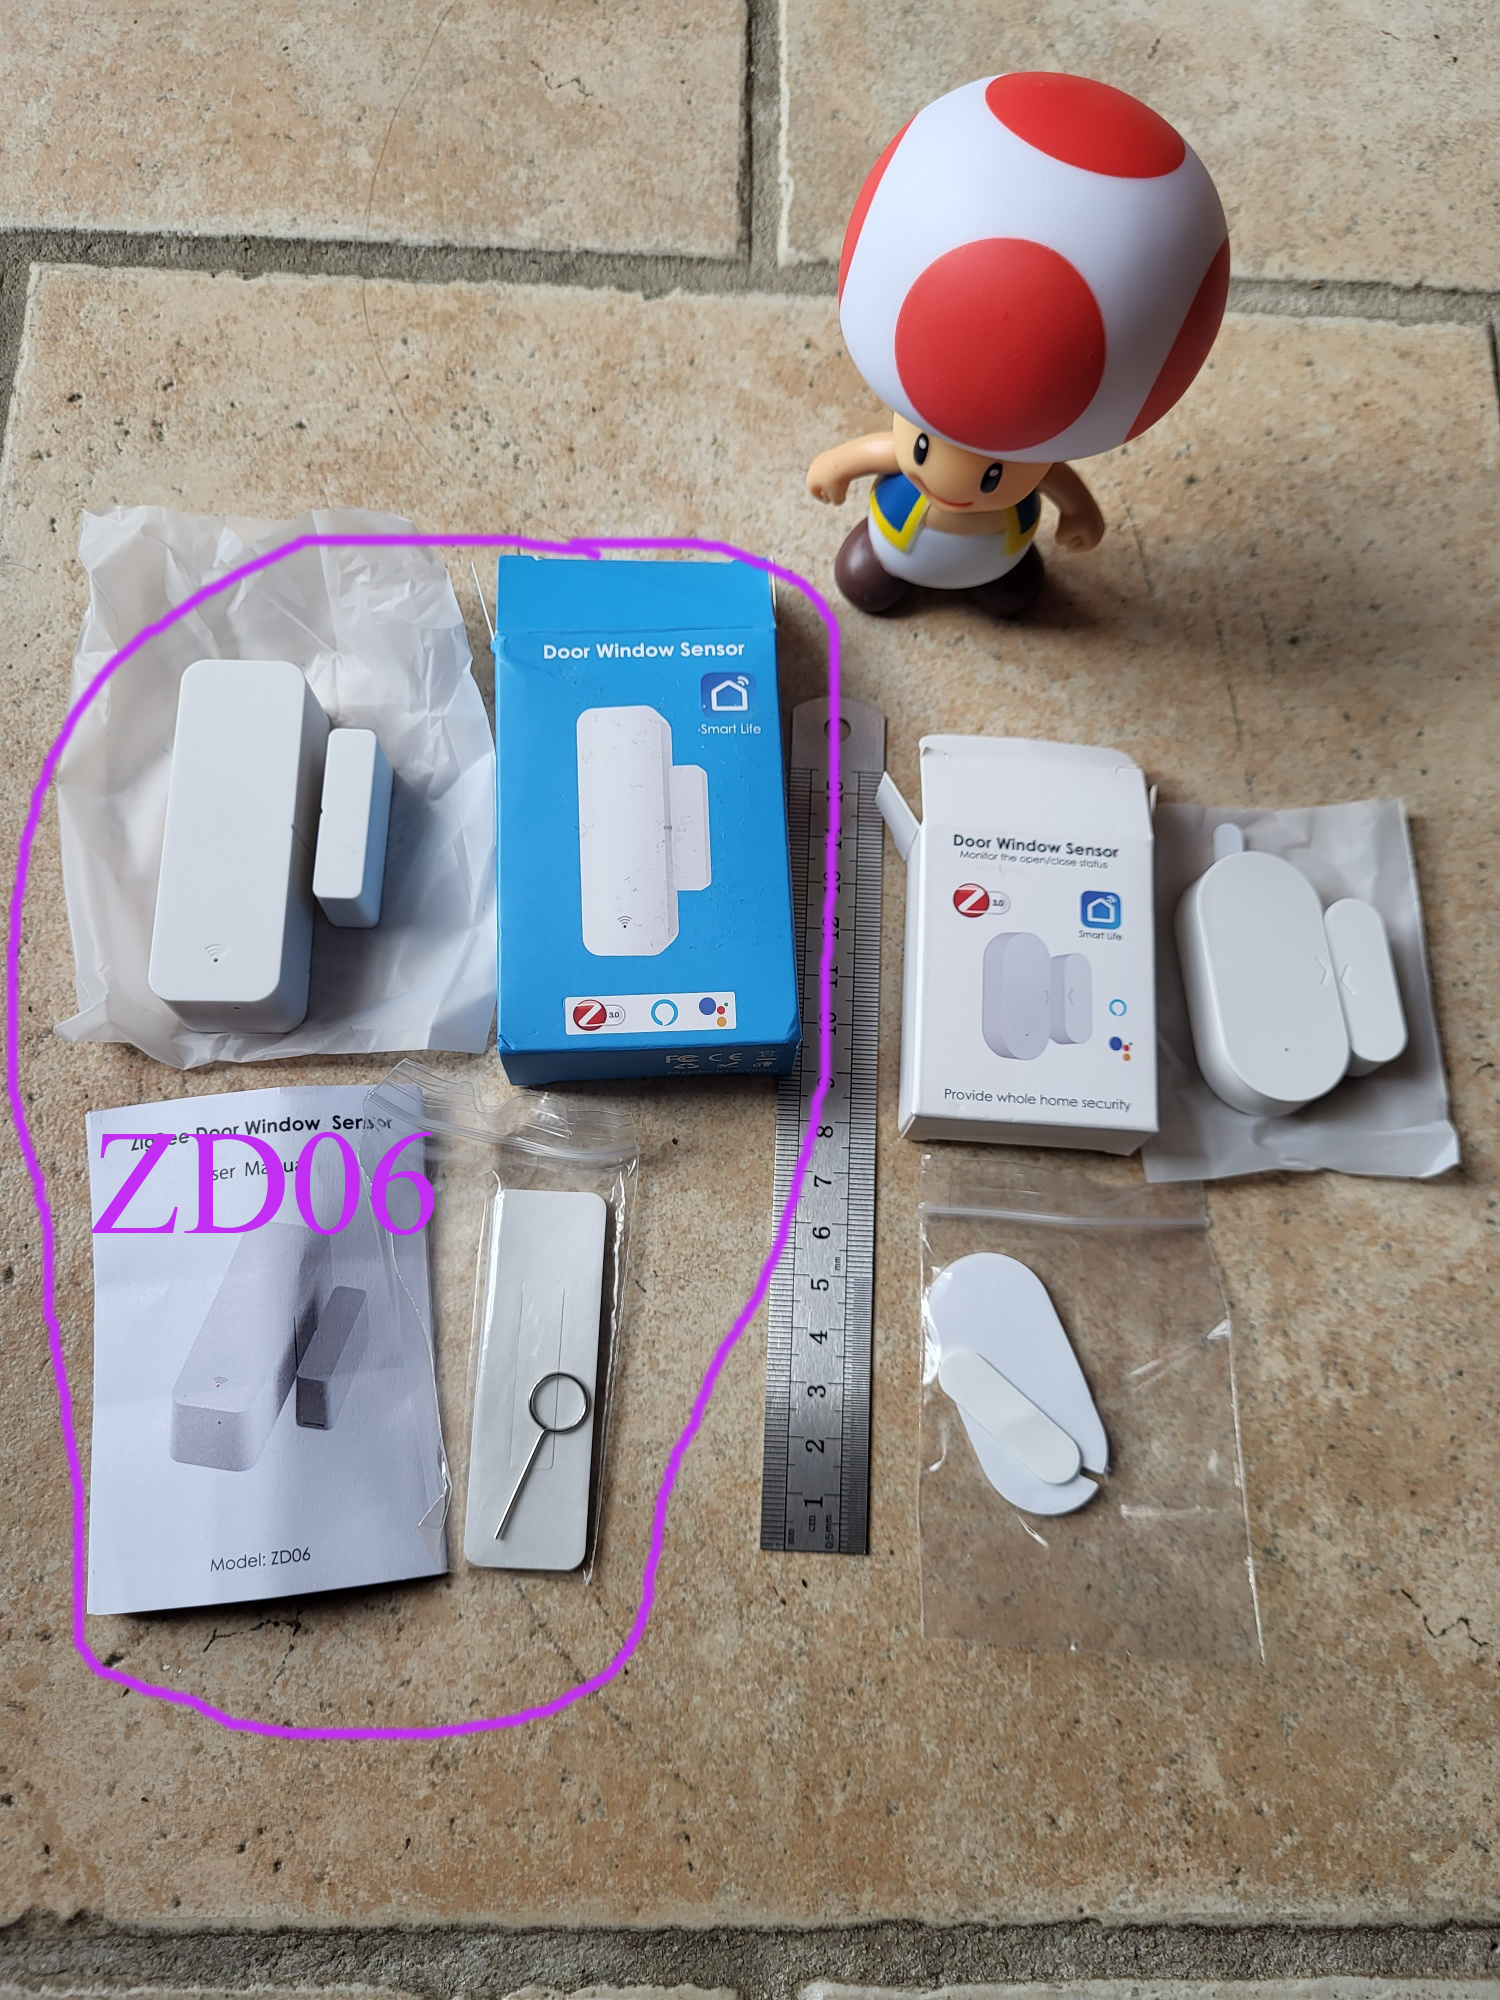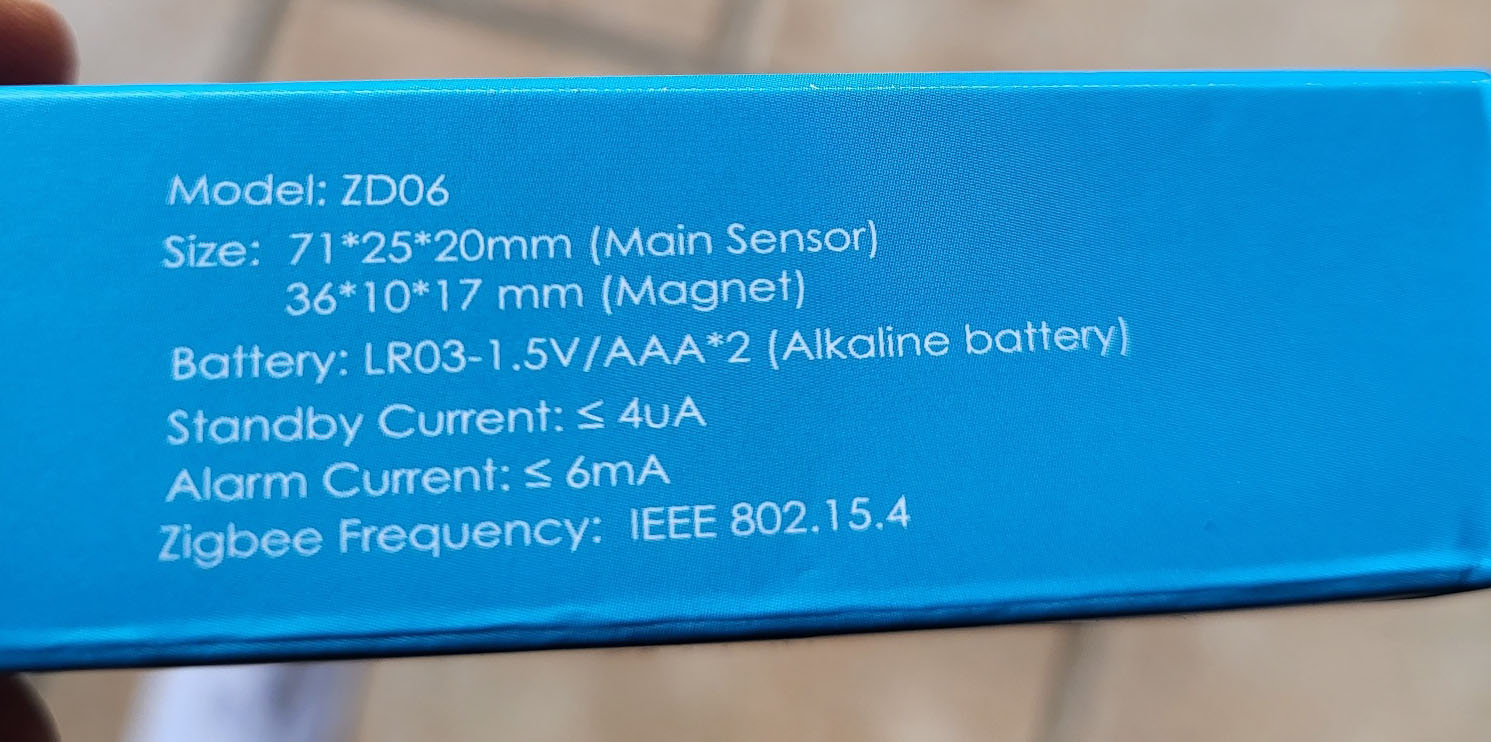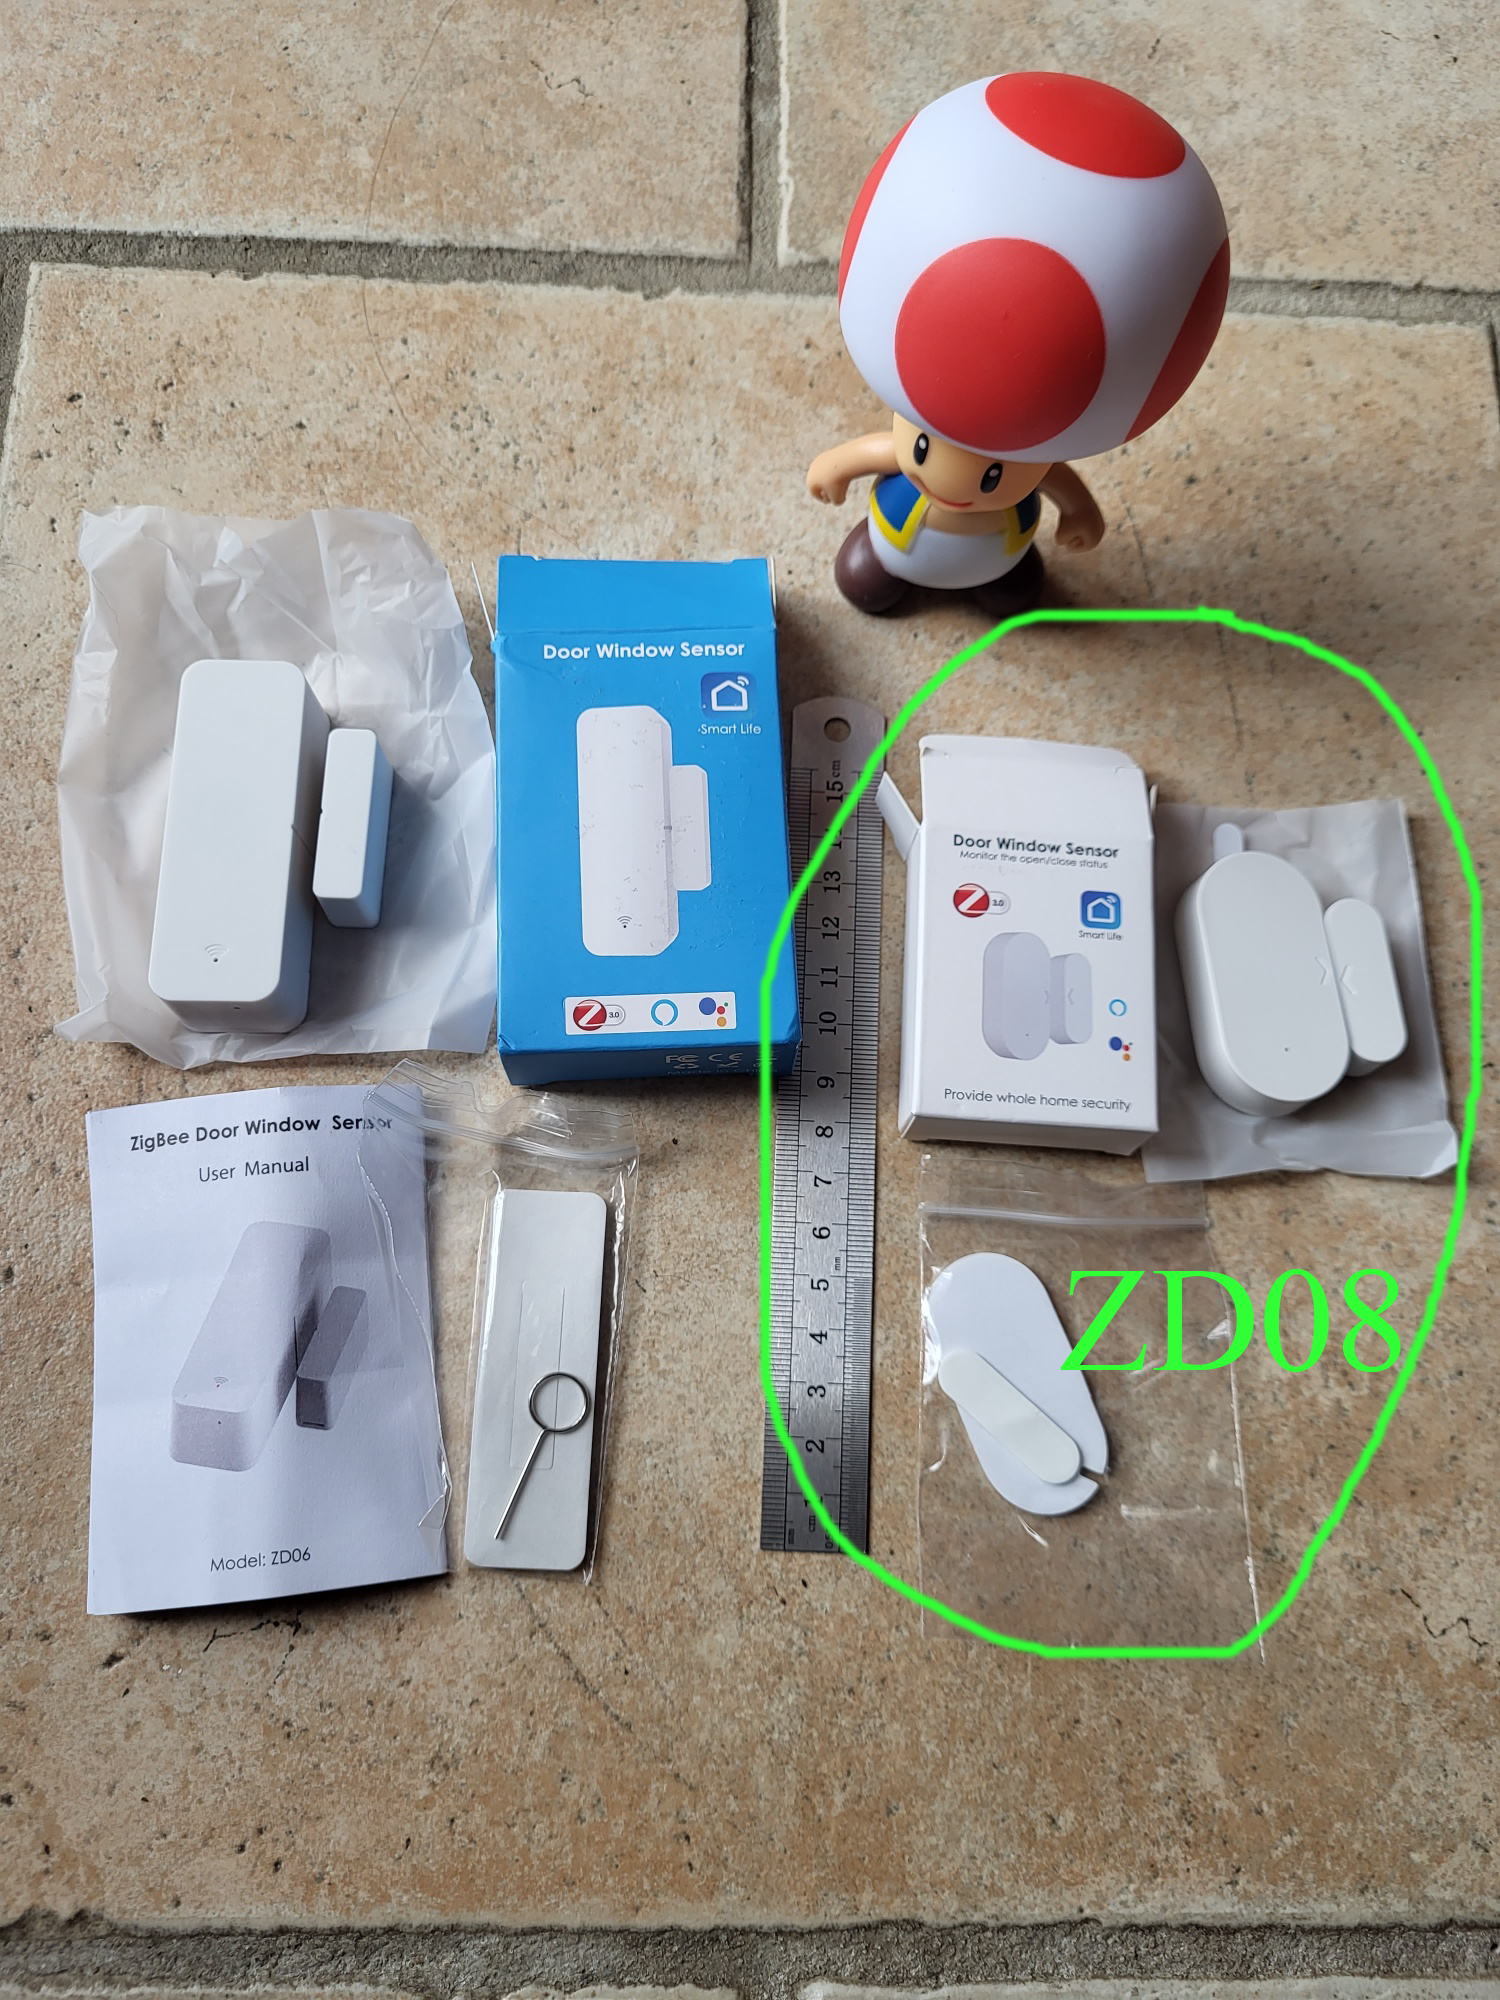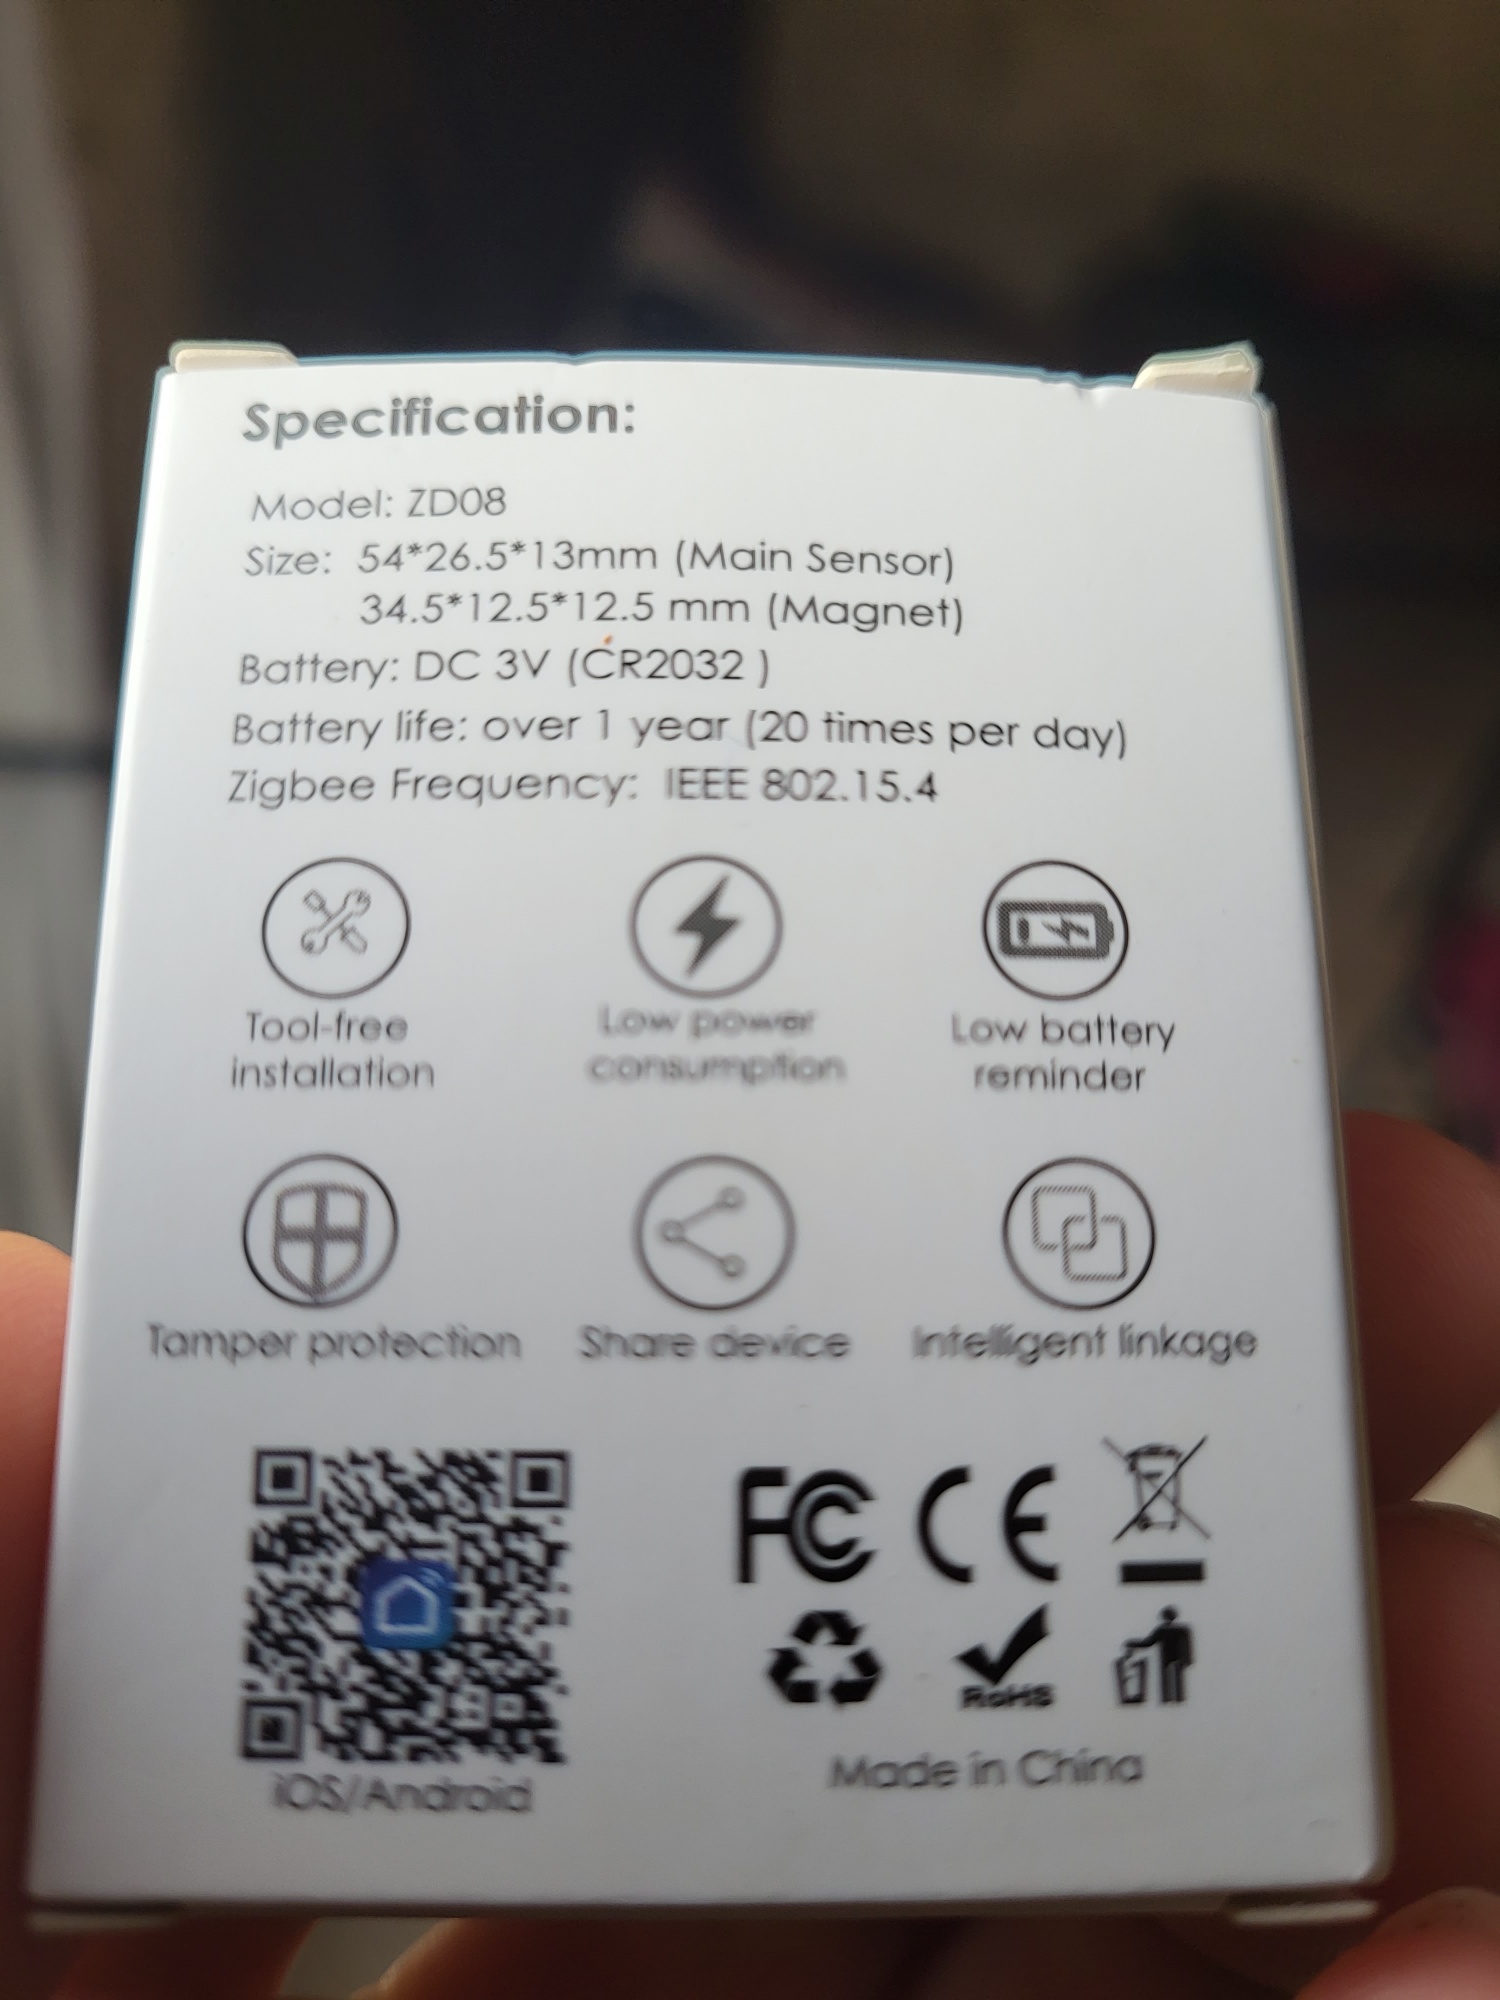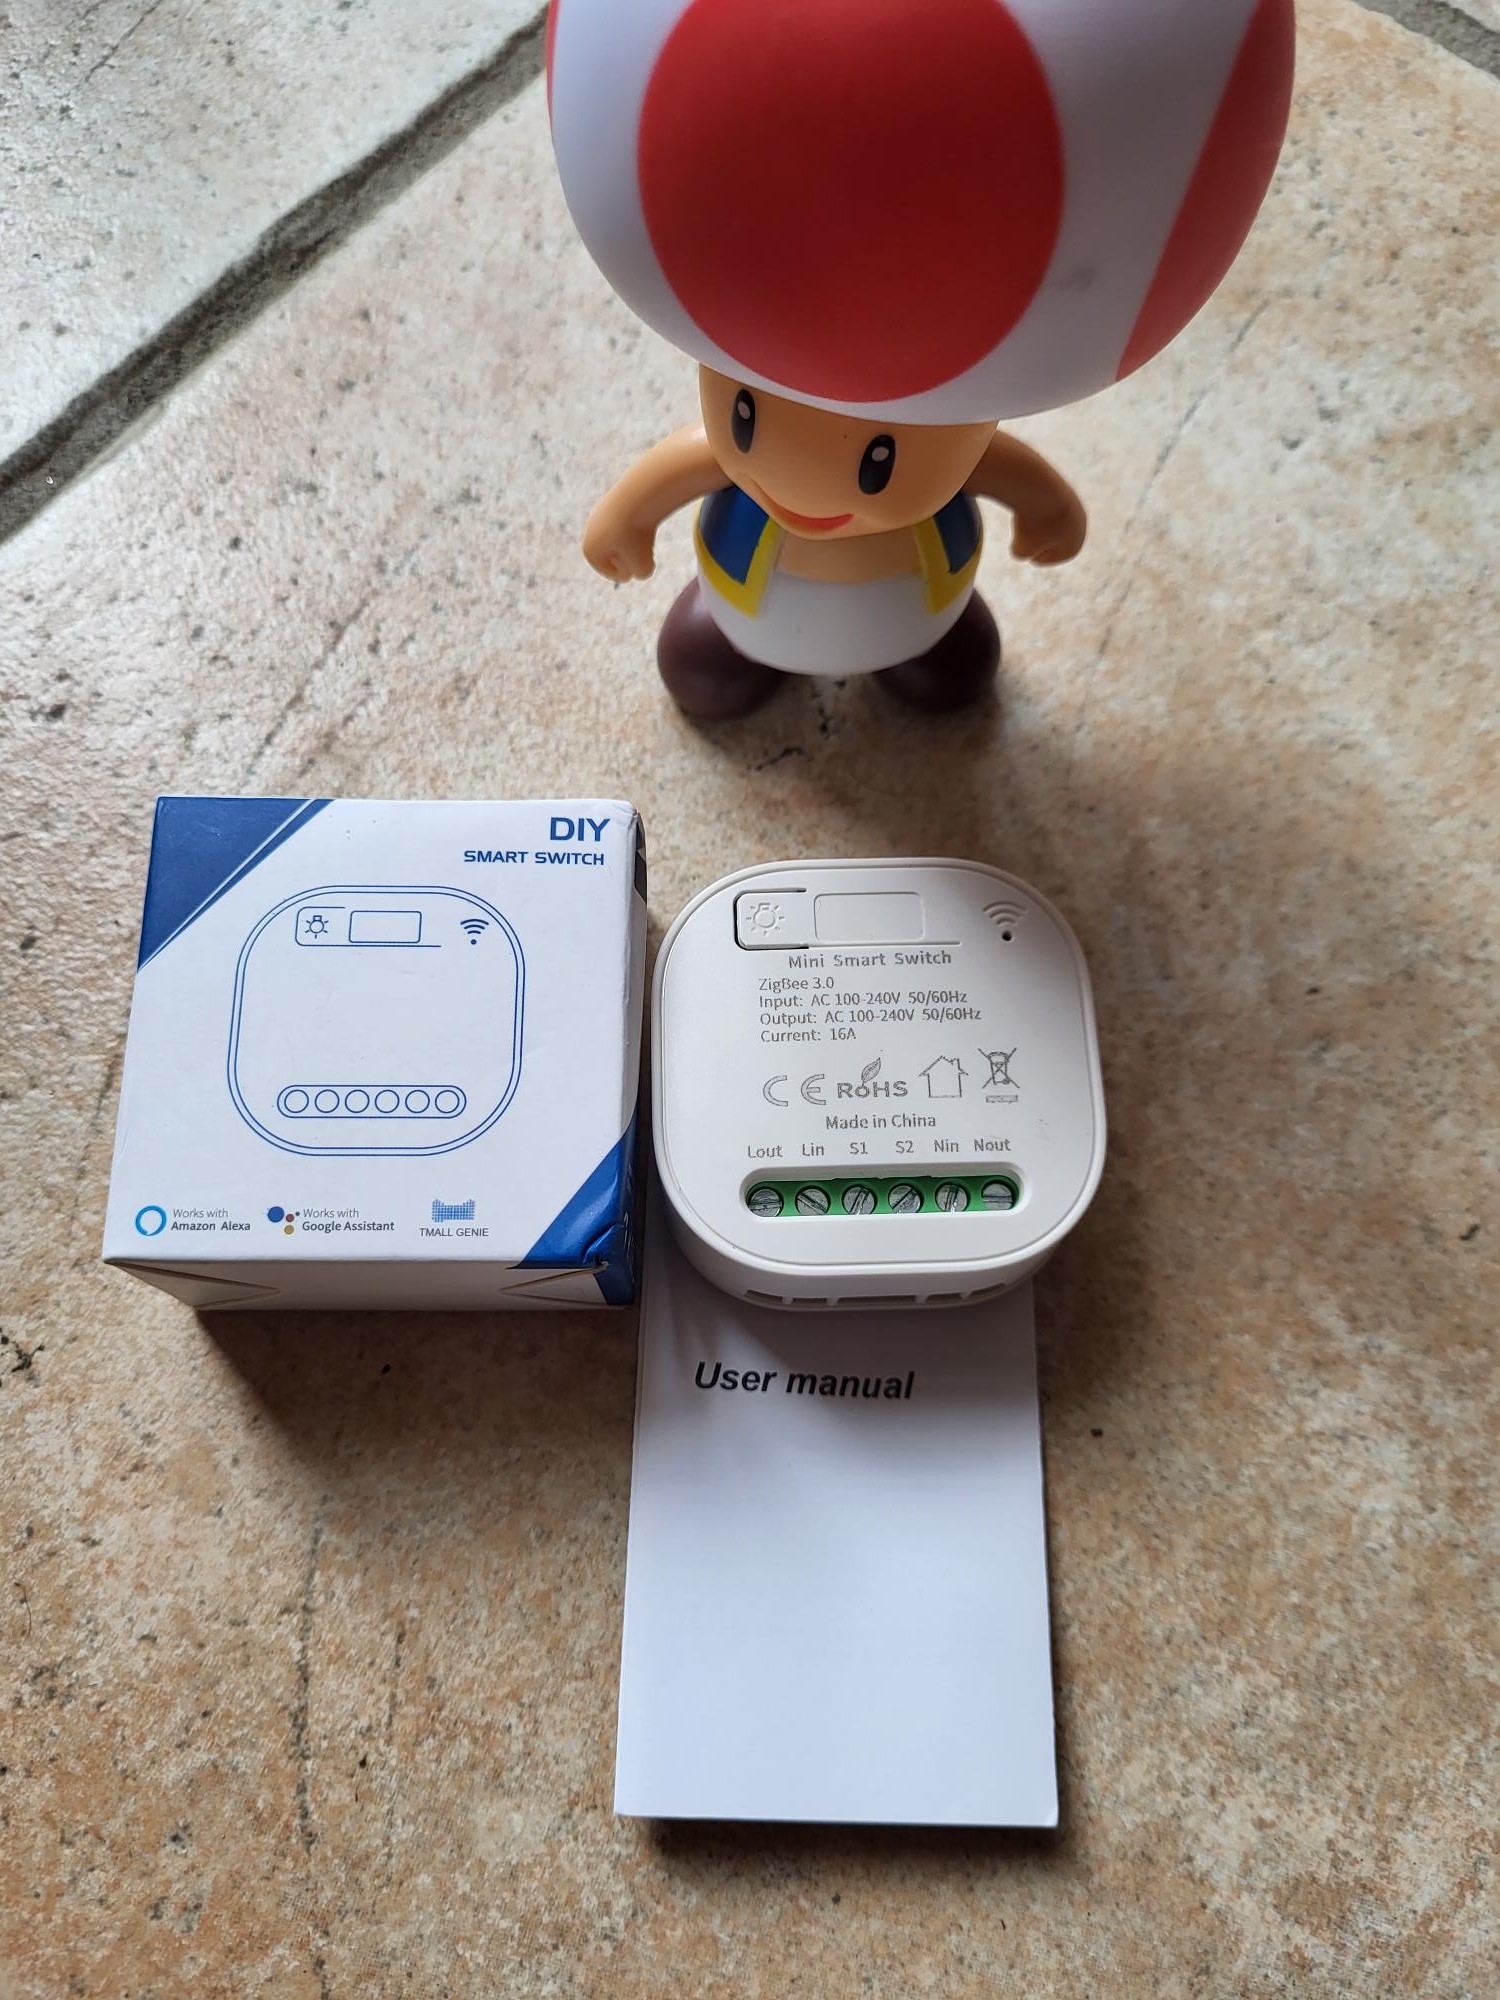
I am testing the Zigbee switch compatible WHD02

Zigbee WHD02 integration: 5 simple steps

The Zigbee WHD02 module easily connects Lin and Nin for a reliable leakage break. This detailed guide explains each step of checking, connecting and integrating with Zigbee2MQTT and then Home Assistant. A non-specialist reproduces the installation in less than 30 minutes with these precise instructions and complete photos.

I check the received model

The module arrives without a clear reference on the packaging, unlike standard models. The distinctive form helps to identify it: compact rectangular housing with Lin and Nin connectors, central button and blue LED. This lack of marking is common among some generic Chinese manufacturers.
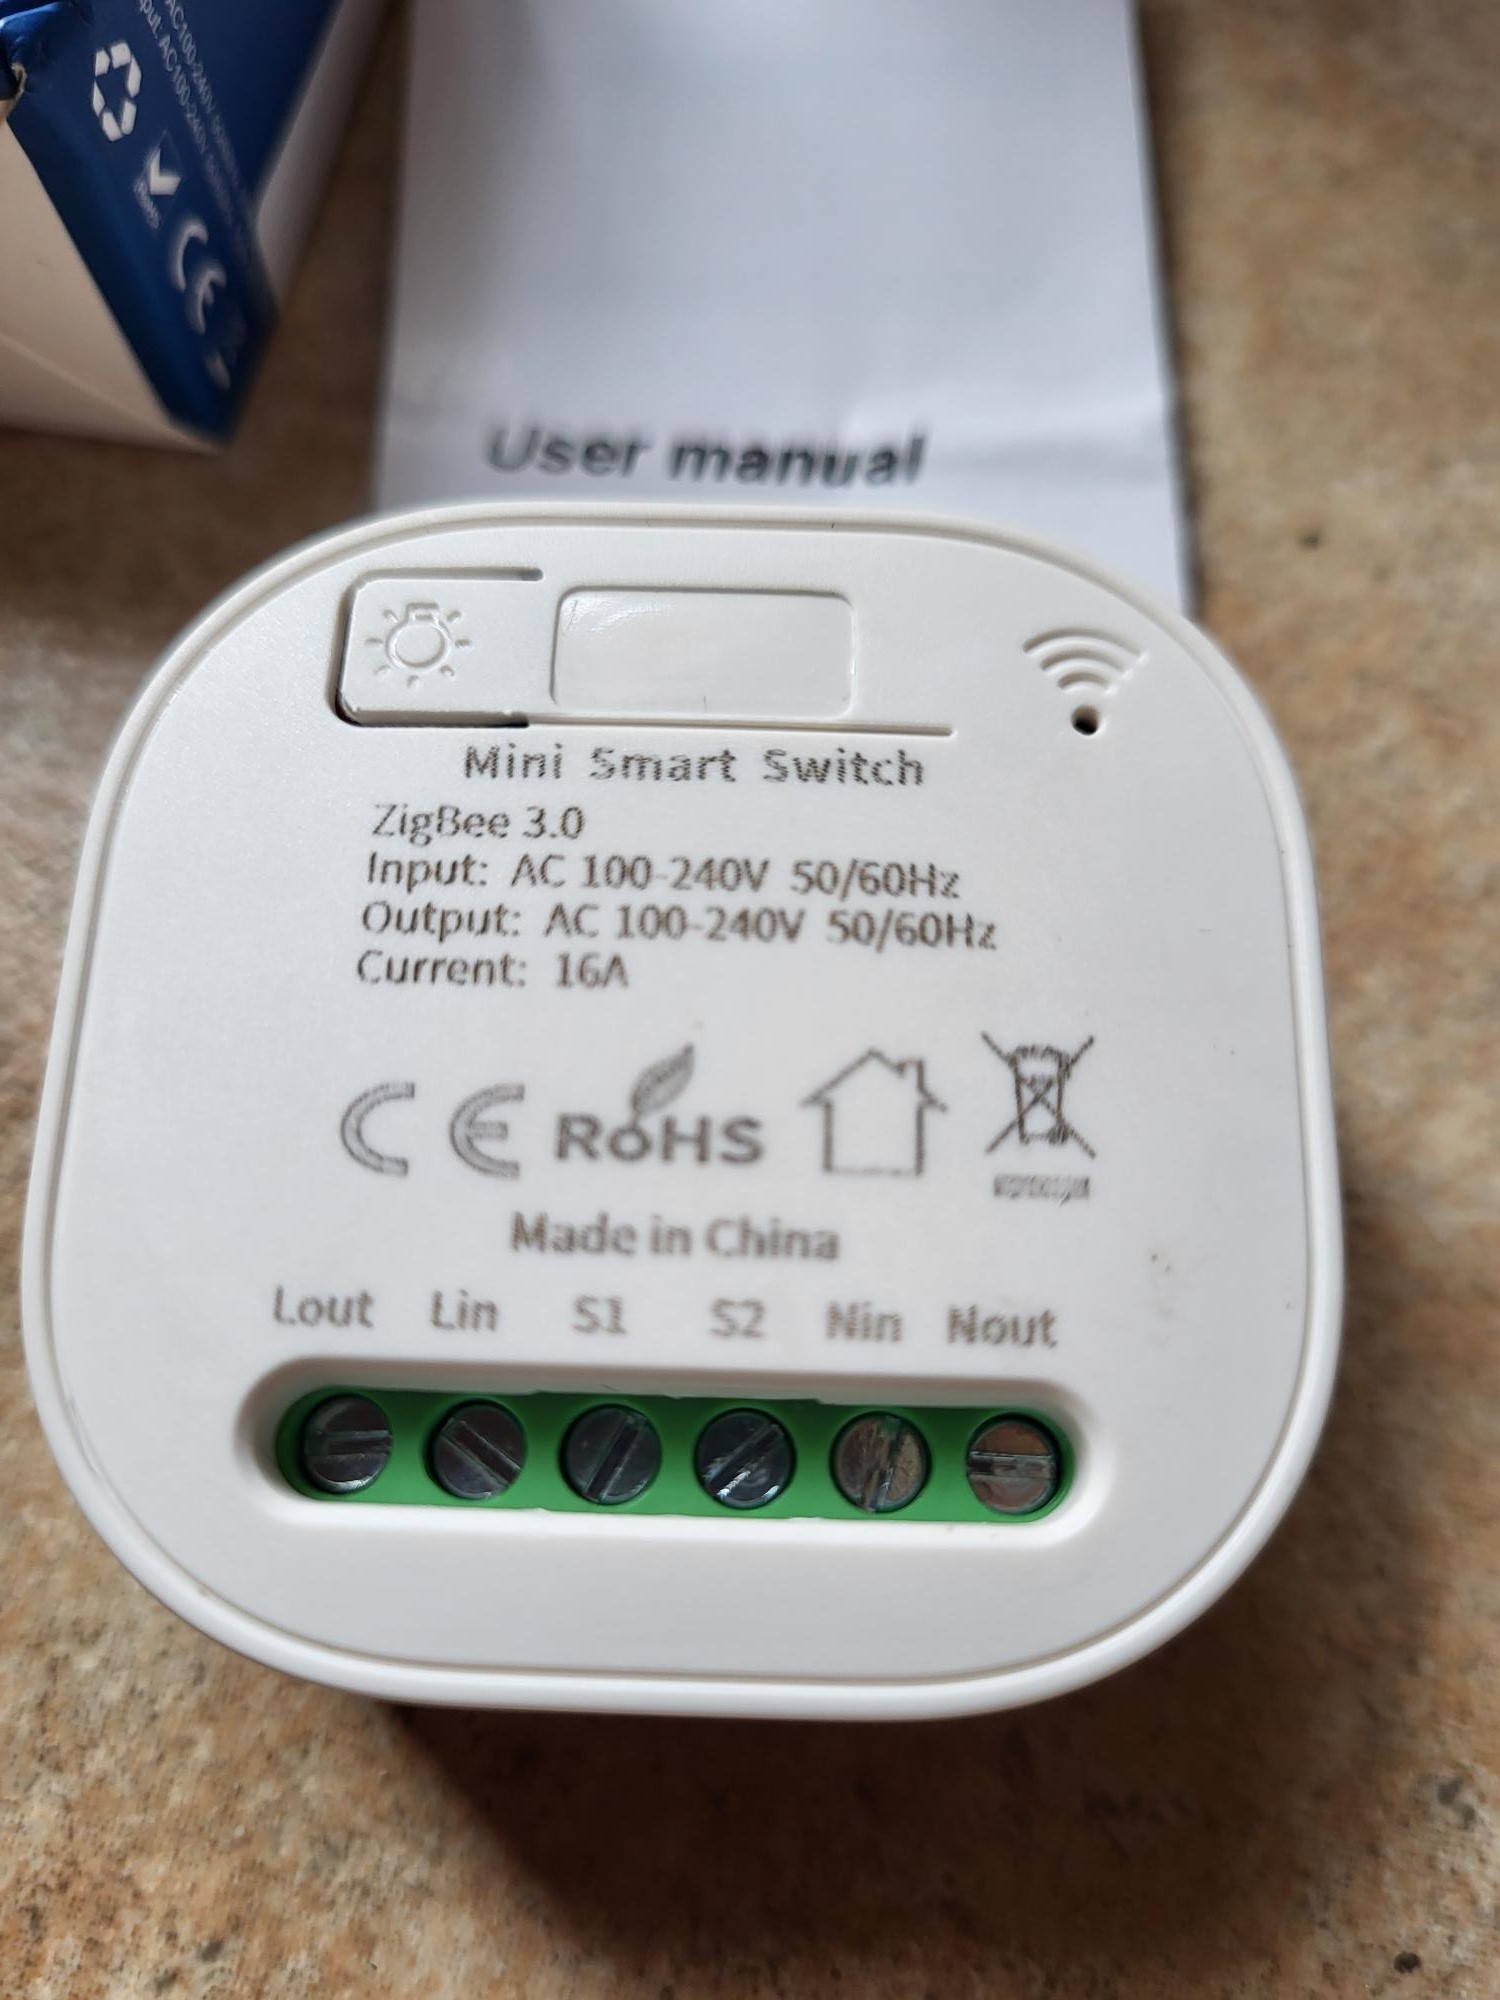
Full view of received Zigbee WHD02 module

I connect Lin and Nin

Lin and Nin connectors use standard European sockets such as C14. Connect Lin to the active phase (brown or black thread) and Nin to the neutral phase (blue thread). Check that there is no voltage with a tester before connection to avoid any electrical risk. The module then detects leaks between 30mA and 300mA according to the DIP switch setting.
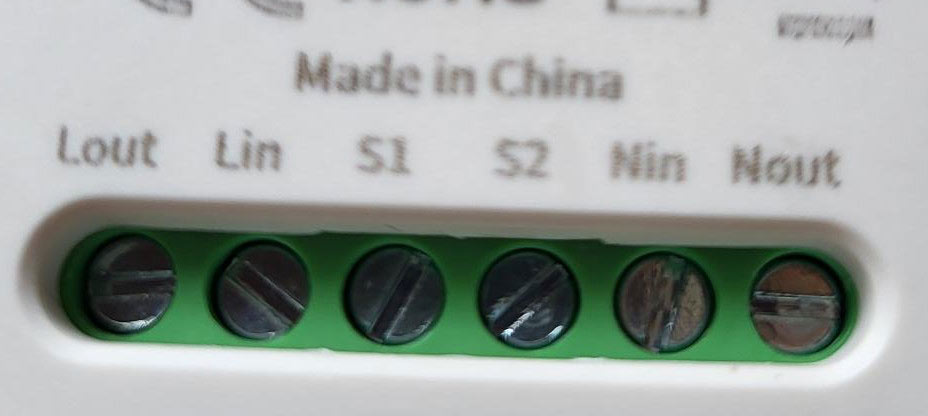
Connection diagram Lin and Nin of the module WHD02

I integrate this box with Zigbee2MQTT

When powered on, the module remains silent. First activate the pairing mode in Zigbee2MQTT via the web interface (‘Permit Join’ button). Then press the center button of the module for 5 seconds until the blue LED flashes quickly, indicating that the pairing starts.
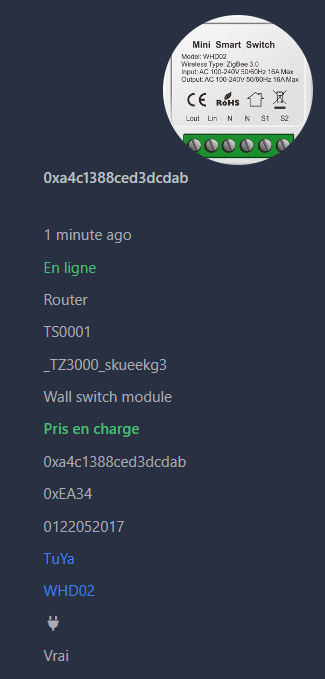
Zigbee2MQTT interface: Discovery of the WHD02 module

The module appears as “WHD02” despite an inadequate illustration image in the interface. Orders go up perfectly: circuit breaker status, leakage level detected, manual reset button. Test by simulating a leak with a defective device to validate operation.
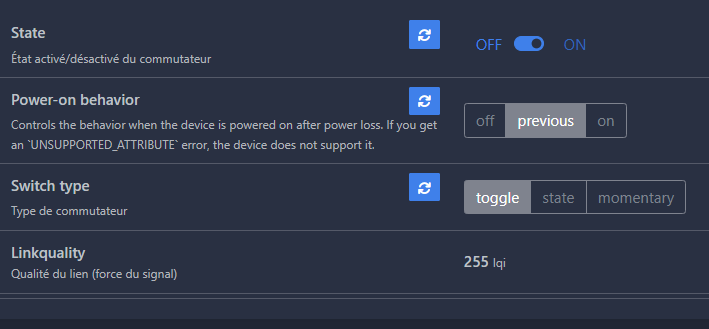
Orders available WHD02 in Zigbee2MQTT

I'm going to Home Assistant.

The equipment automatically migrates via the MQTT integration. It appears in the list of Zigbee devices with all the entities: main switch, leak sensor, armament button. Configure automations for push notifications or group break in case of a detected leak.
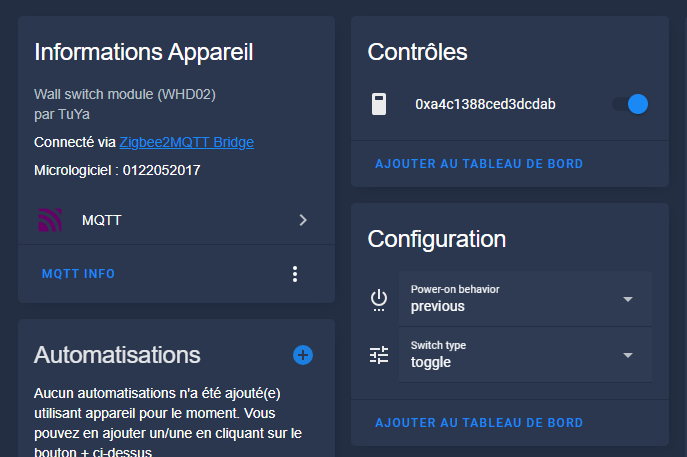
WHD02 module perfectly integrated in Home Assistant

The integration is immediate and complete, with no additional configuration required.

For archive: the complete instructions for use

Two-sided instructions with wiring diagram and technical characteristics:
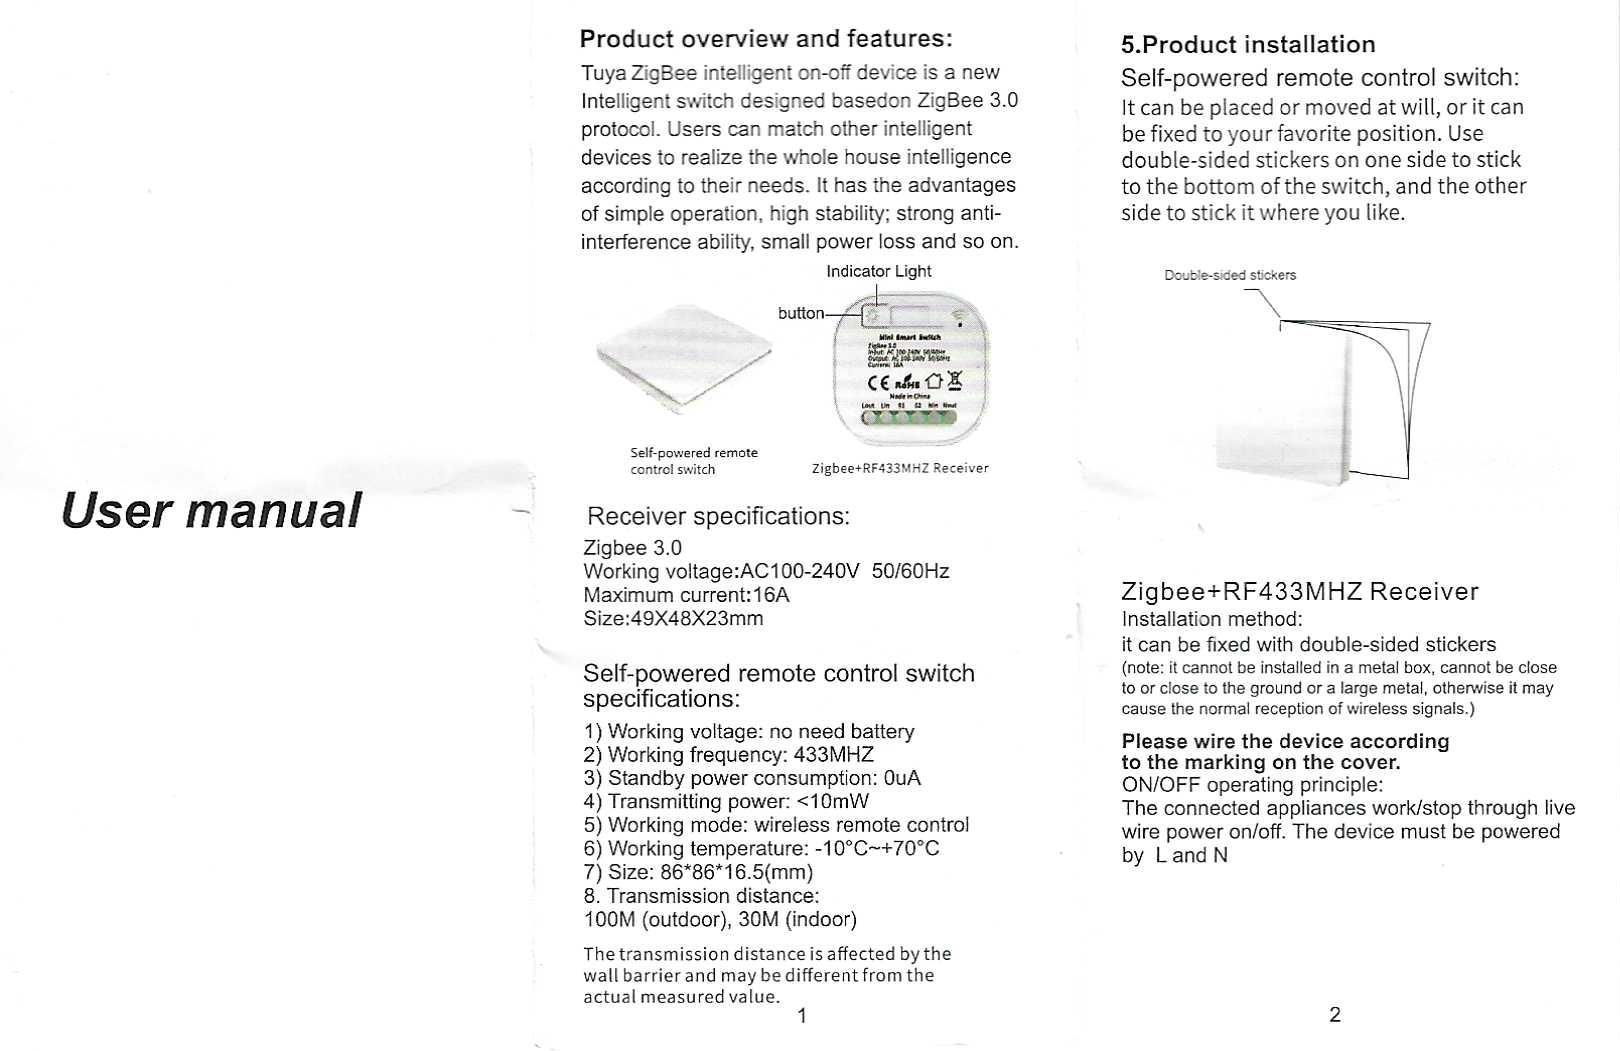
Instructions for use duplex module WHD02

Reverse notice with DIP switch settings and table of detection thresholds:
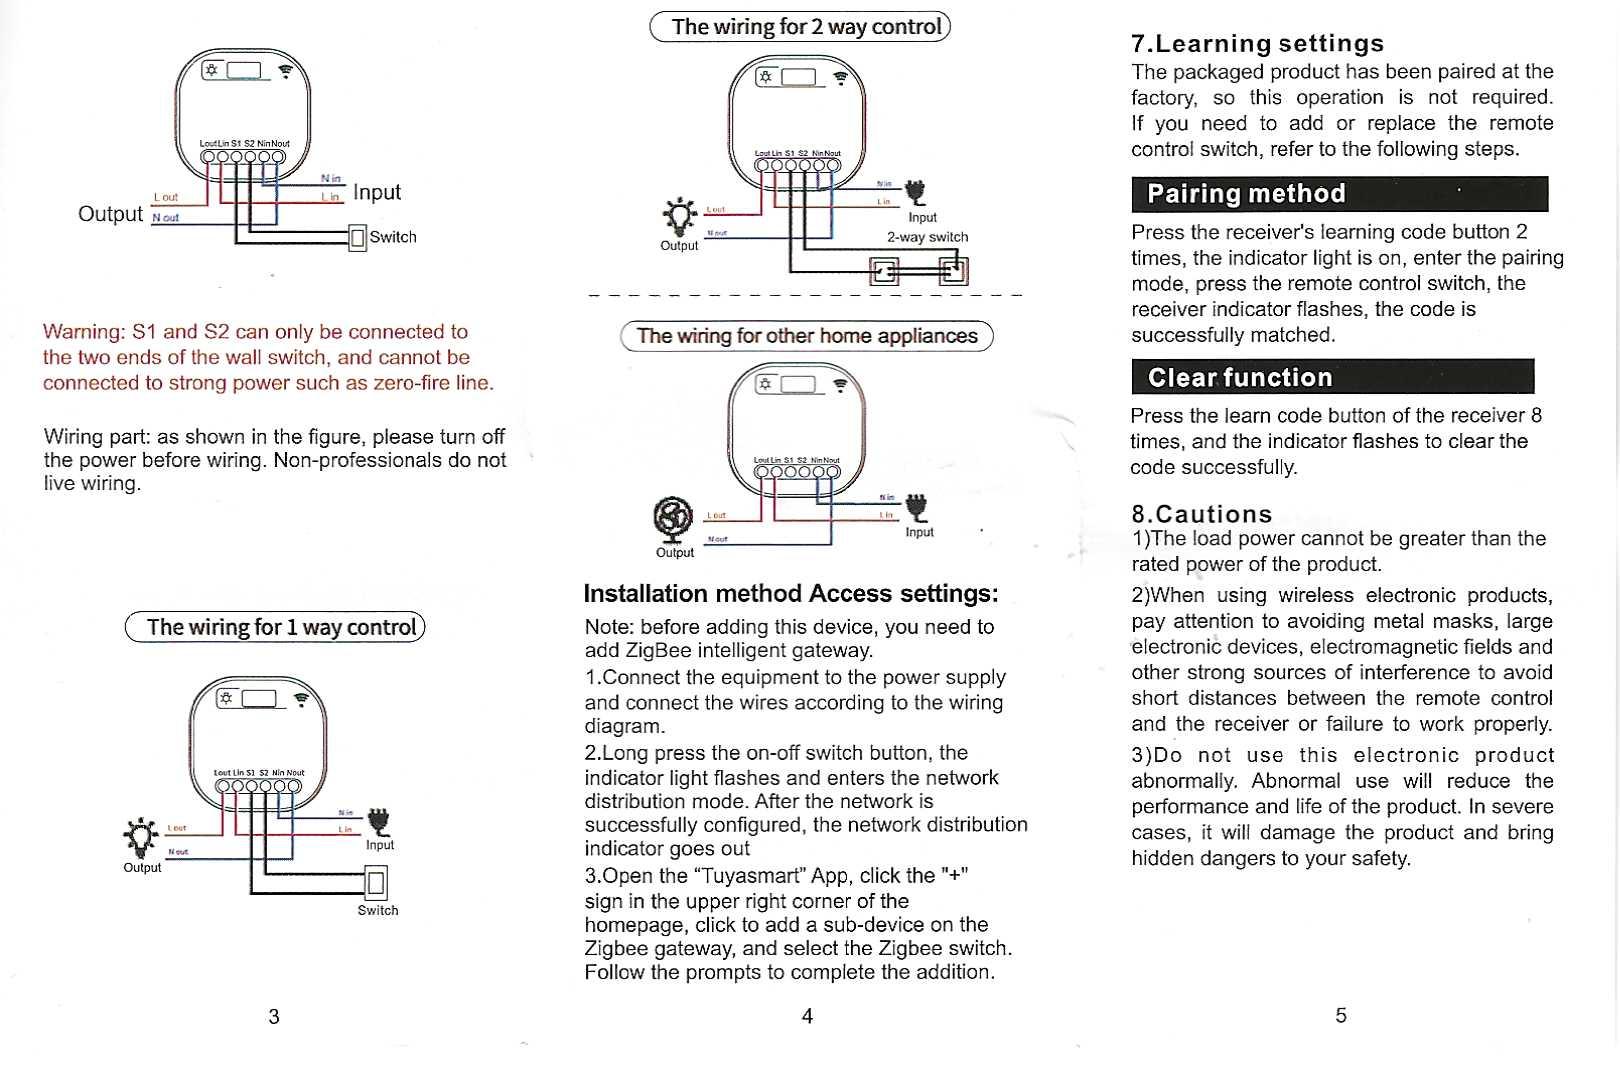
Operating instructions back module WHD02 thresholds DIP switch


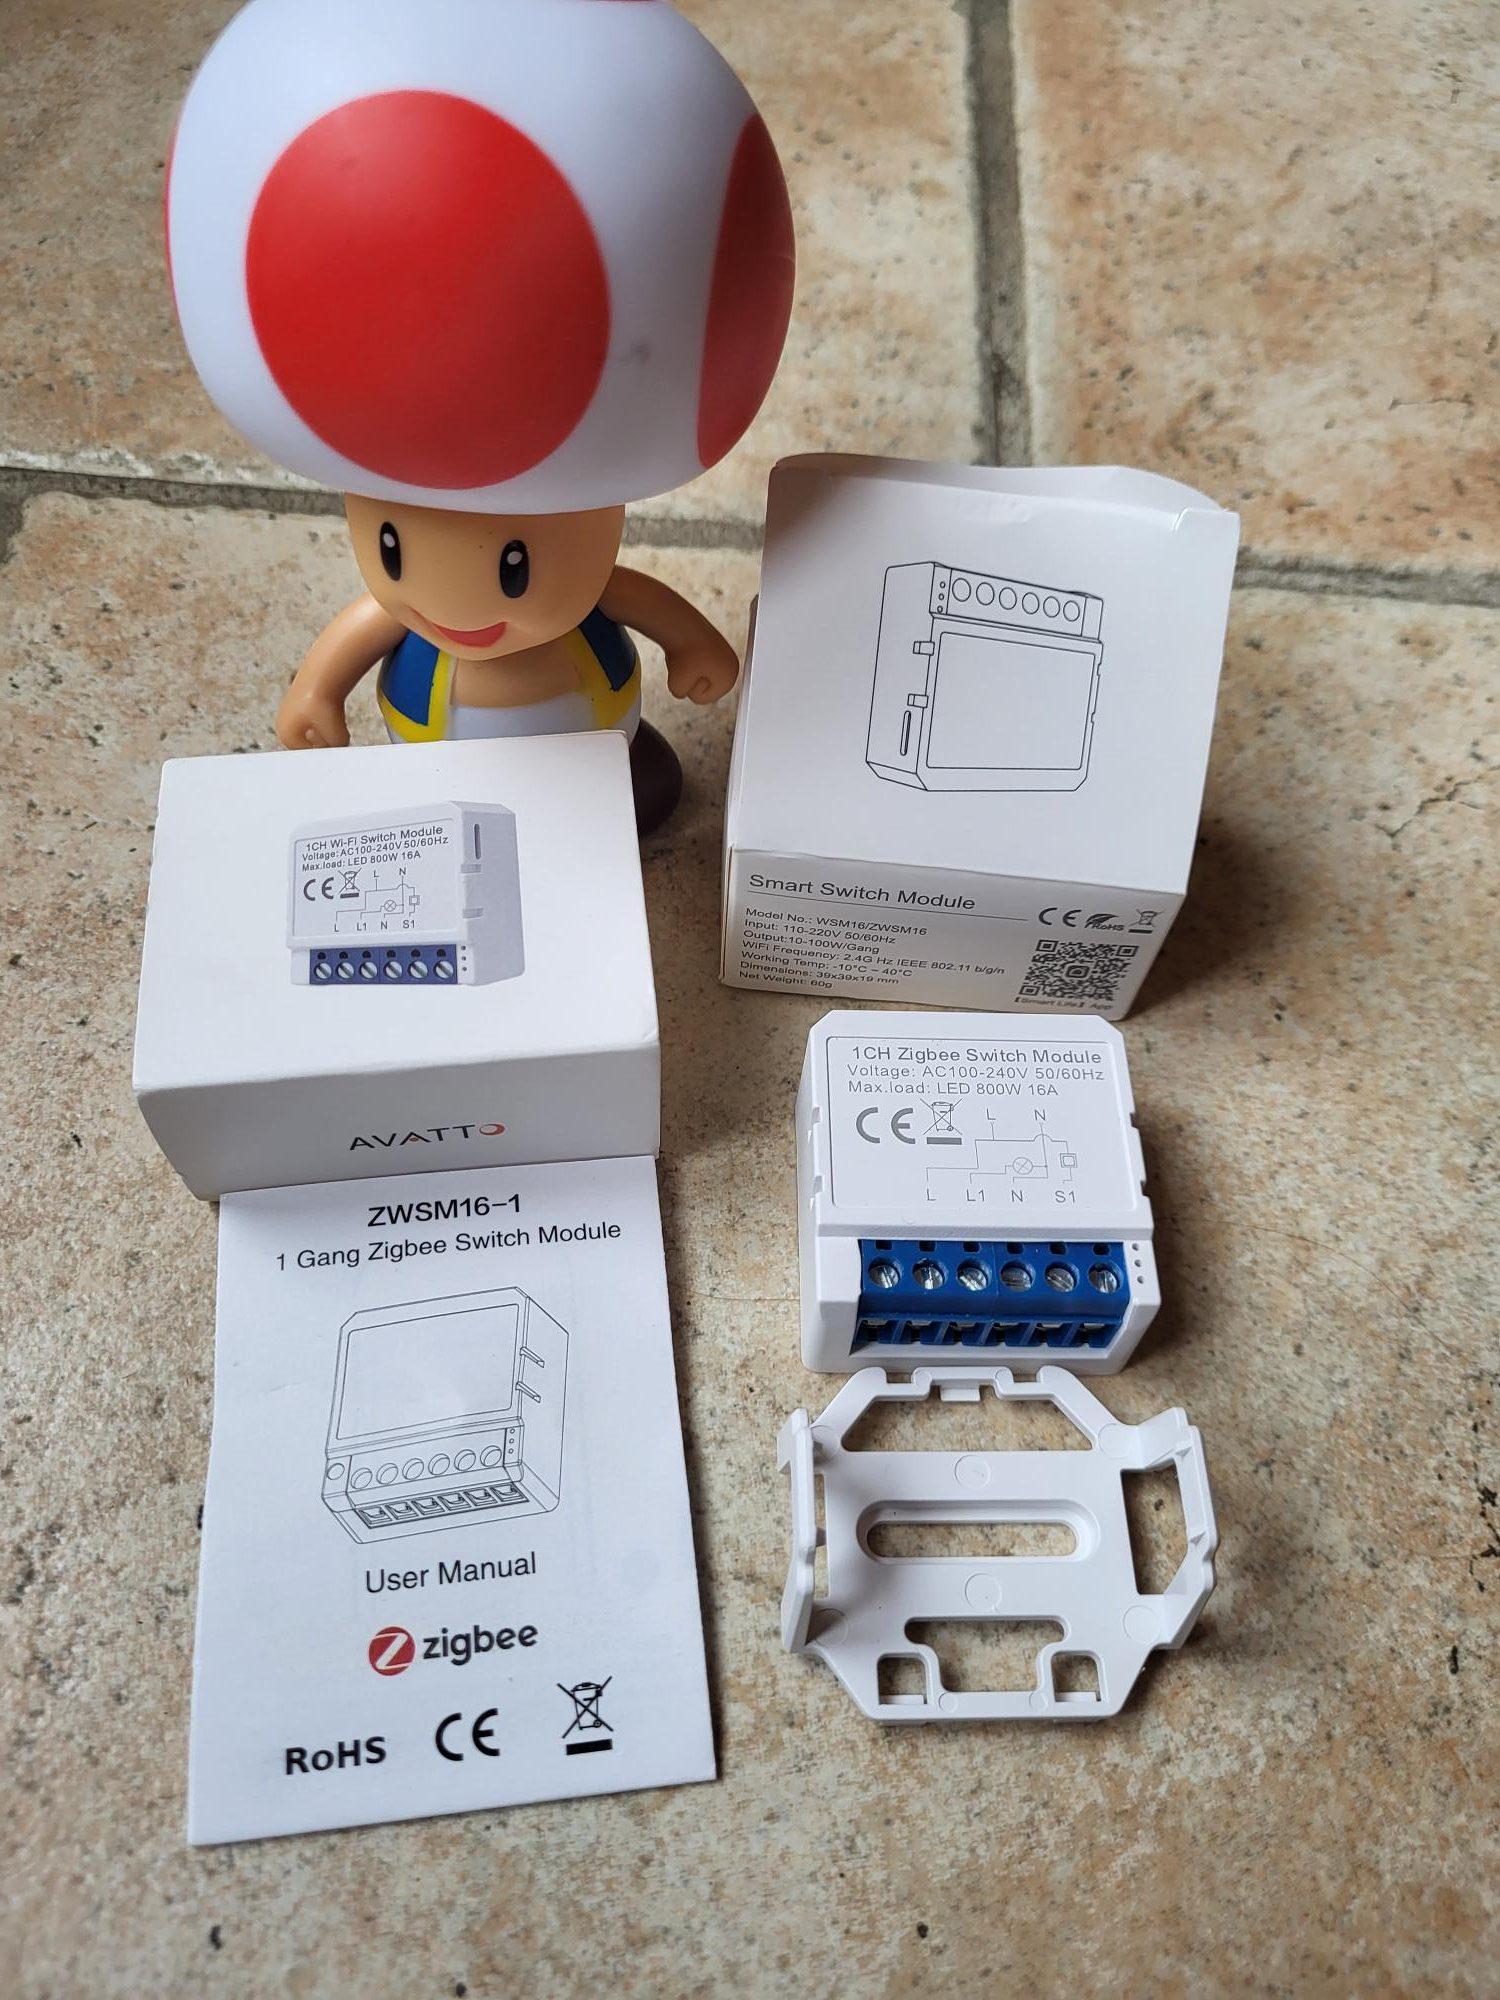
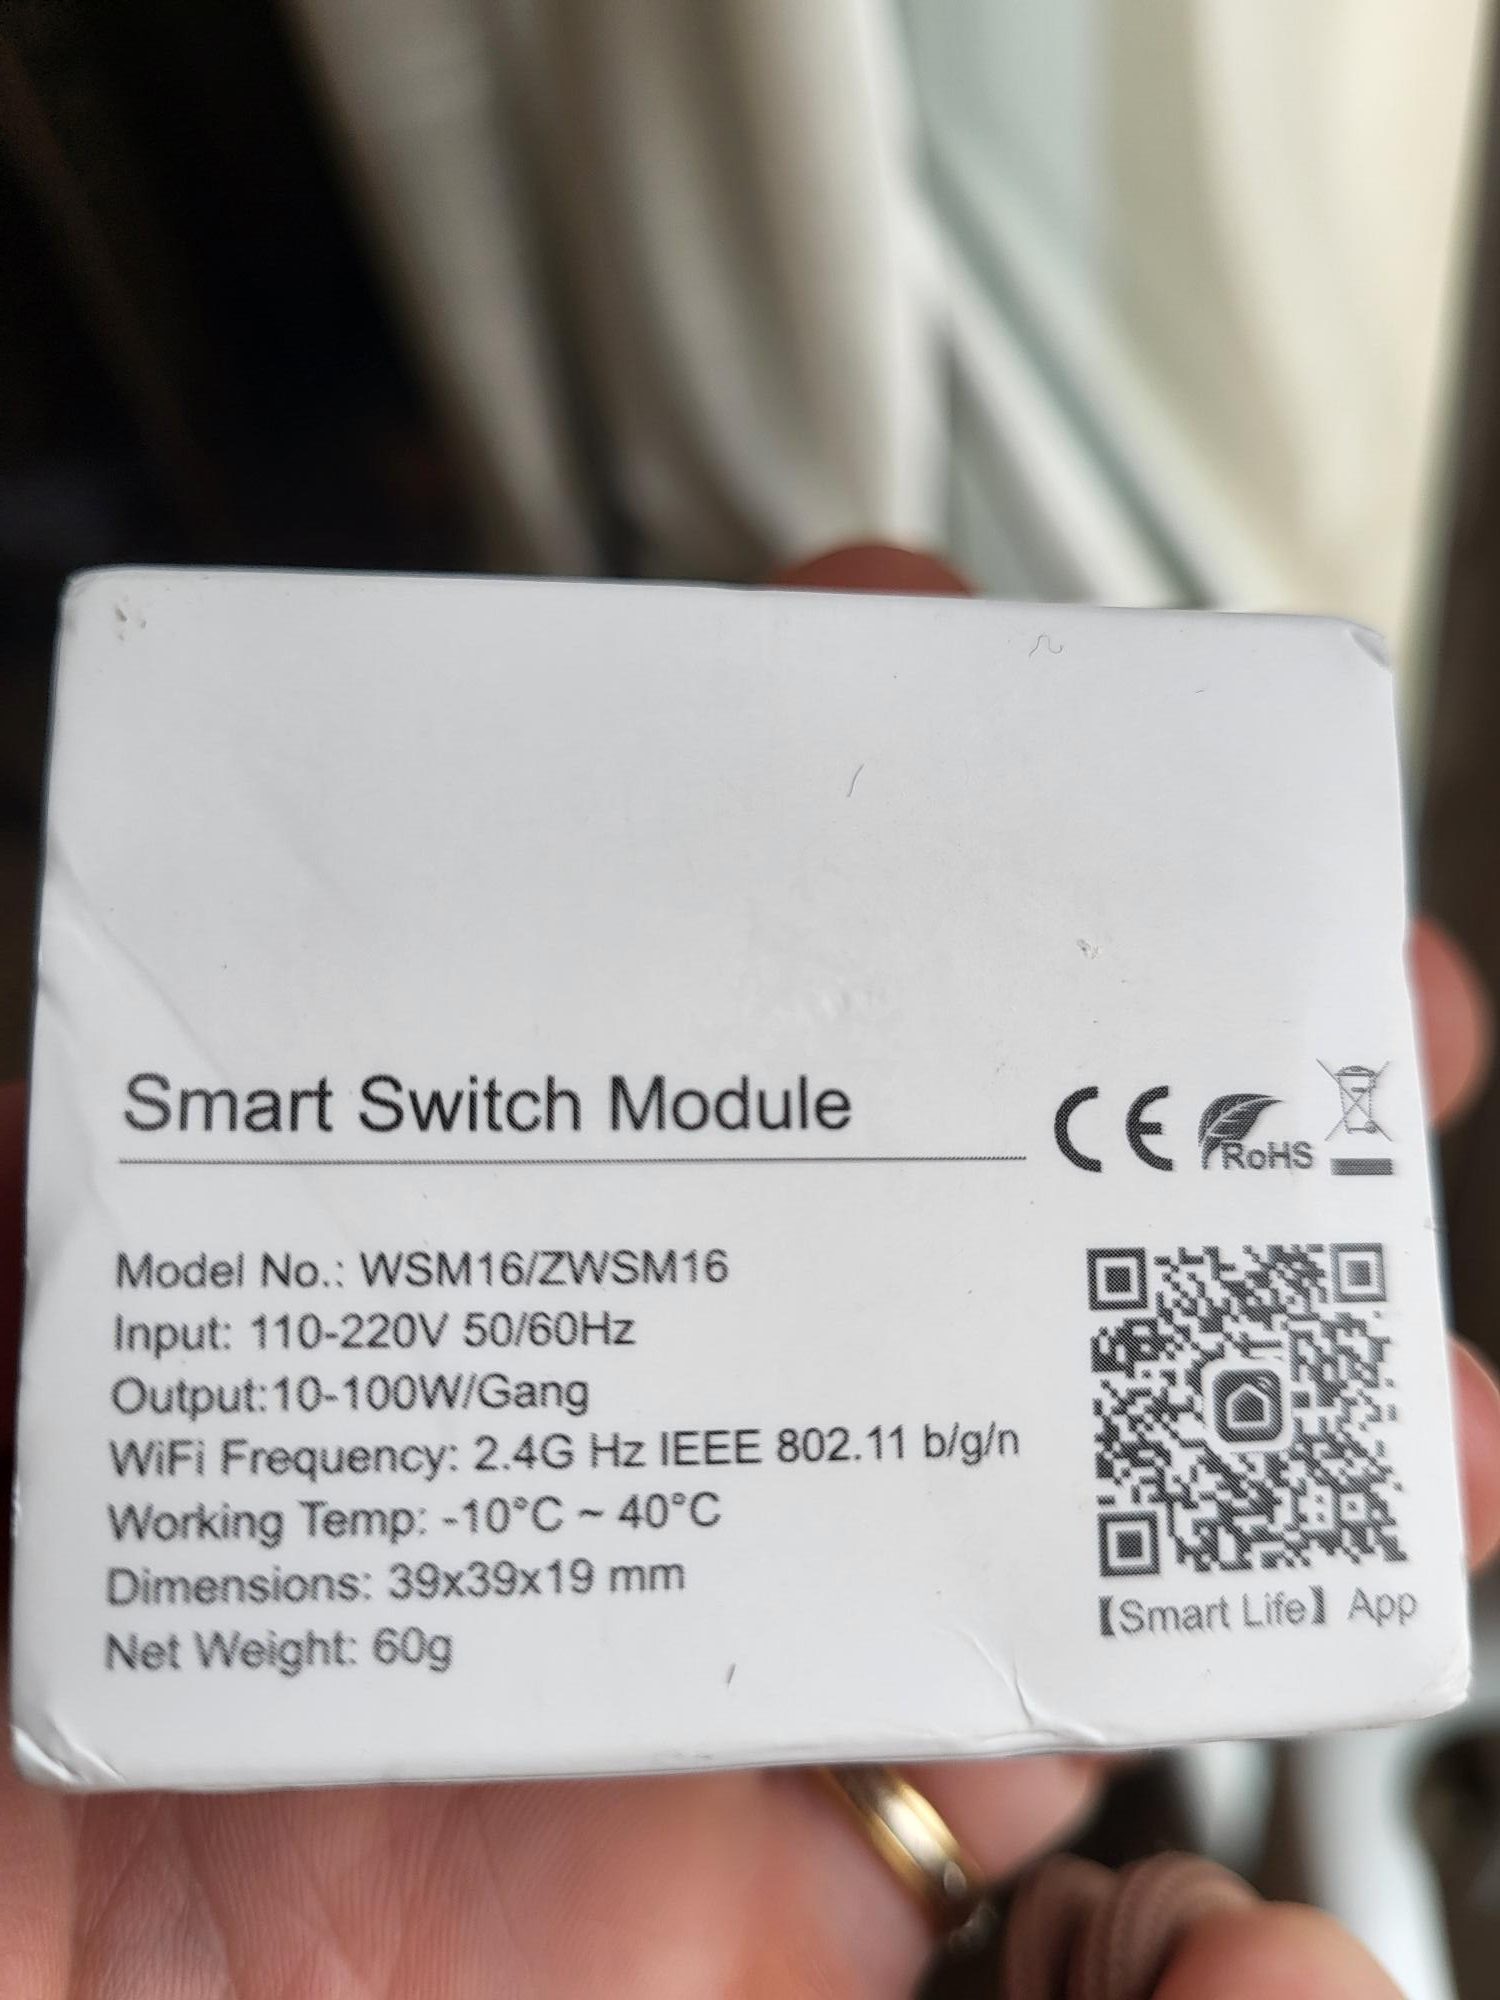
I am testing the switch Lamp Zigbee ZWSM16-1 brand AVATTO

Installation ZWSM16-1 Zigbee without neutral

The ZWSM16-1 module is a neutral Zigbee switch for home automation. I explain step by step its installation, pairing and integration in Zigbee2MQTT and Home Assistant. Even inexperienced, follow these precise instructions for a perfect result.

I check the model ZWSM16-1 received

The module arrives stamped ZWSM16-1, a specific reference for neutral wireless installations. This version works on phase and return phase, ideal for standard non-neutral flush-mounted housings available.

It does not contain a capacitor in the box. This component is not always necessary, but in some installations with LEDs or low consumption lamps, a capacitor from 0.1µF to 470nF in parallel with the load avoids flickering or residual brightness due to the residual current.

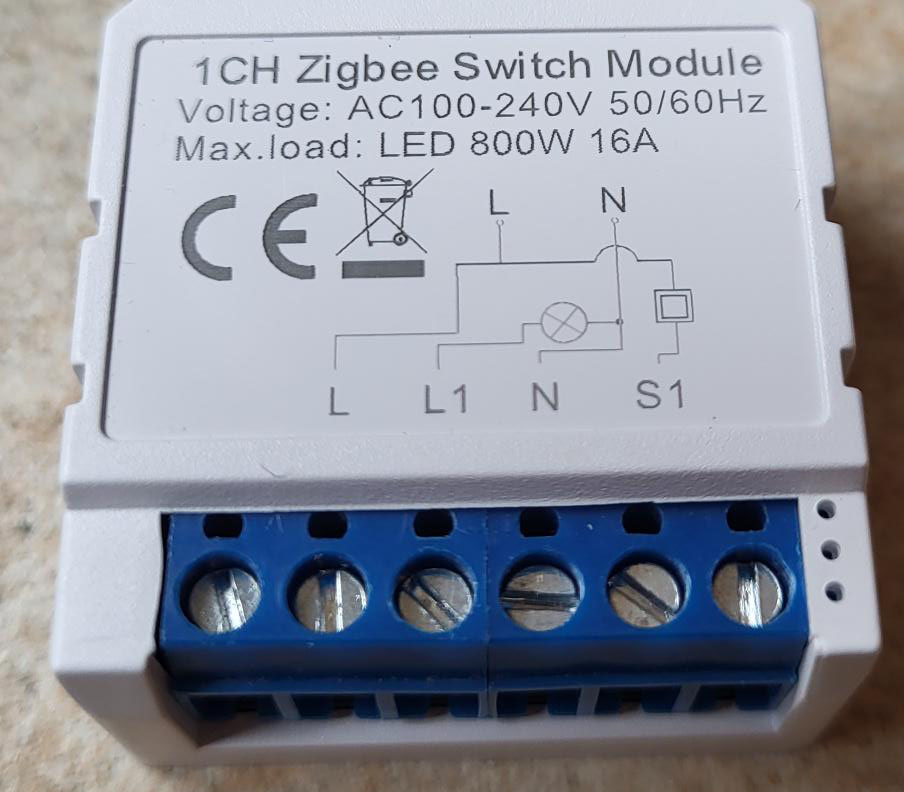
ZWSM16-1 module view received

I connect L and L1 correctly

The connectors are classic: Soft screws for easy and secure clamping. Plug L on the incoming phase (230V), L1 on the back to the load (lamp or socket). Check the absence of neutral and make sure the earth is present if necessary.

ZWSM16-1 module L and L1 connectors

I pair the module to Zigbee2MQTT

When power is turned on, nothing appears. Enable pairing mode in Zigbee2MQTT (Permit Join button). Then press the button at the top of the module for 5 to 10 seconds: the blue LED flashes rapidly, indicating that the pairing starts.

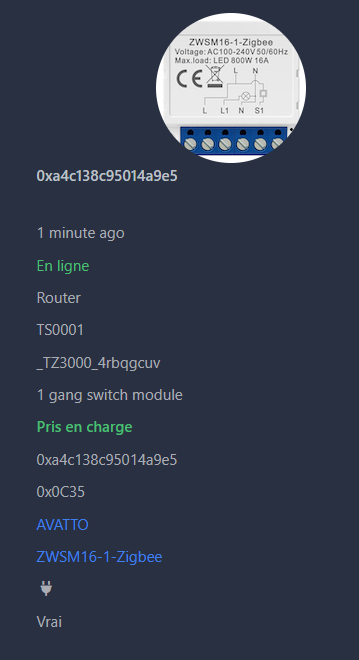
Successful pairing ZWSM16-1 in Zigbee2MQTT

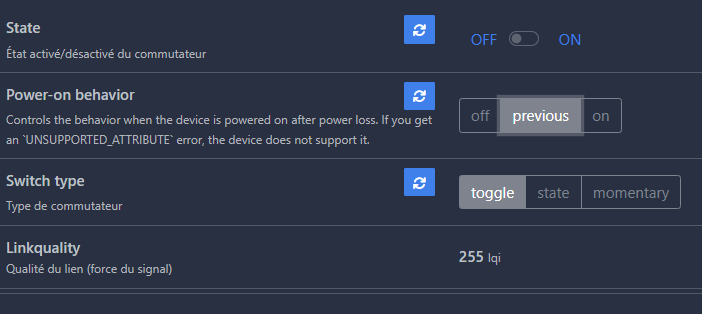
The module appears as ZWSM16-1, with the corresponding image. The states (on/off, linkquality) and commands (state) go up perfectly and meet the tests.

States and orders ZWSM16-1 in Zigbee2MQTT

I integrate into Home Assistant

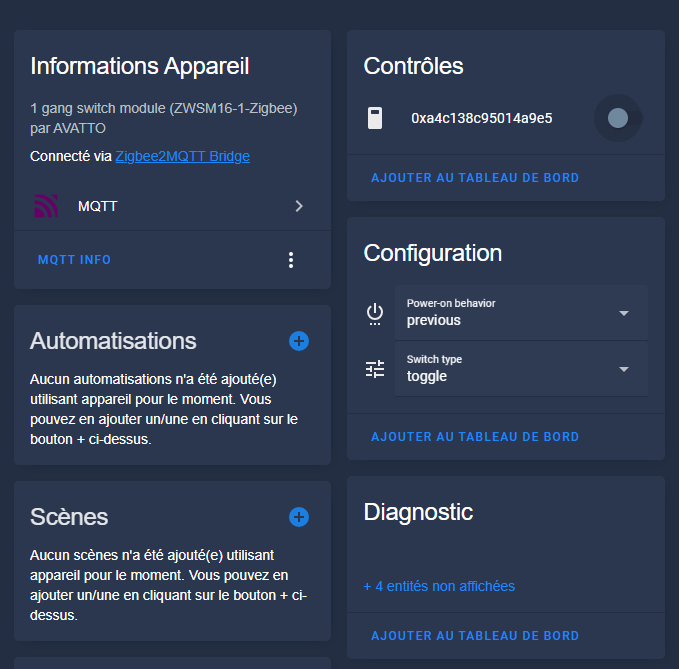
In Home Assistant, the equipment automatically migrates via the MQTT integration. It appears with its entities: switch to turn on/off, and sensors for link quality.

ZWSM16-1 integration in Home Assistant

The switch is fully functional, ready for automations or dashboards.

Archives: Full instructions for use

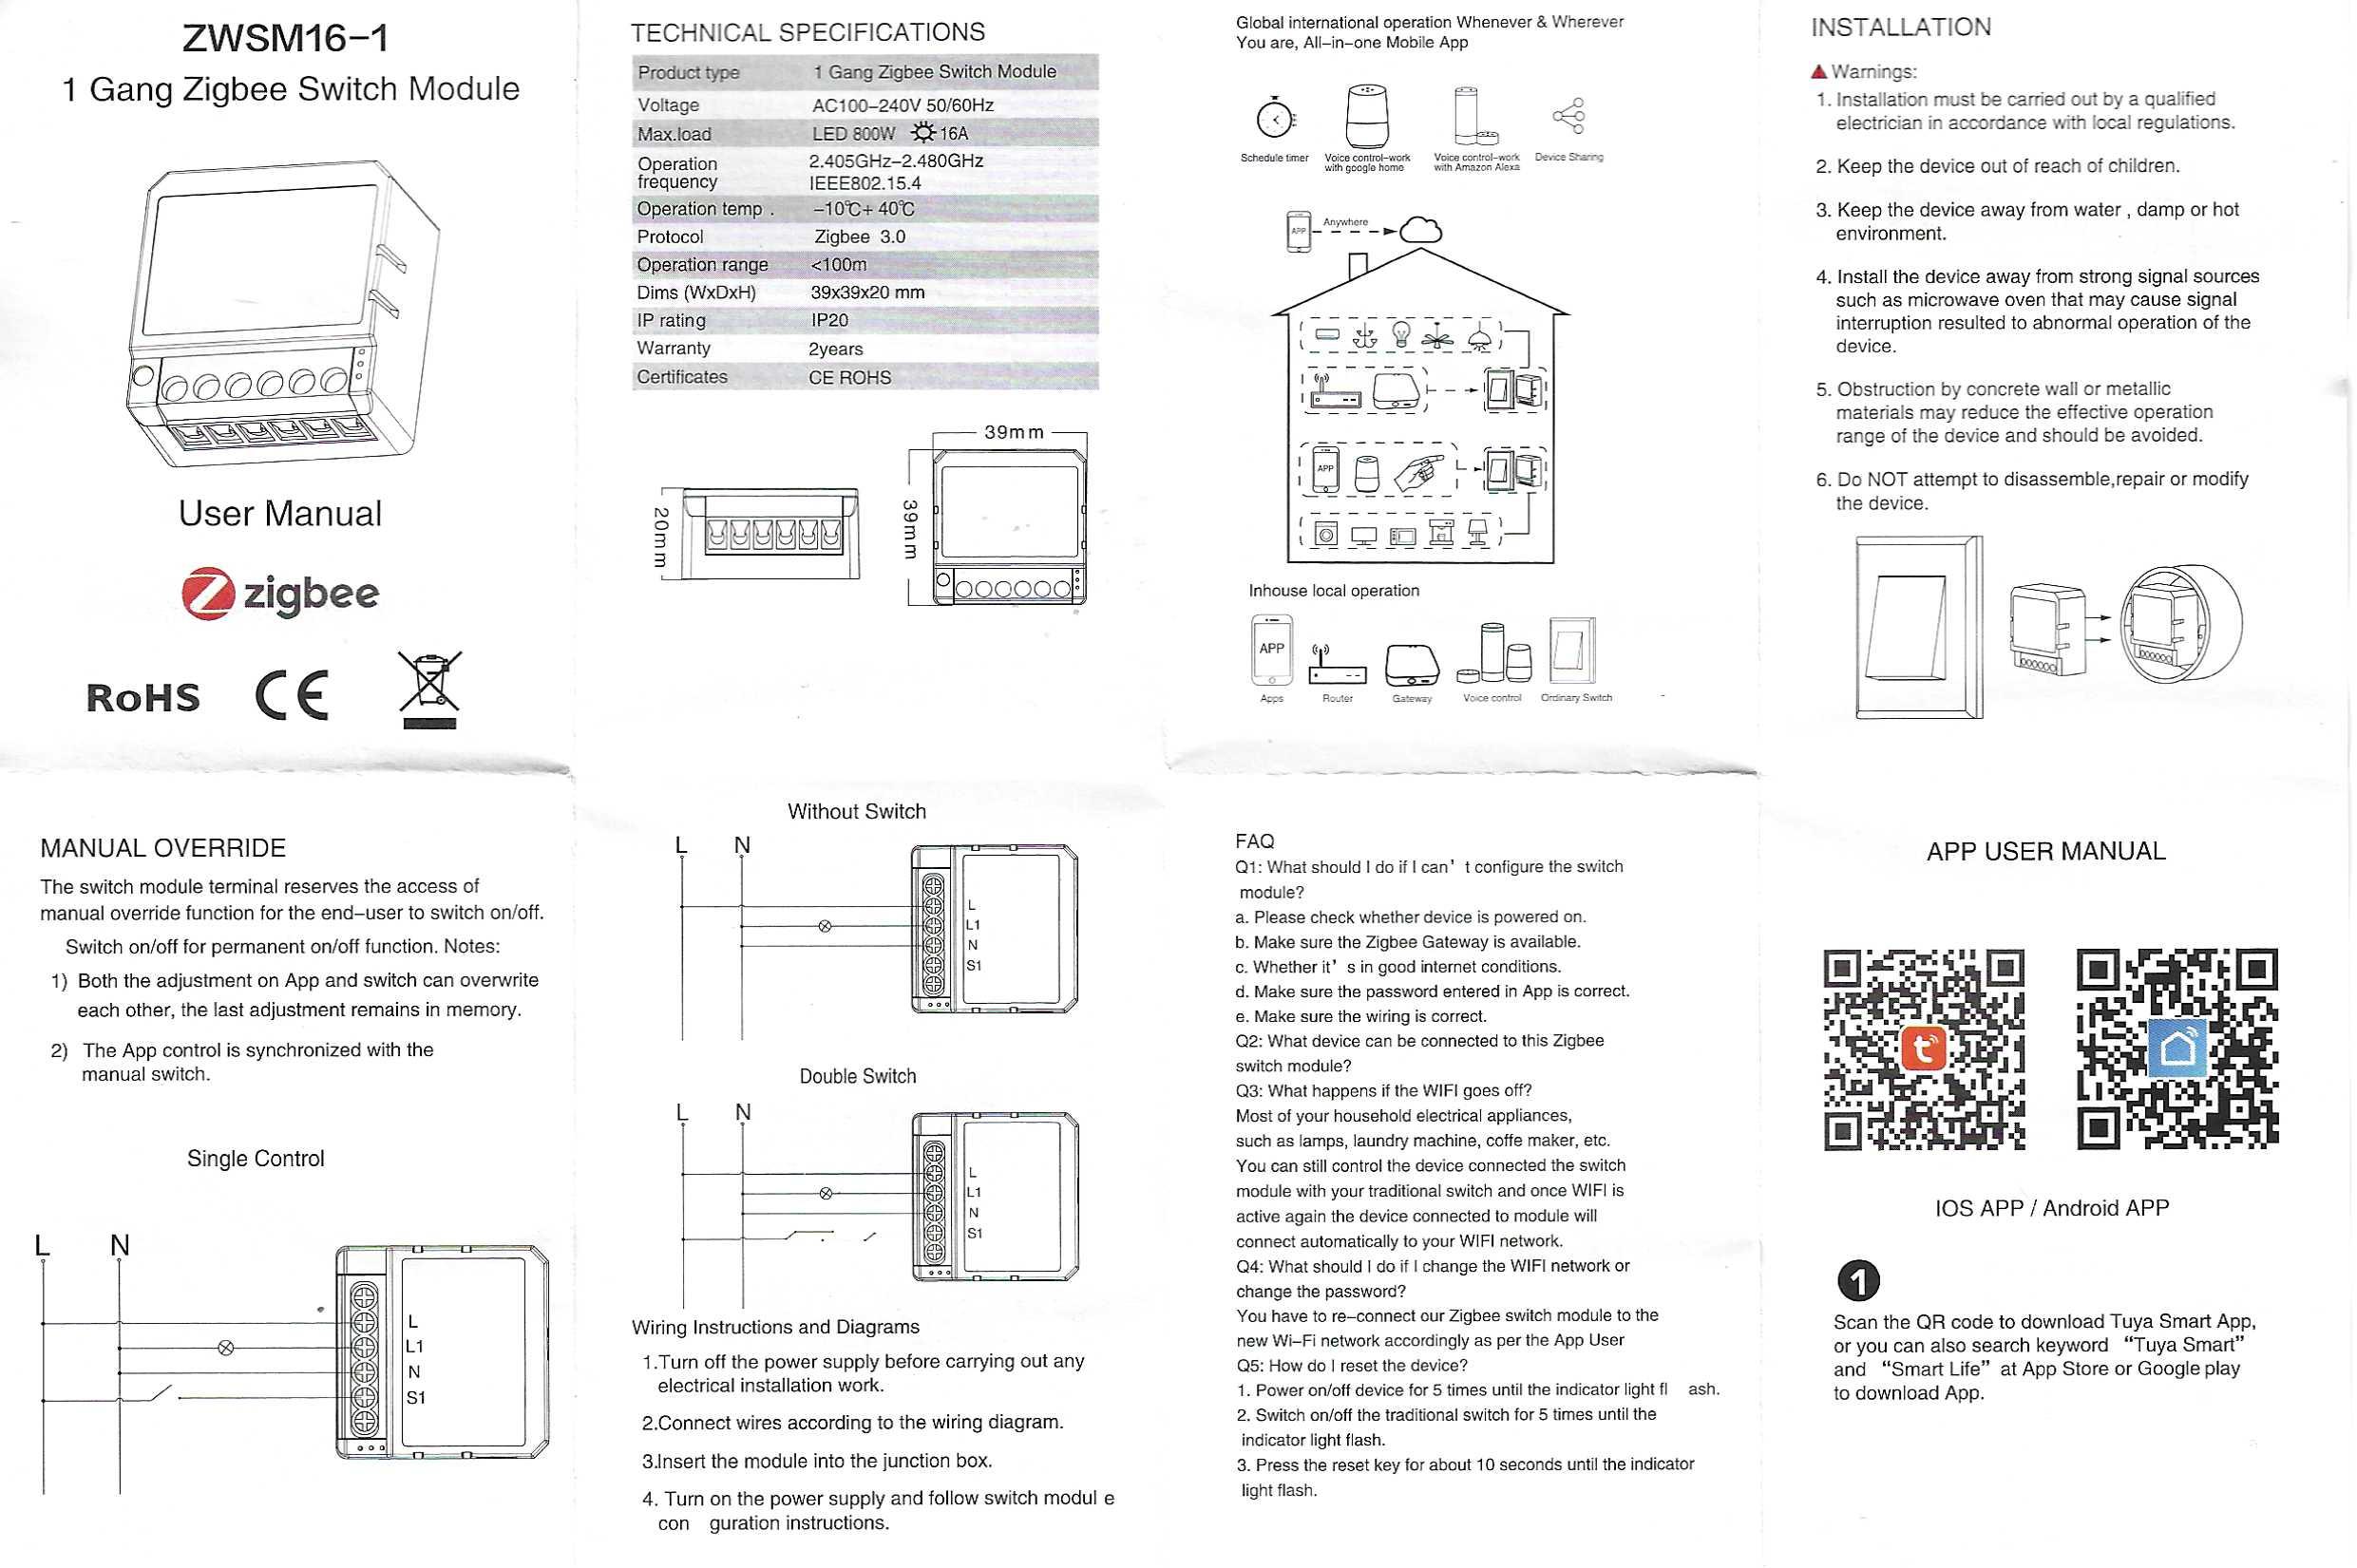
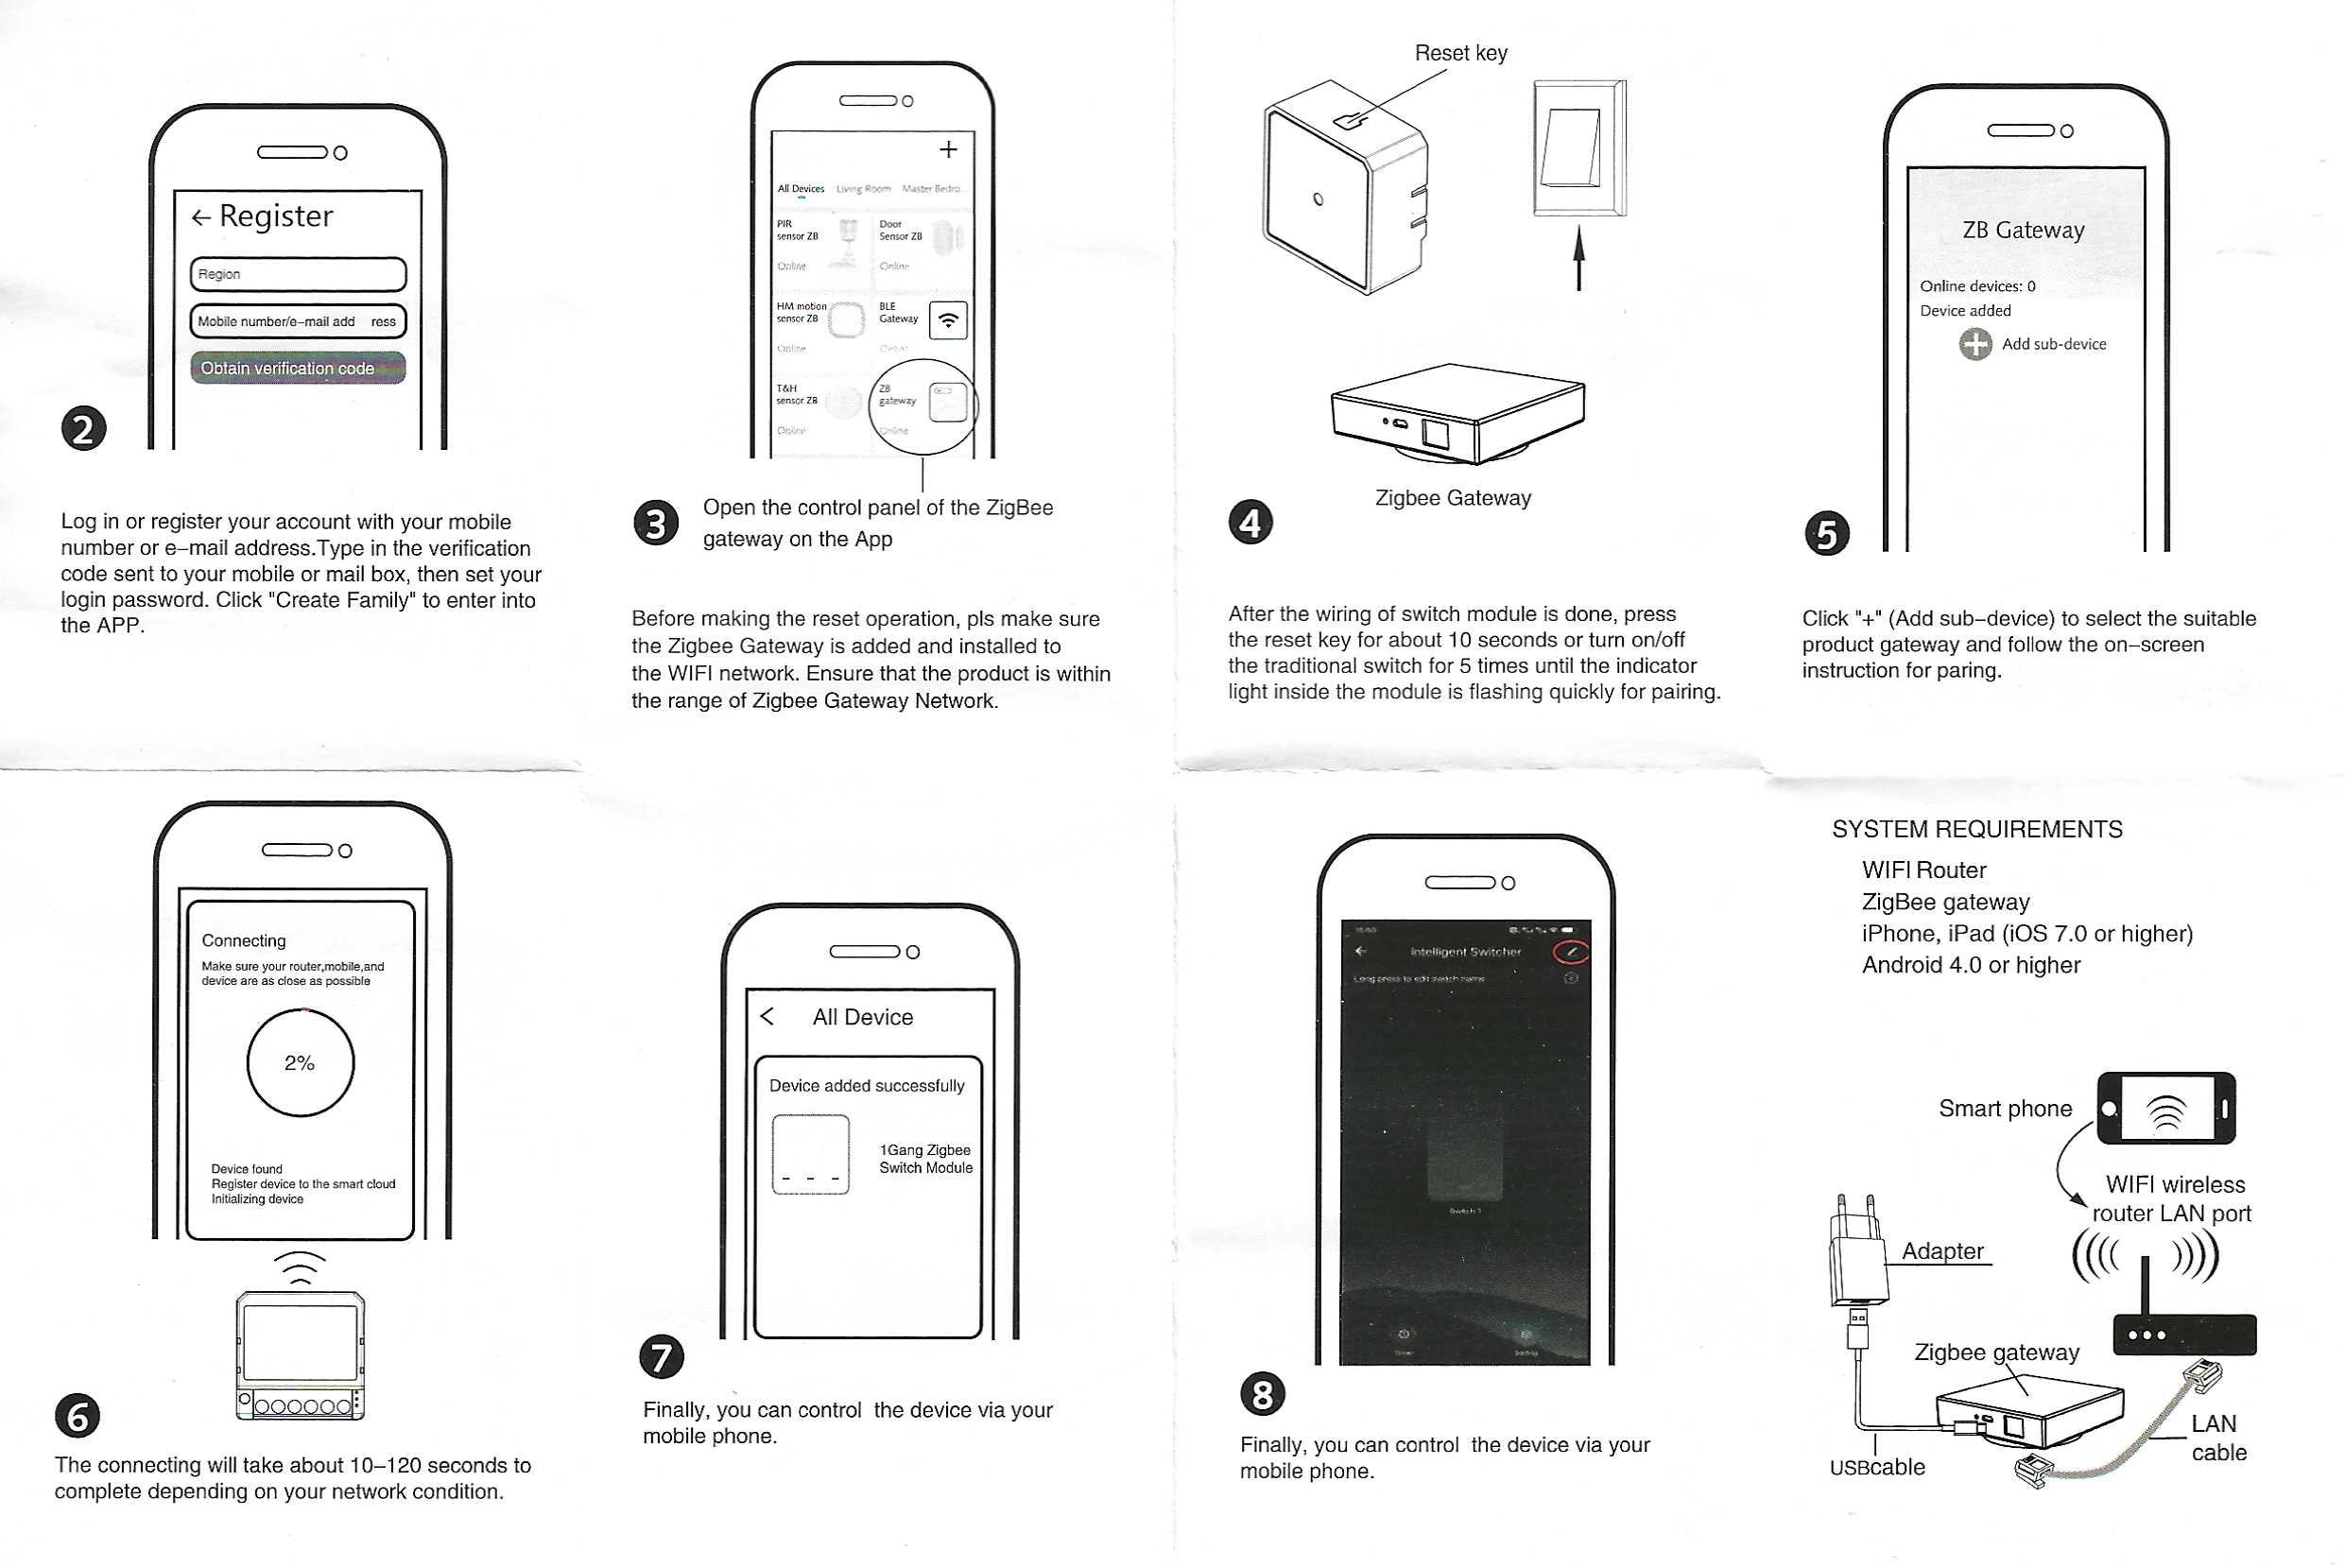
Here is the official manual in high resolution images for future reference. Consult it for detailed diagrams and safety precautions.

Front of the manual ZWSM16-1

Back of user manual ZWSM16-1

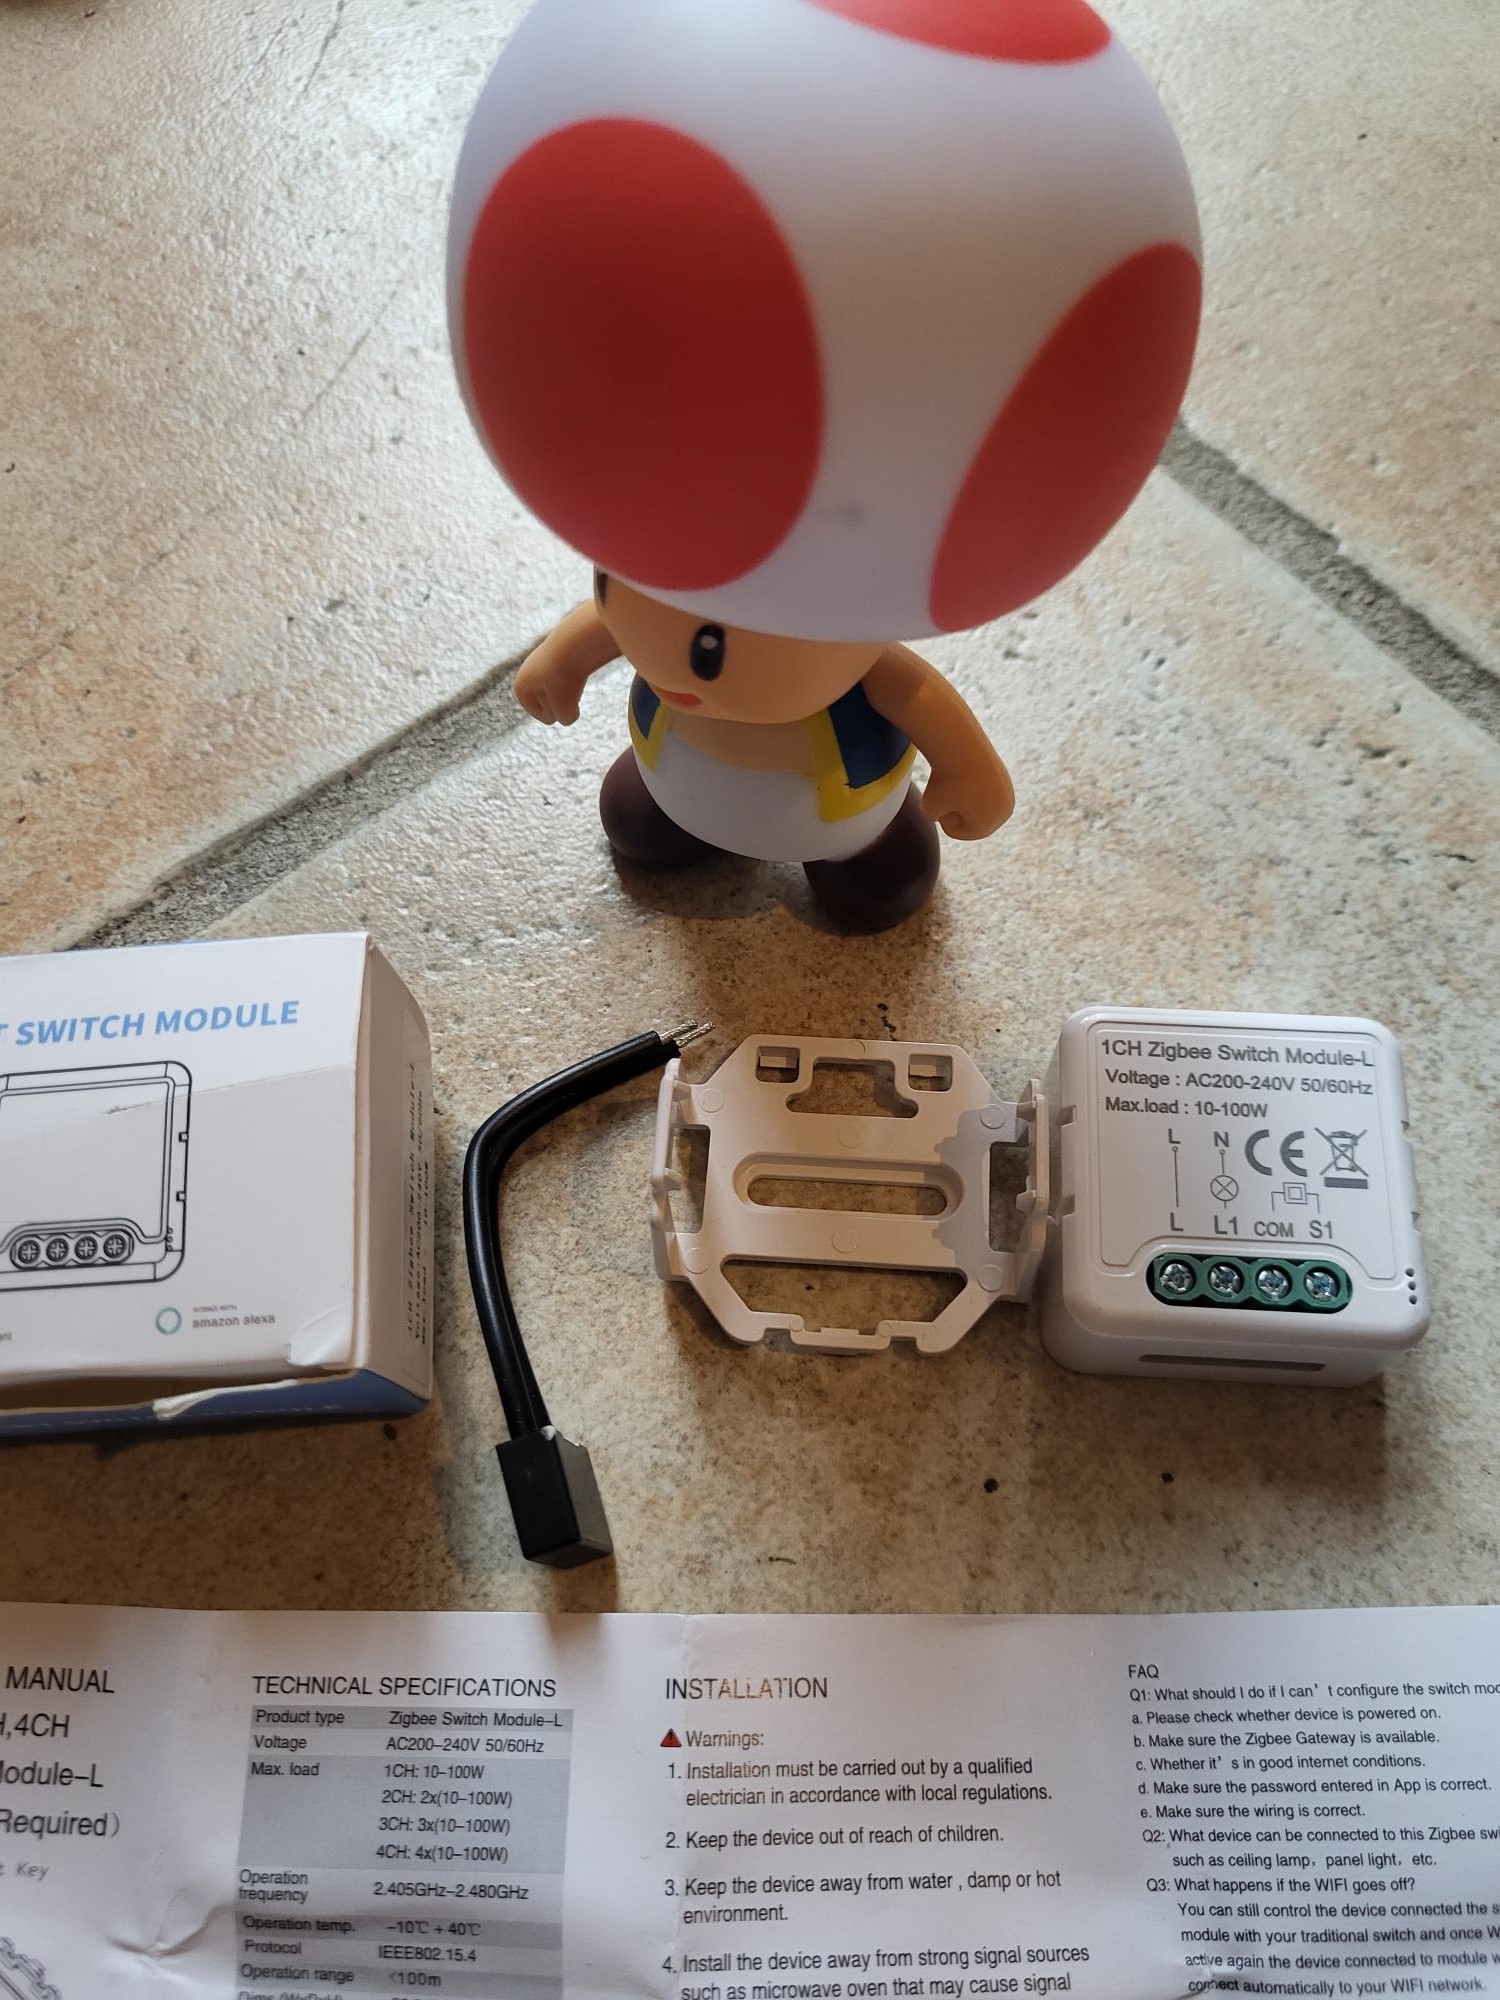
I am testing the Zigbee Switch Lamp "ZB Switch 1CHL"

The market for Zigbee sensors and modules has seen a significant rise in prices for popular models in recent years. This 1CHL ZB Switch module remains an affordable option to control a lamp or circuit from an existing switch, without neutral in the built-in box. My tests are independent: I buy the modules with my own money, sometimes financed by the resale of equipment via my garage sale.

Zigbee 3.0 Certification of ZB Switch 1CHL Module
Official Zigbee 3.0 certification, a guarantee of reliable compatibility.

I check the model ZB Switch 1CHL received

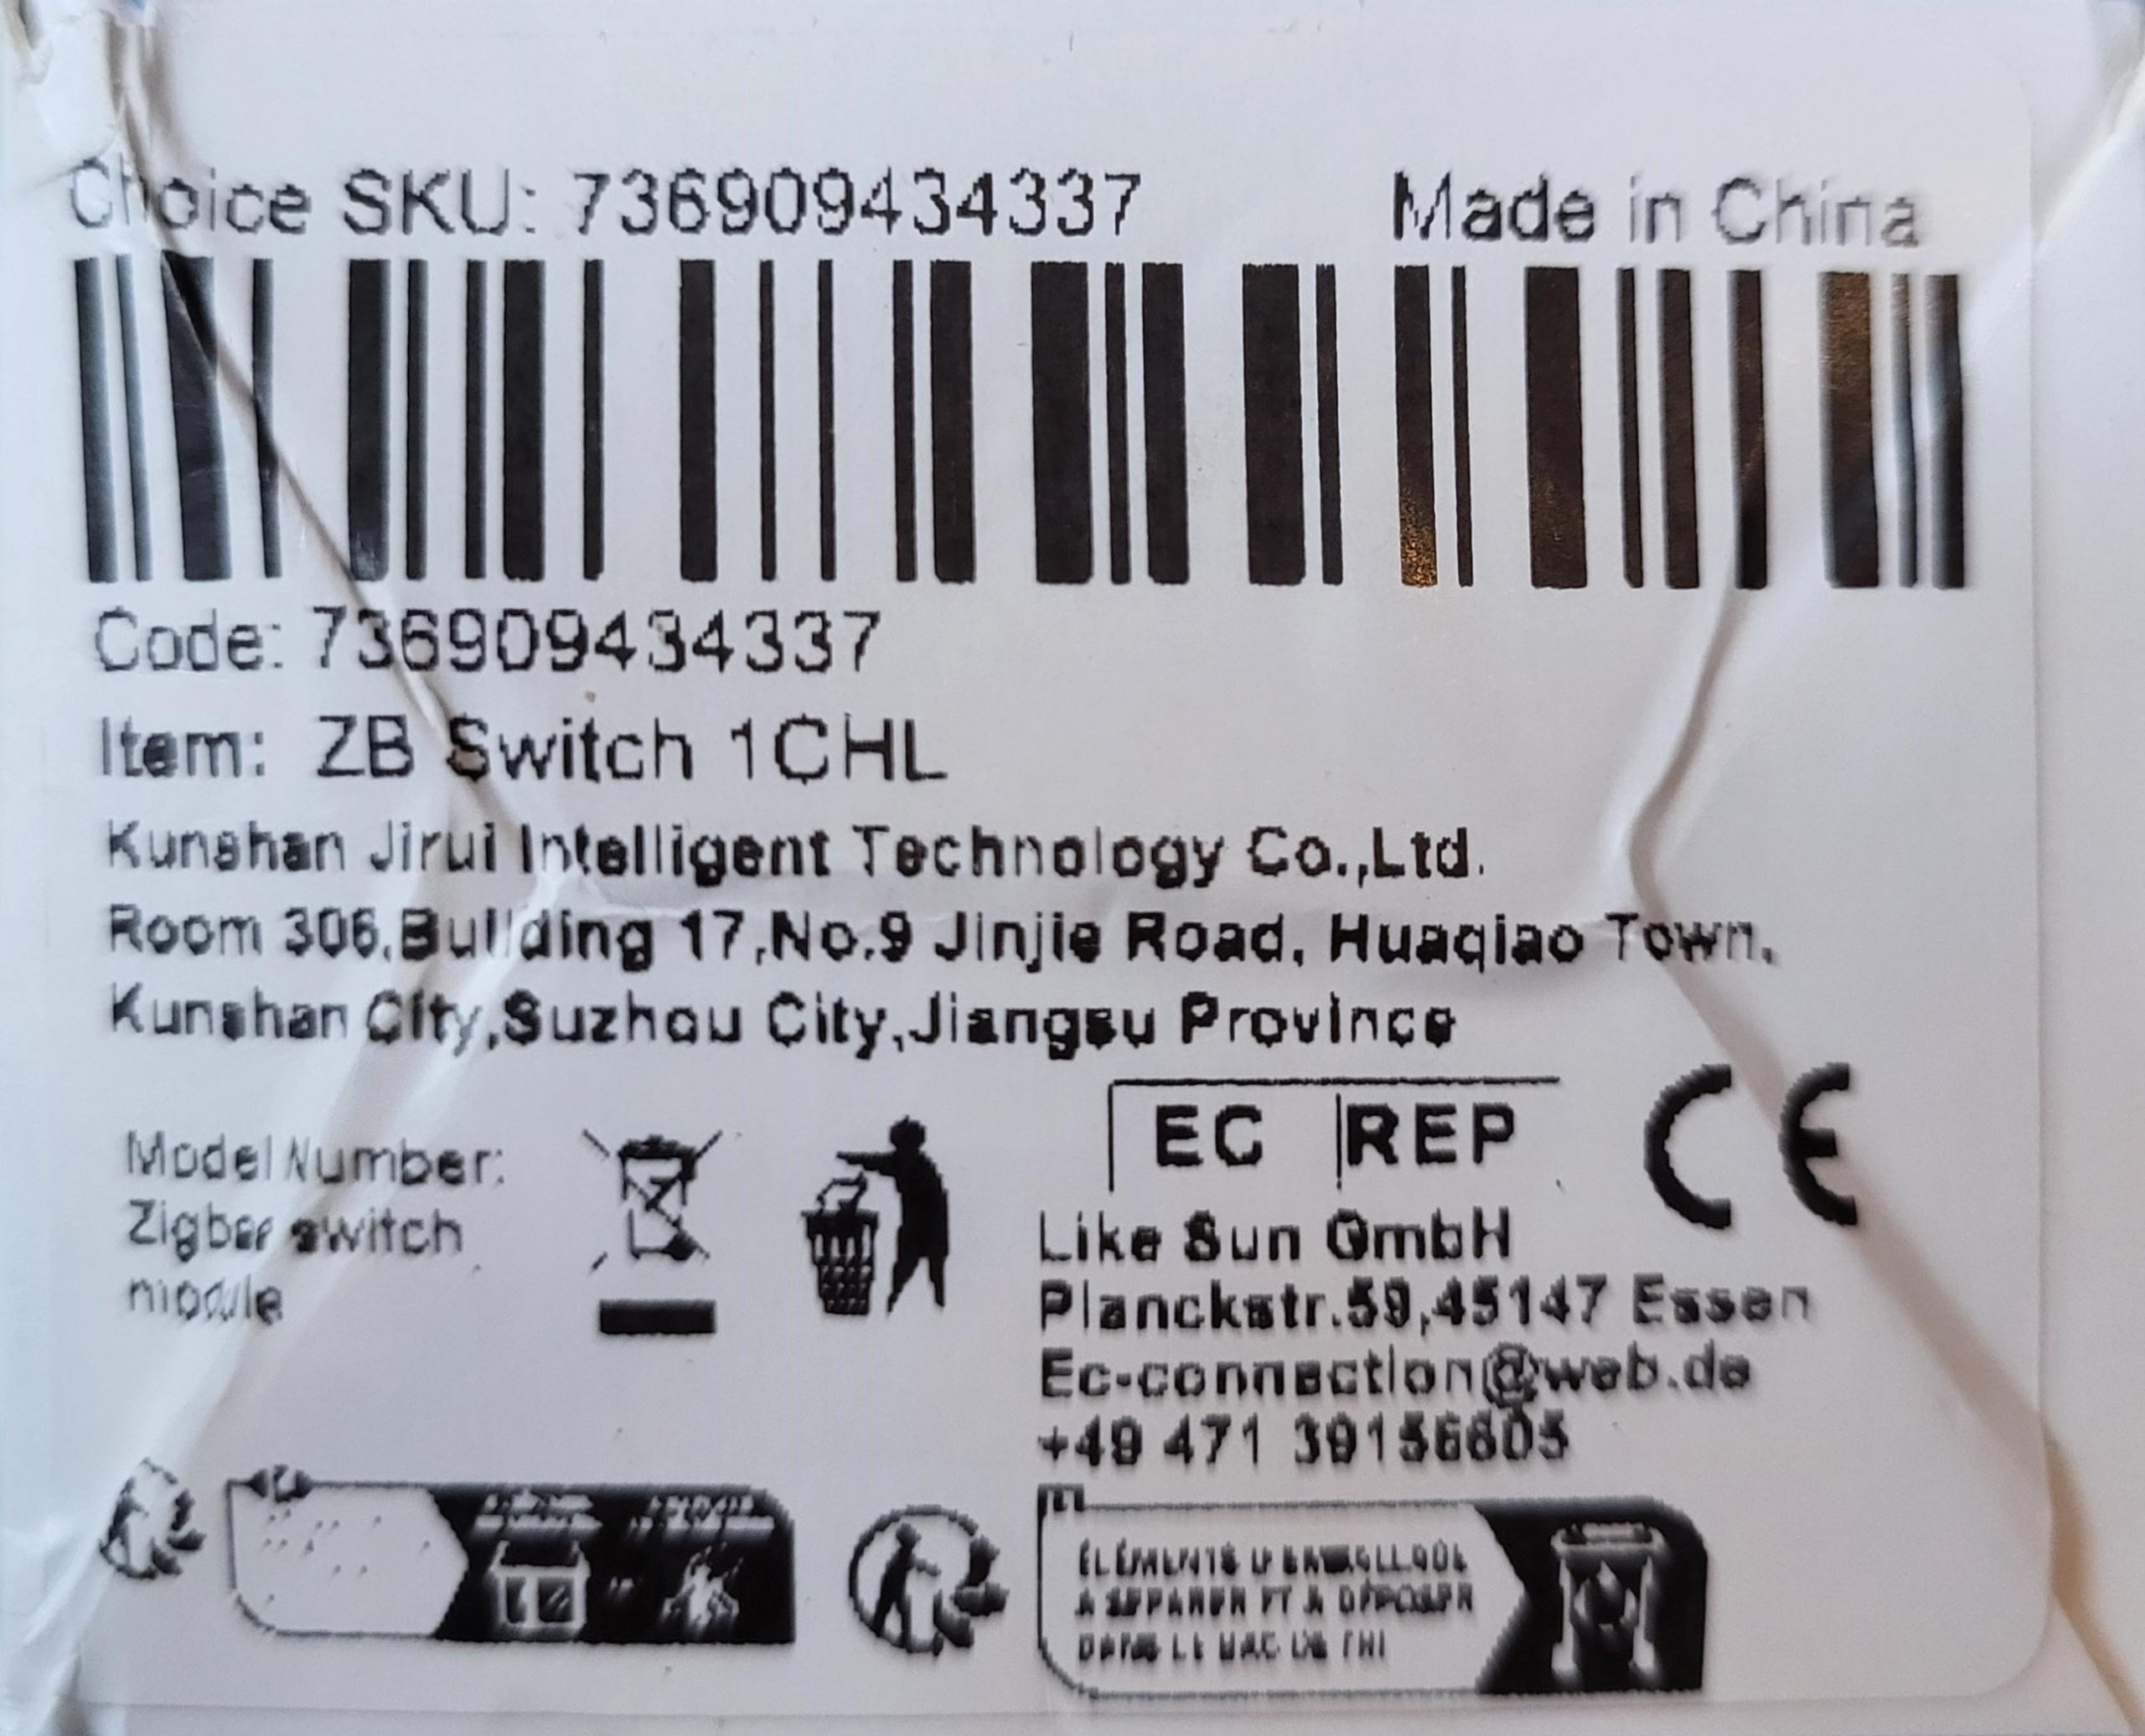
Many references of Zigbee modules circulate, often confused. My copy is marked "ZB Switch 1CHL", without more precise code. Important: it is a version specifically designed for neutral-free switches, which means that it works on circuits where no neutral wire arrives at the bypass box.

Zigbee ZB Switch 1CHL Module Overview
The ZB Switch 1CHL module, compact and ready to use.

This model comes with a capacitor, rare but useful element. Place it in parallel with the lamp if you observe flicker or a residual glow once the lamp is turned off. This stabilizes the residual current typical of modern LEDs, avoiding malfunctions.

Capacitor supplied with the Zigbee module to avoid flickering
The capacitor included, to be connected if necessary to sensitive LEDs.

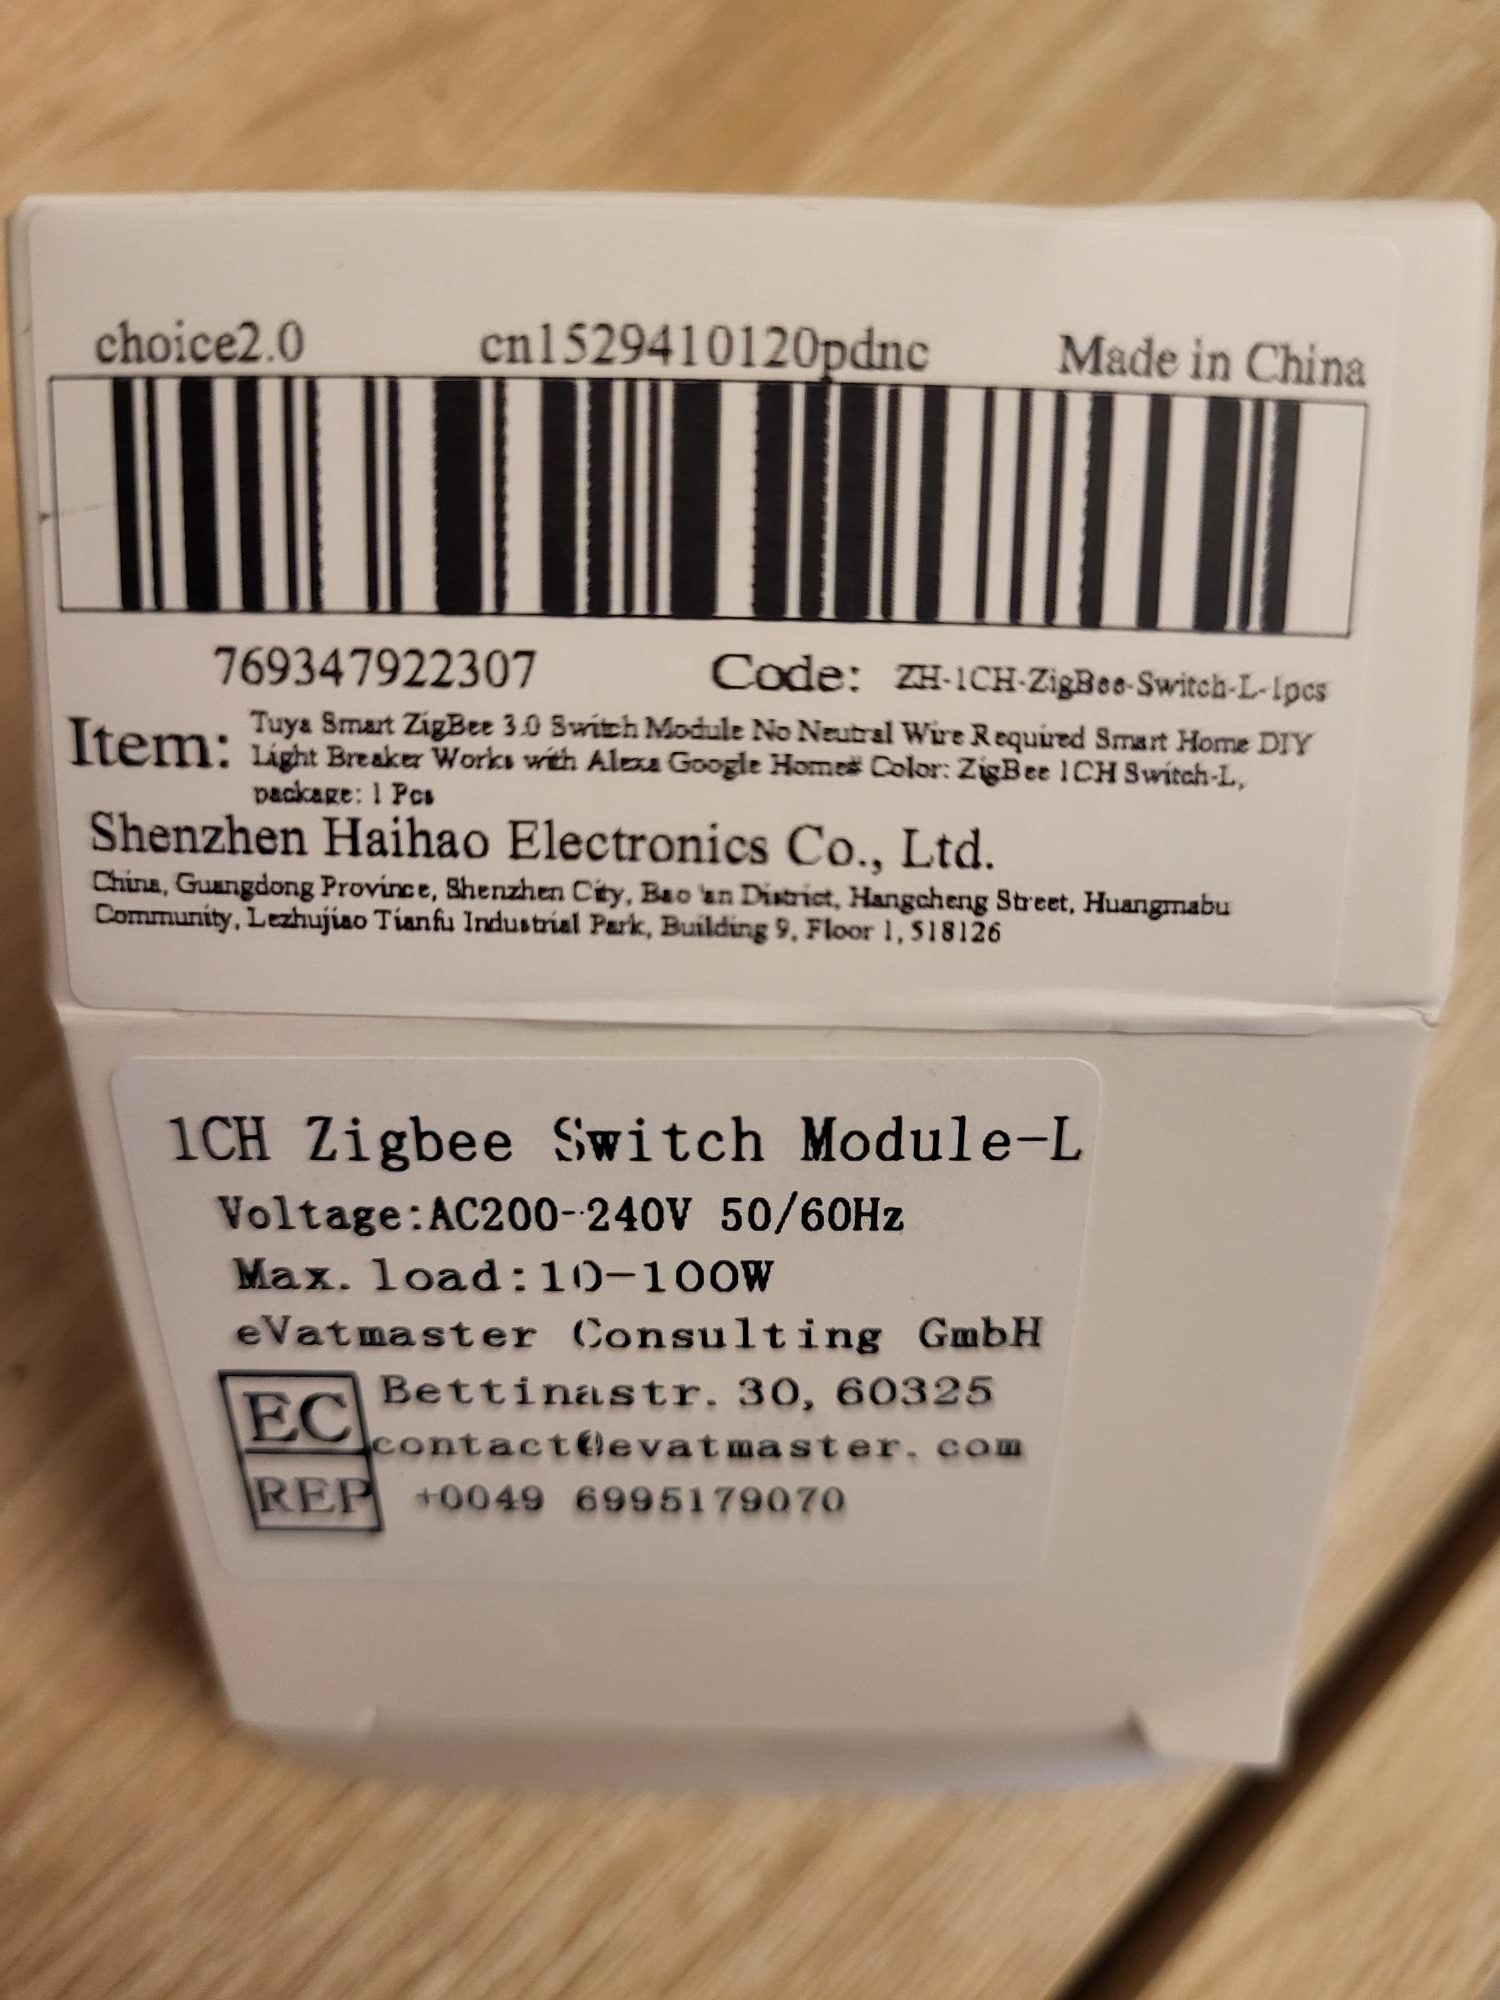
Update: change of packaging, same module

For an additional order of the same model, I received a different box. Module, package leaflet and capacitor remain the same at 100%. Only the outer packaging changes, probably a new supplier or a cosmetic update from the manufacturer.

New box of Zigbee ZB Switch 1CHL module
New box received, but content unchanged.

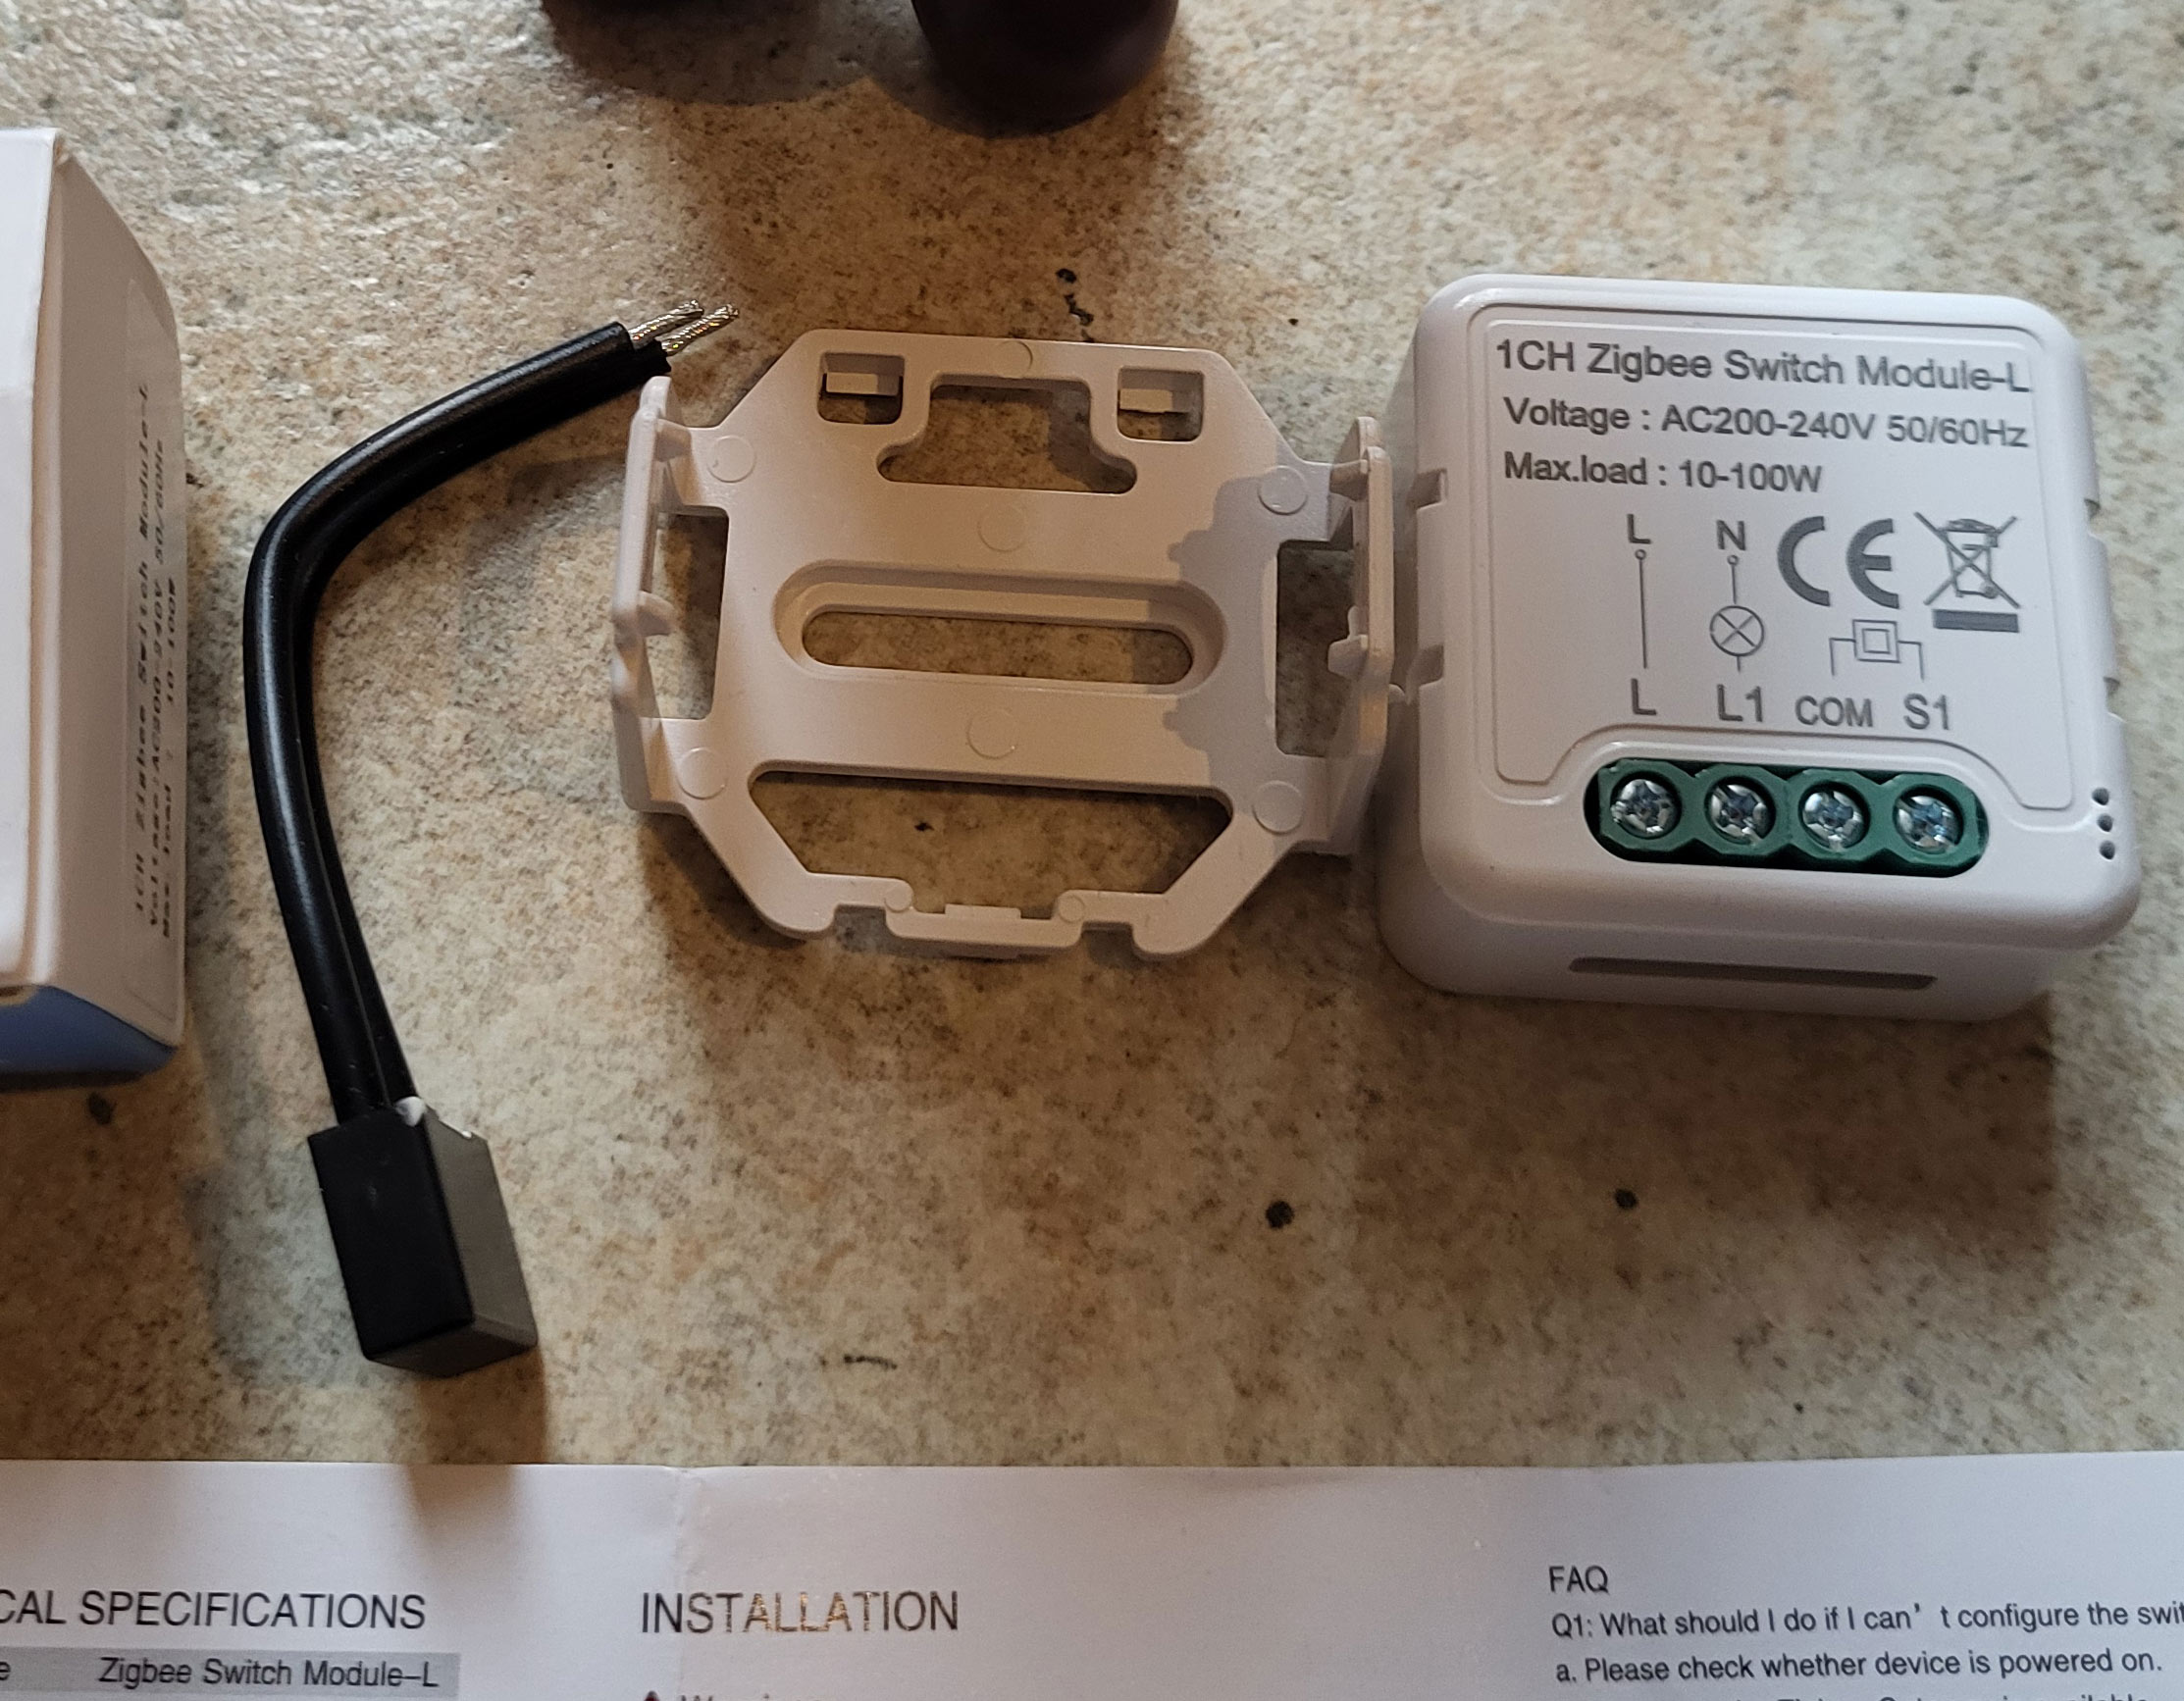
I connect L and L1 simply

The connectors follow a classic pattern for this type of module. Connect phase L (current inlet) to terminal block L, and charge L1 to the lamp. Always turn off the general current before any electrical intervention for your safety.

Connection diagram L and L1 of the Zigbee module
Conventional connections: L for phase, L1 for load.

I launch the Zigbee pairing easily

Enable pairing mode in Zigbee2MQTT via the web interface. Put the power back on: the lamps are initially switched on. Press the reset button of the module for 10 seconds, or perform 5 fast on/off cycles with the wall switch. The blue LED flashes, indicating that the pairing starts.

Automatic module detection in Zigbee2MQTT
Perfect detection in Zigbee2MQTT, faithful image to the module.

The state and brightness commands work immediately. Give the equipment a user-friendly name for easy identification in your network.

Functional controls in Zigbee2MQTT: state and brightness
Operational state (on/off) and brightness (intensity) commands.

I integrate it into Home Assistant

The equipment automatically appears in Home Assistant via the MQTT integration. It is ready to be used in automations, dashboards or scripts. The integration is smooth, with no additional configuration required.

Zigbee module integrated in Home Assistant
Present in Home Assistant, perfectly functional.

Archives: the complete instructions for use

Here are the two-sided scans of the package leaflet provided, for future reference when reinstalling or troubleshooting.

ZB Switch 1CHL Zigbee Duplex Operating Instructions
Two-sided notice: detailed instructions.
ZB Switch 1CHL Zigbee module reverse manual
Reverse notice: connection diagrams.


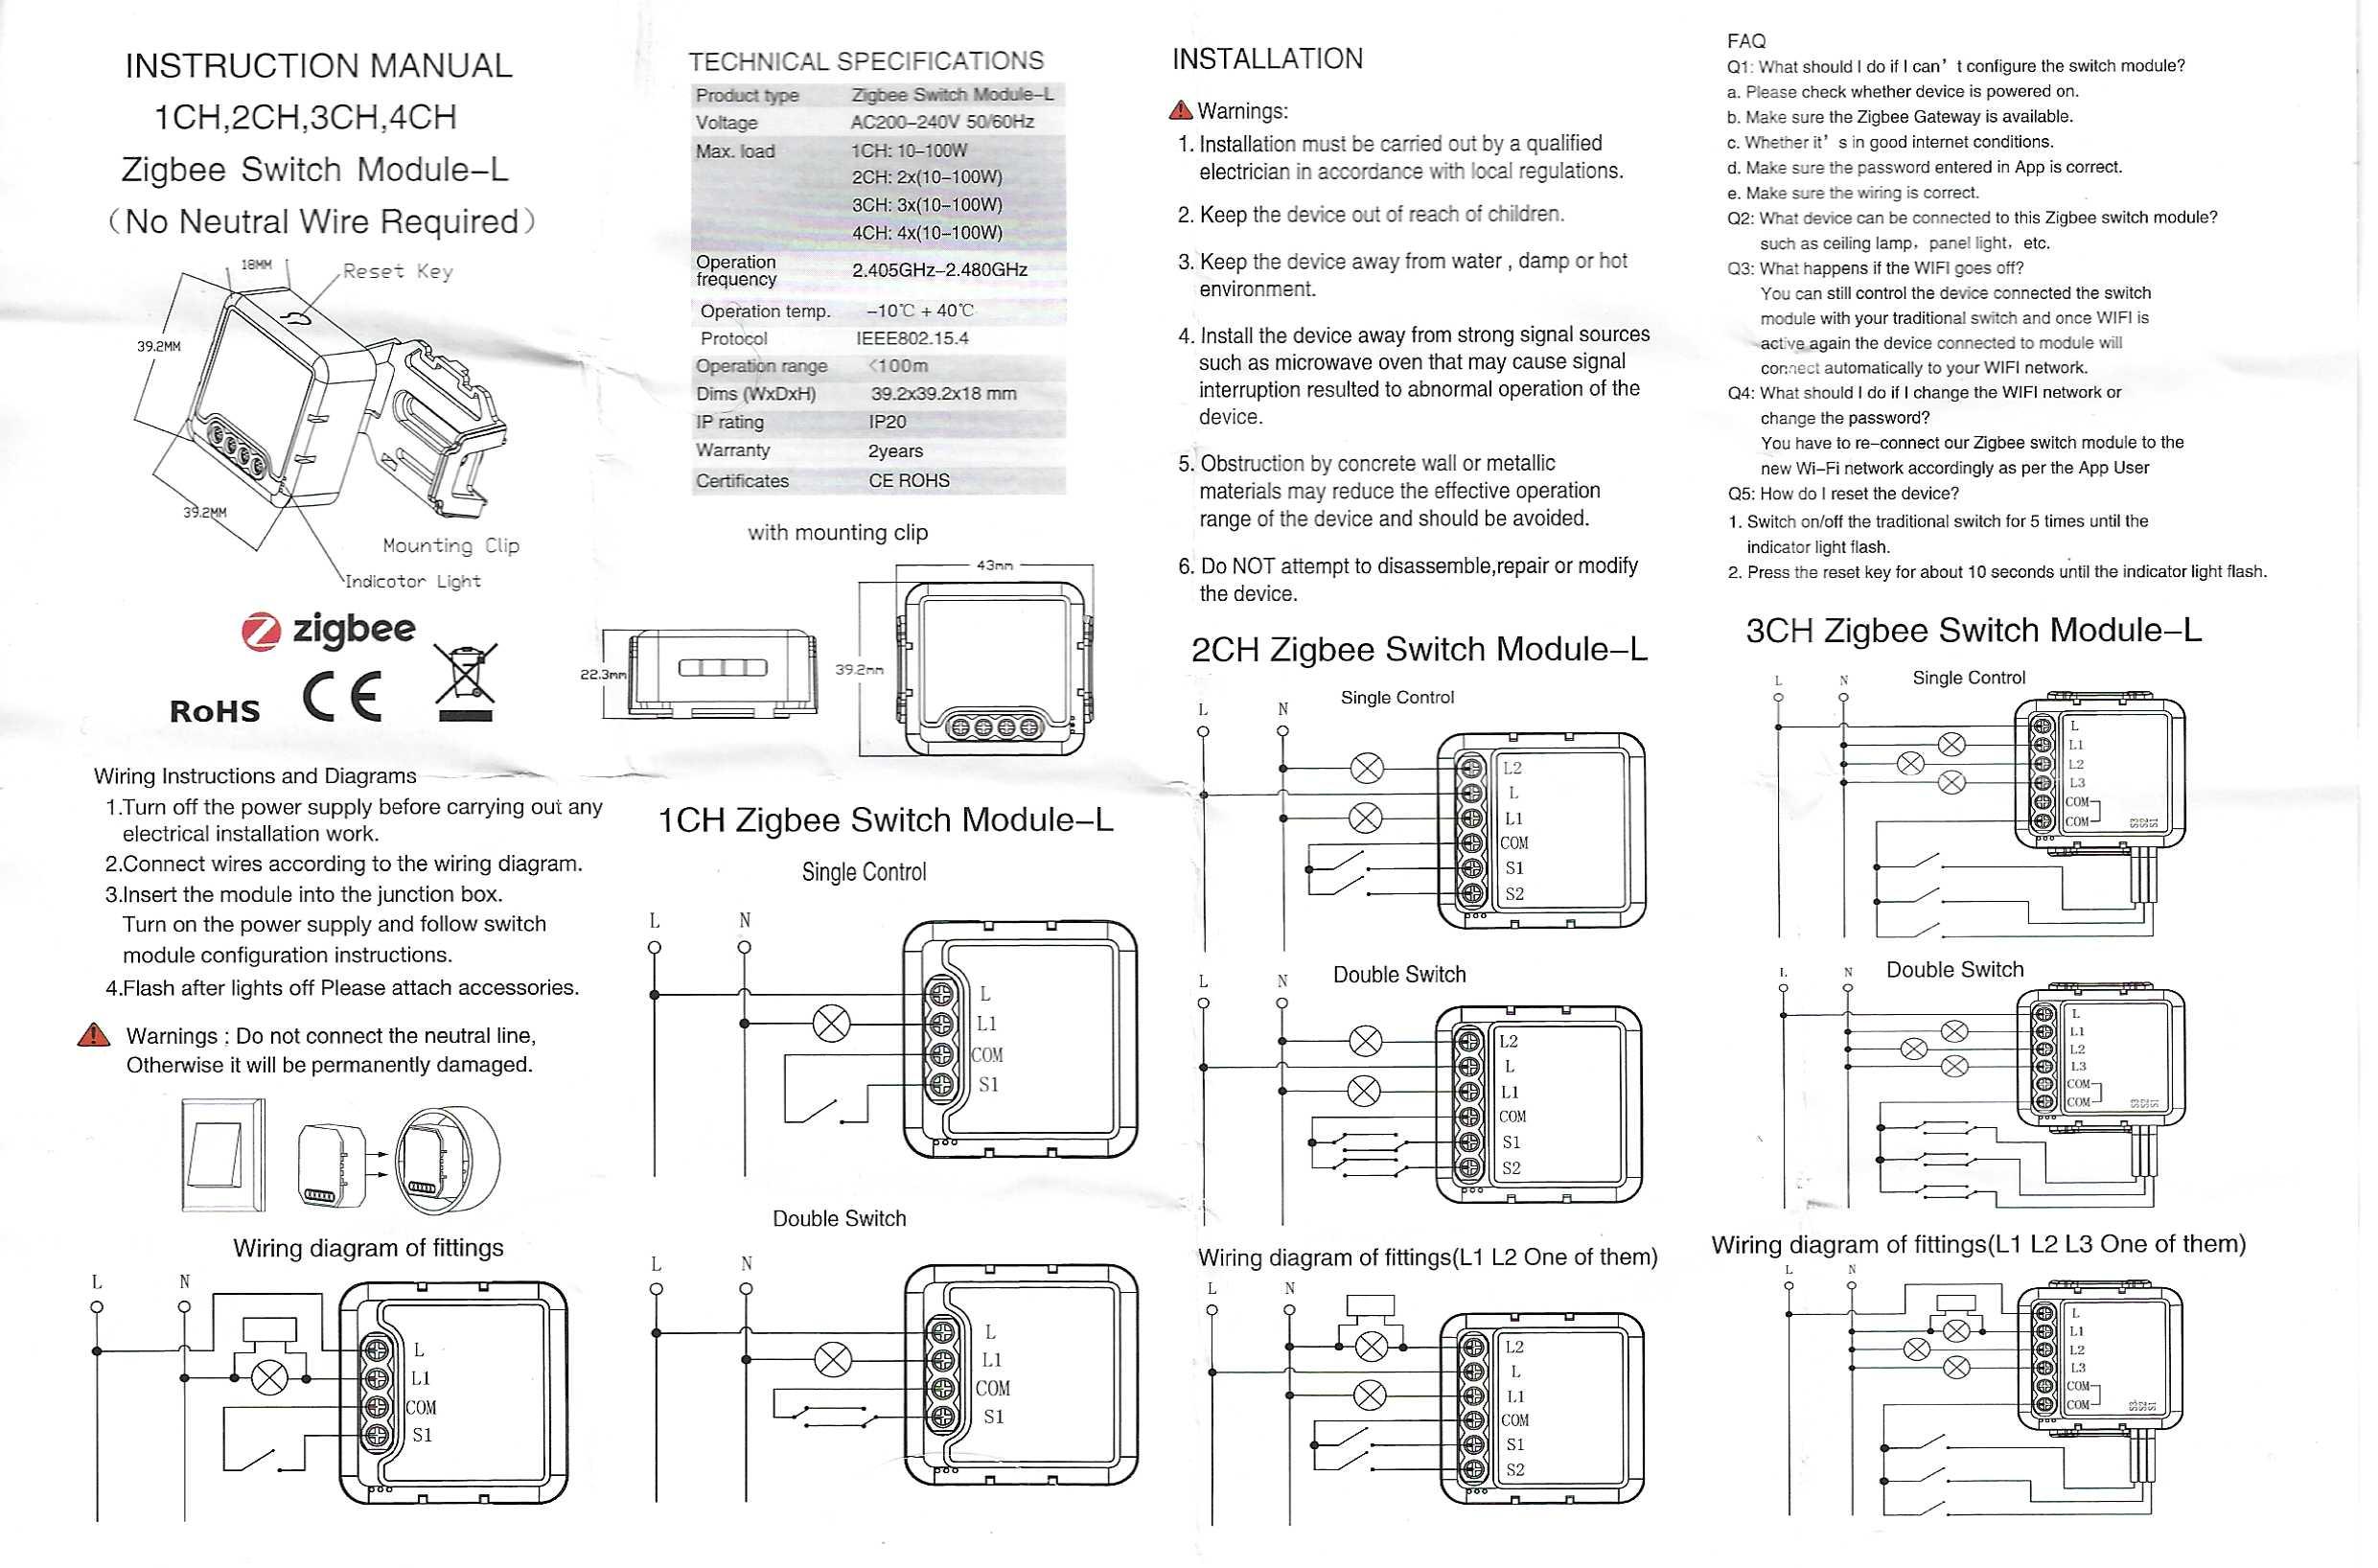
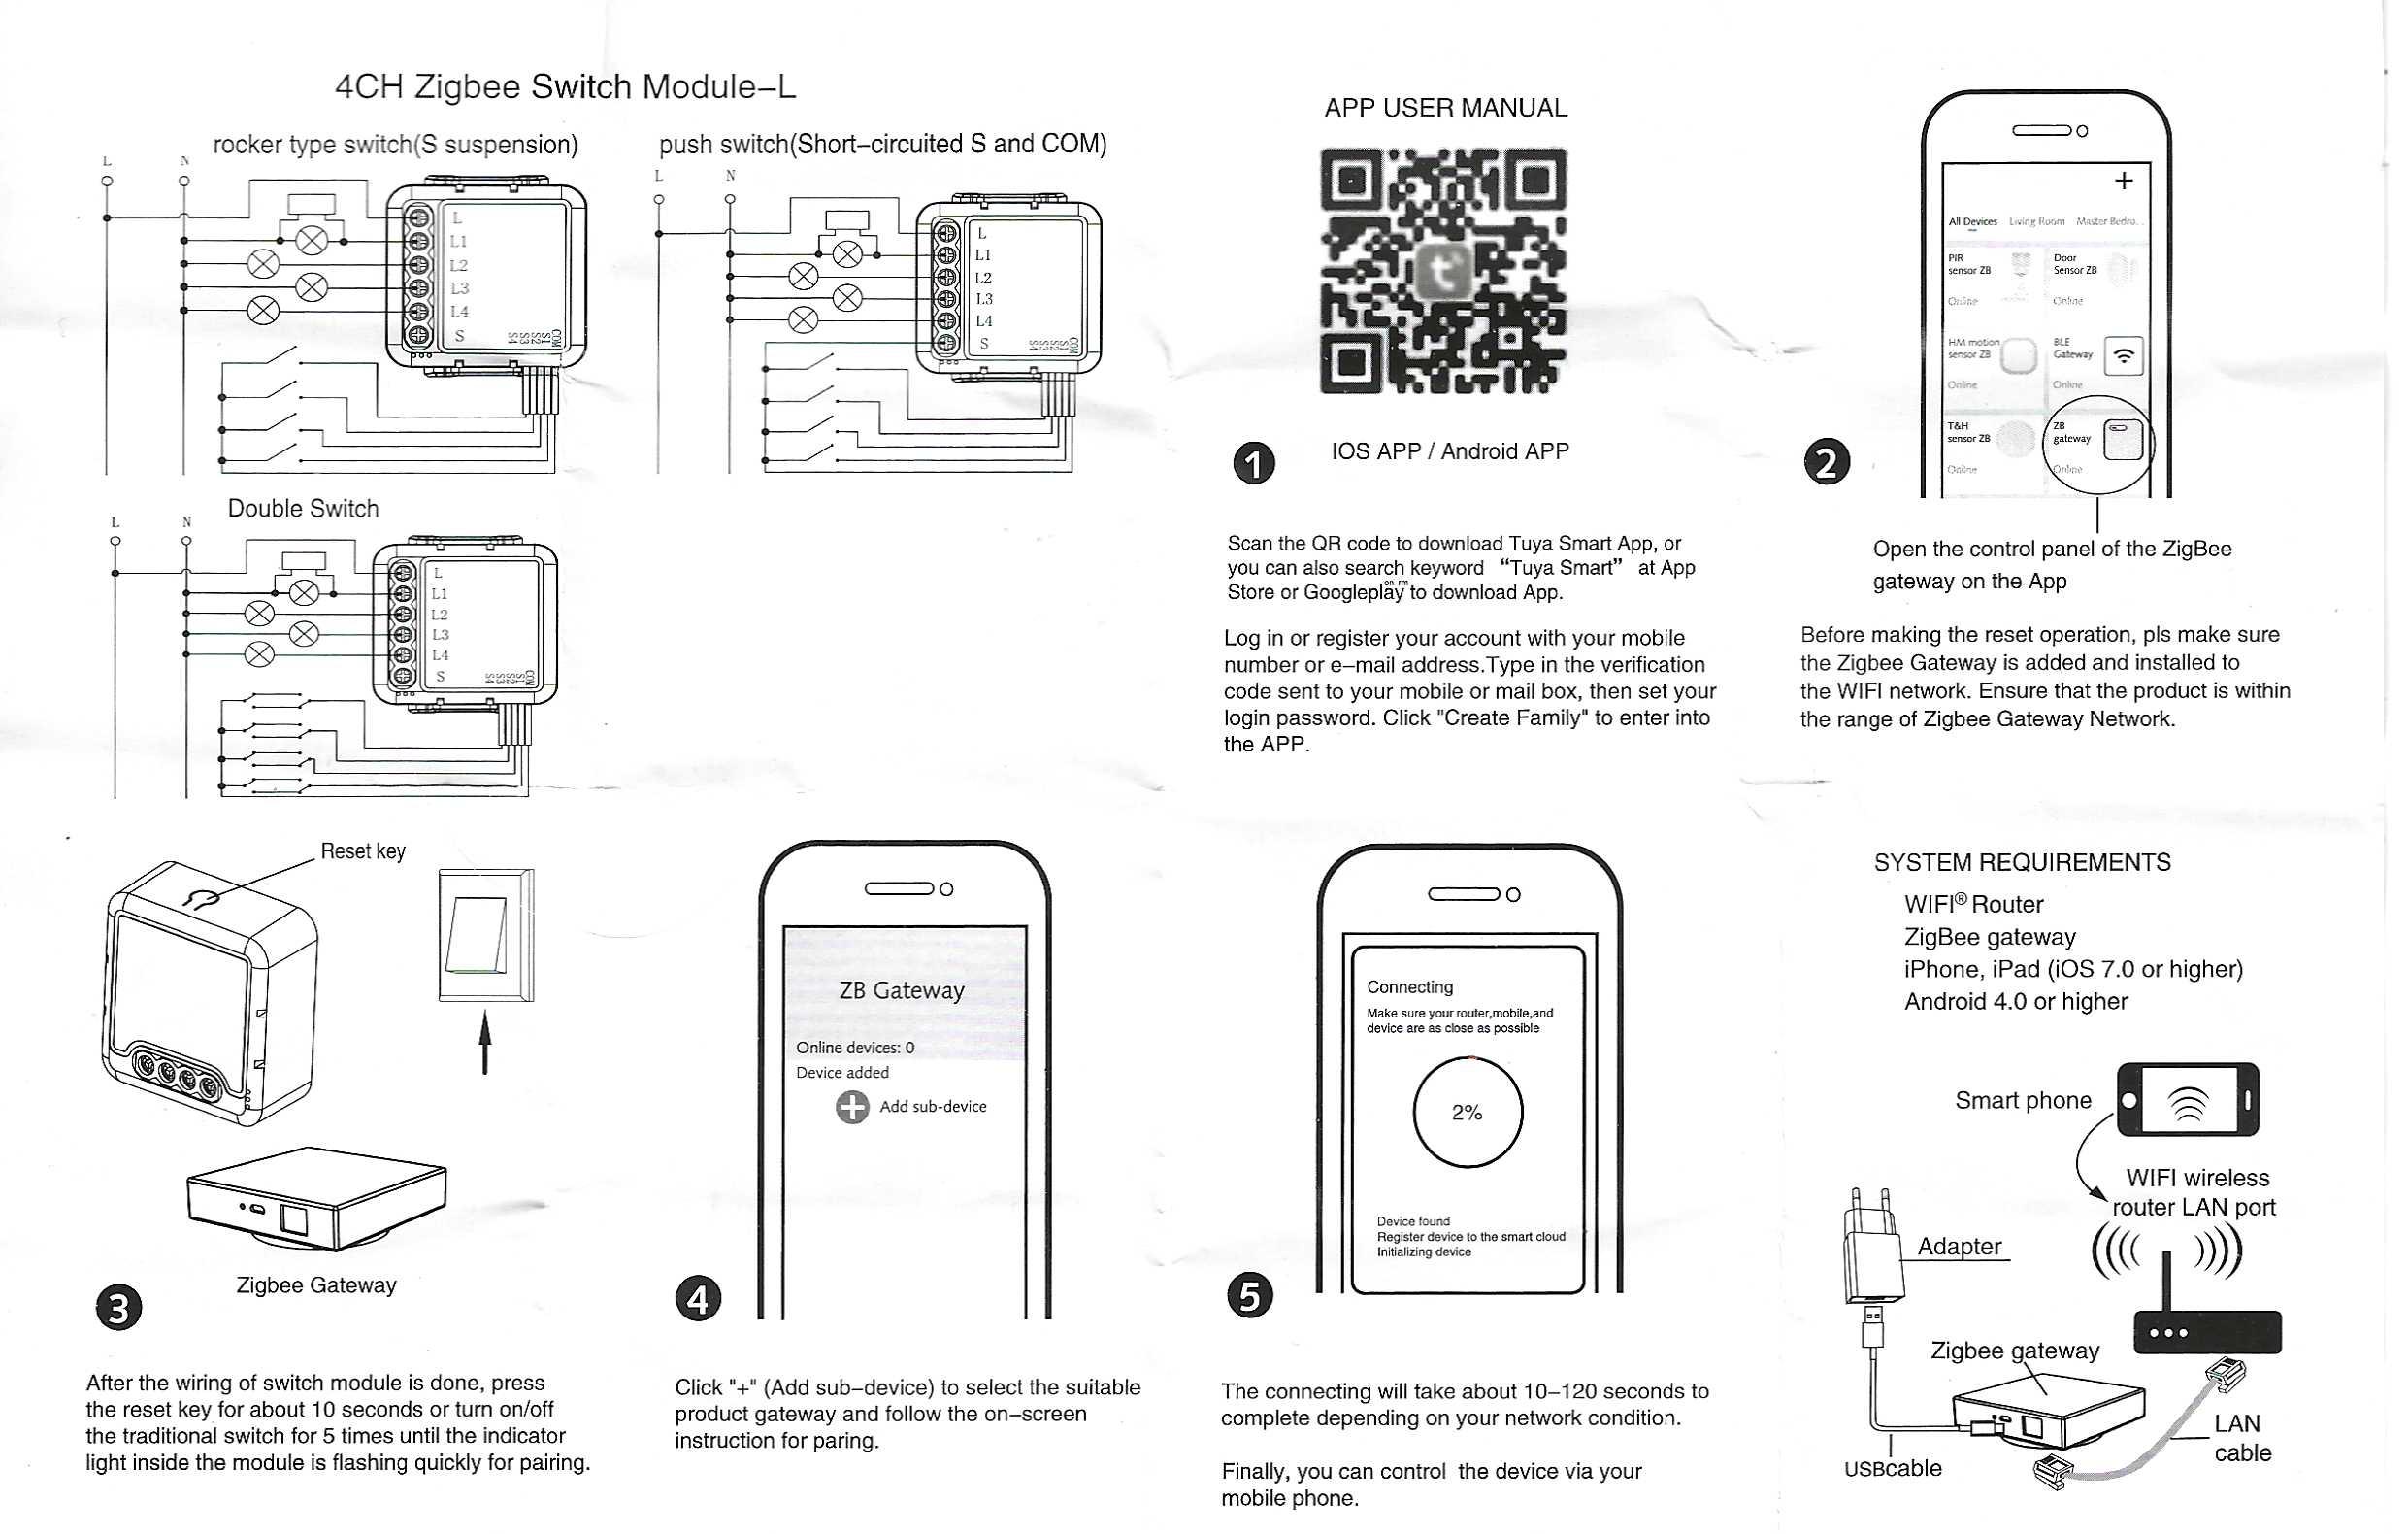
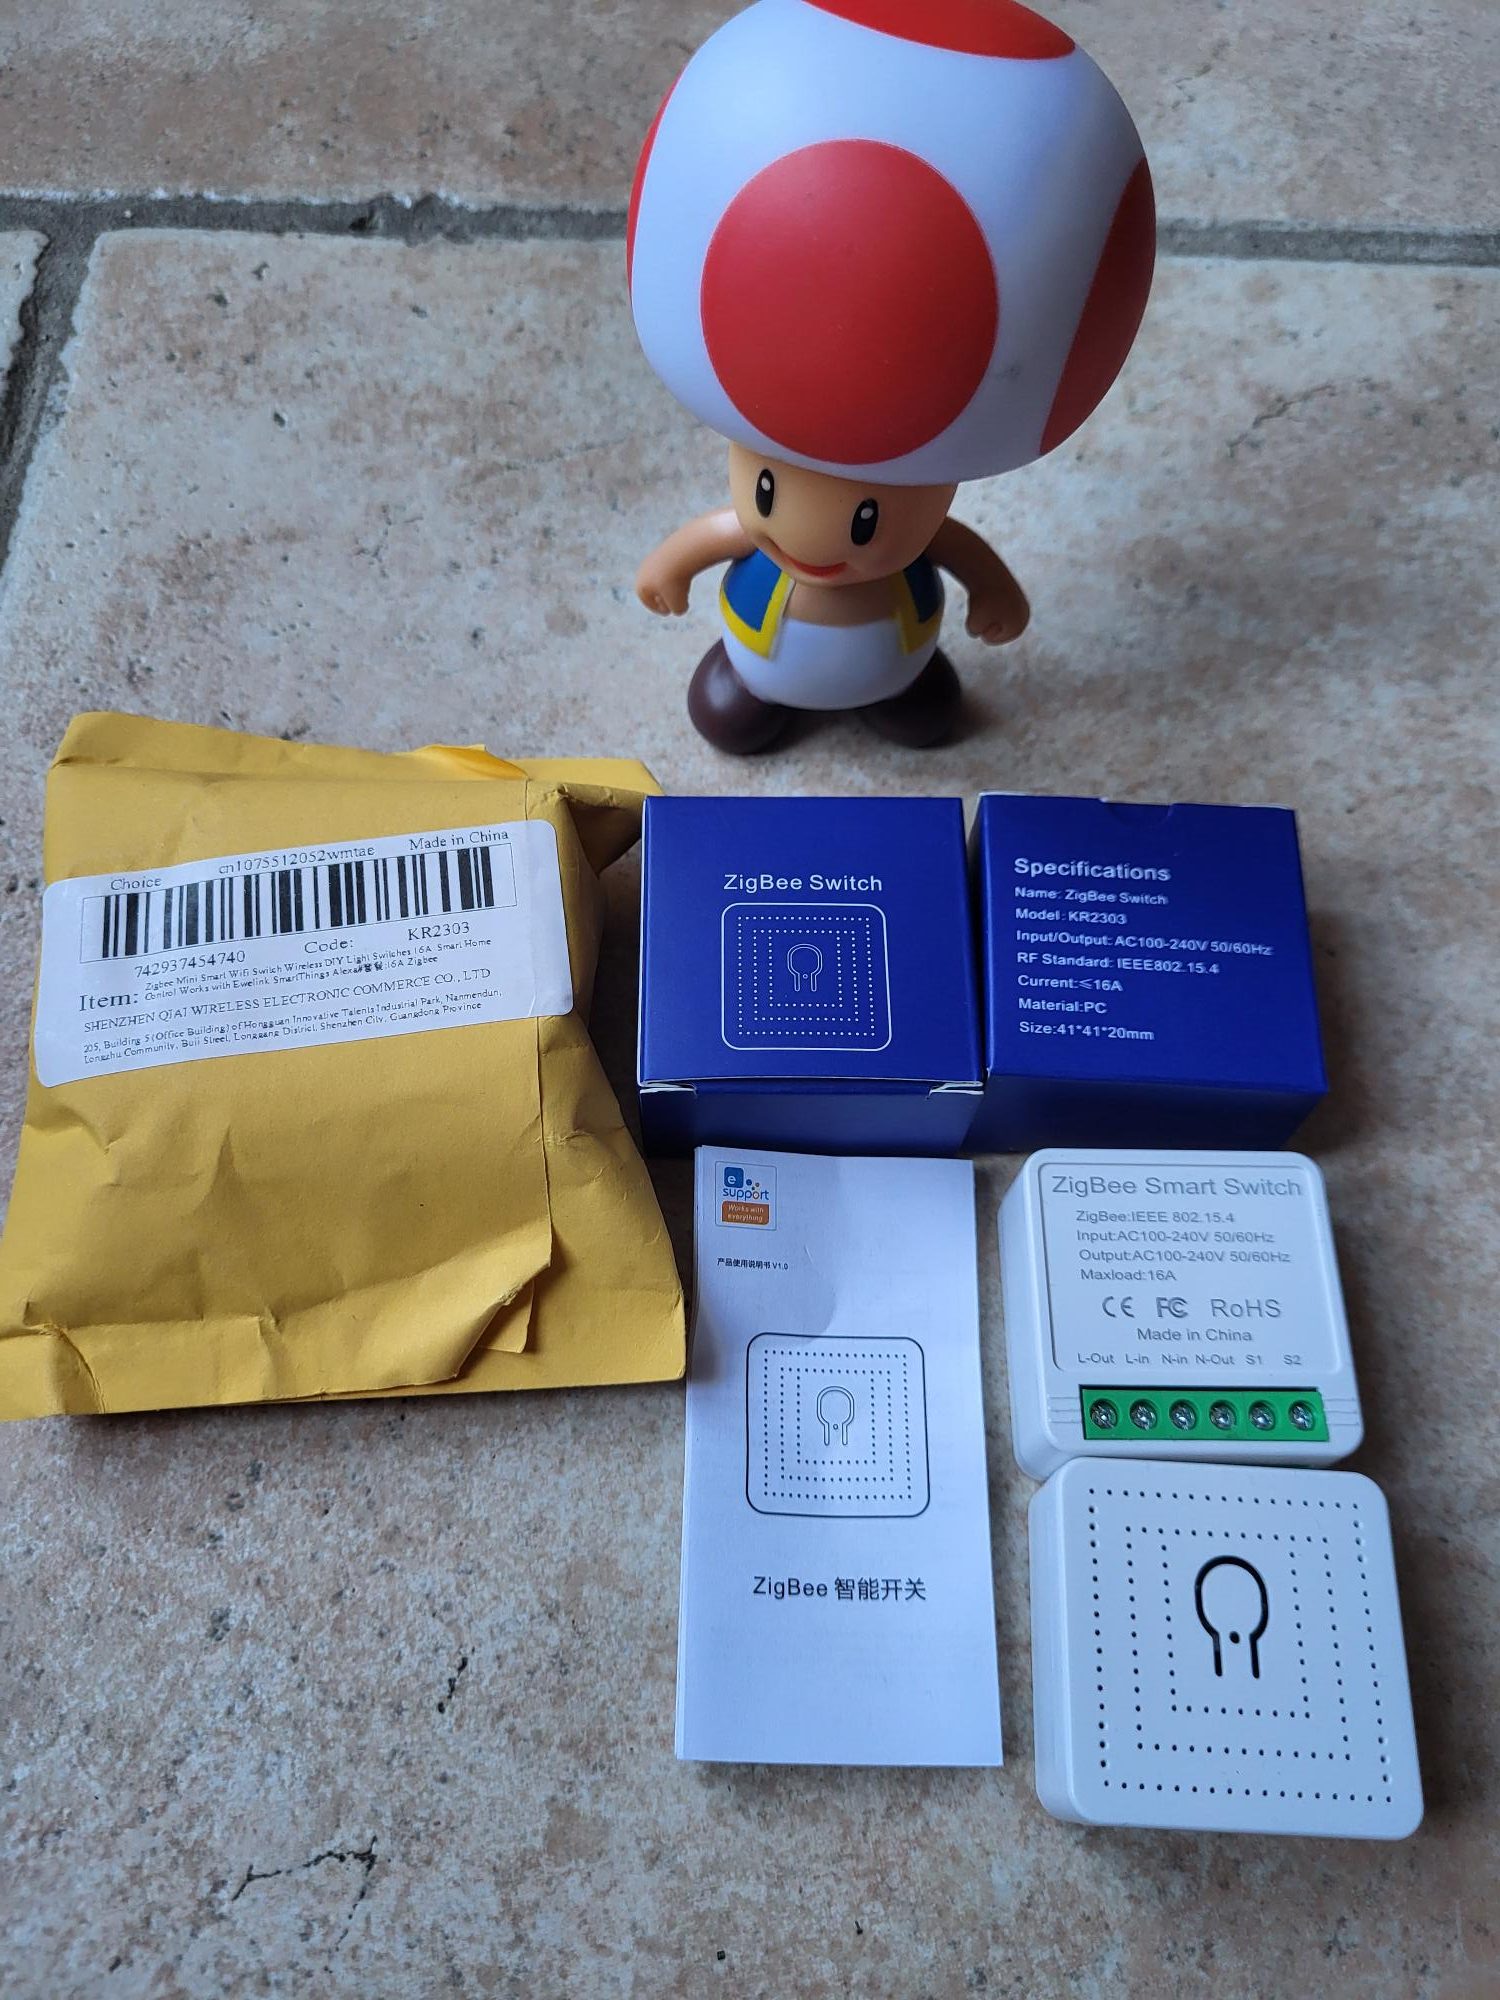
I'm testing the Zigbee switch KR2303

Installation KR2303: Verification and connection

The switching module KR2303 facilitates the integration of Zigbee into a home automation system. This detailed guide explains every step of checking, connecting and pairing for optimal operation with Zigbee2MQTT and Home Assistant. Follow these precise instructions to replace a faulty switch without difficulty.

I check the received model

Many references of Zigbee modules exist on the market, each with different specificities. The model I received clearly bears the reference KR2303 engraved on the case. This identification is crucial to ensure compatibility with available firmwares and tutorials.

This model KR2303 is distinguished by the lack of an integrated energy monitor. Unlike other more advanced versions, it focuses only on on/off switching, making it ideal for simple applications such as controlling lighting or basic electrical appliances without the need for consumption tracking. Read More

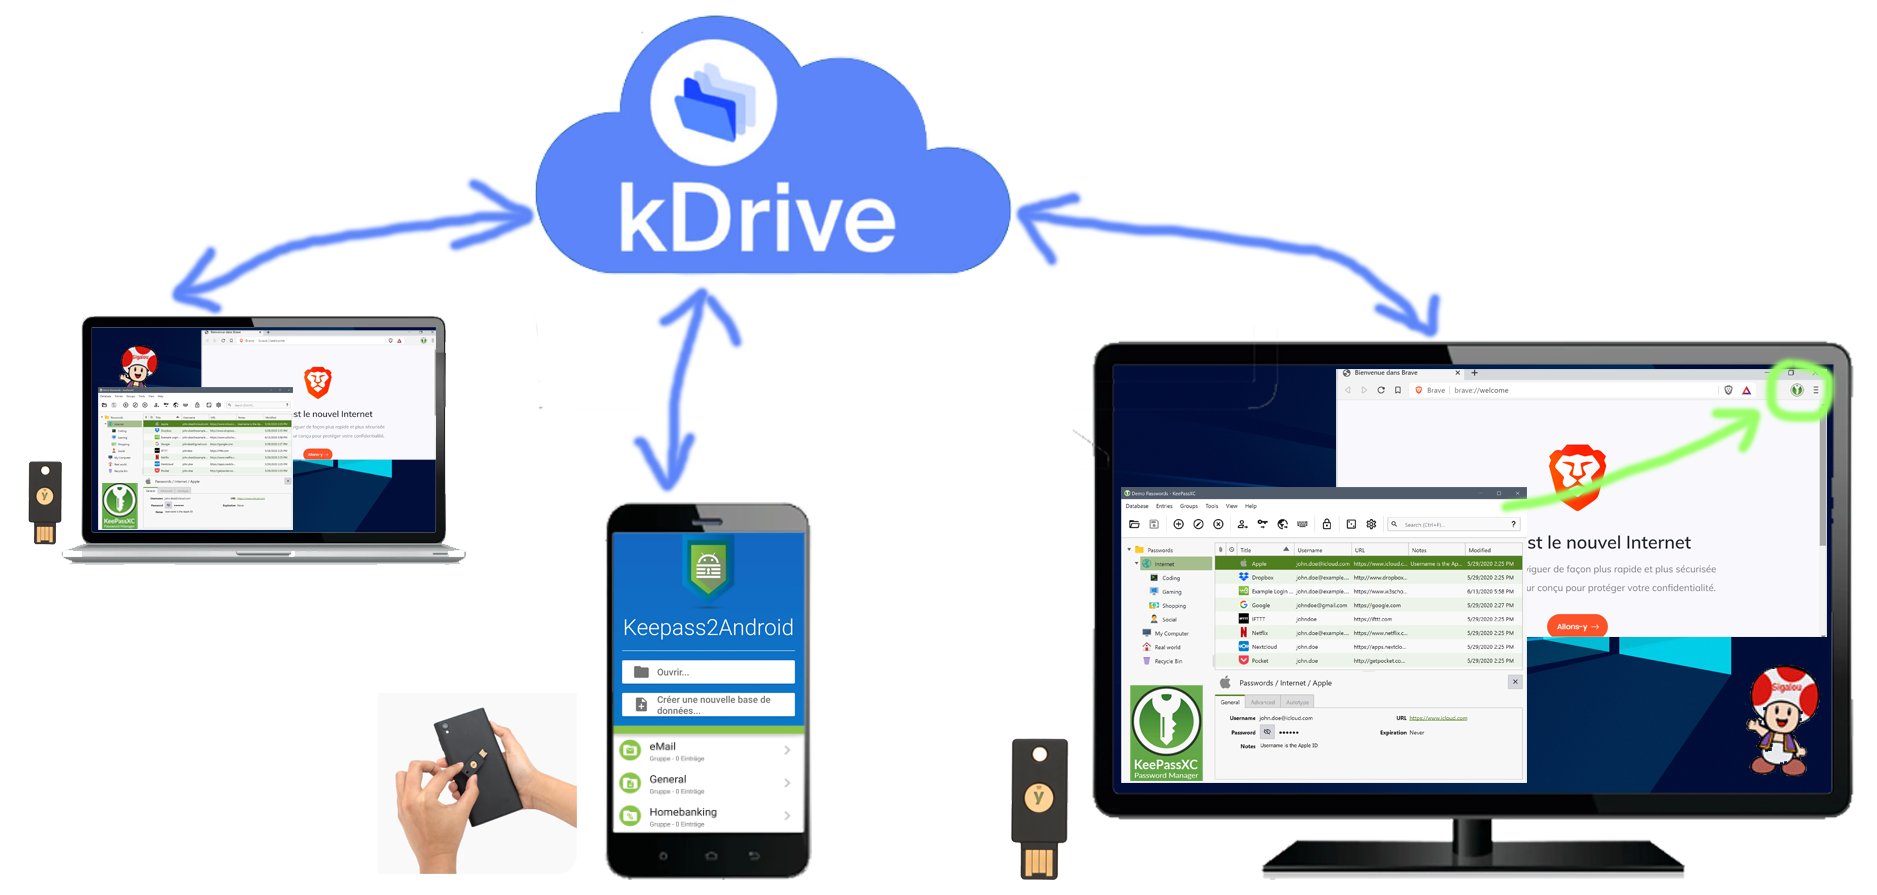
I set up my password manager on all my computers and smartphone

Edit: Attention, a different solution has been written since the writing of this page, but the information here remains valid:

I chose KeepassXC + Keepass2Android with Yubikey authentication

My specifications

  • Choose a free and secure password manager (even better certified ANSSI)
  • Allow to share a password change instantly on all my devices, smartphone included, avoid file replications
  • Don't use proprietary (non-open source) solutions that could host my data somewhere in the world
  • Do not have a super strong opening password of 30 special characters to be typed 5 times a day
  • Secure database opening via a single Yubikey on all devices
  • If the Yubikey is lost or broken, have a backup solution
  • That the user in the browser is no login or password to enter and even better, that the dual authentication based on TOTP (time-based single-use password) is calculated and completed on the same principle.
  • That new login/passwords are added to the database easily and updates detected and corrected in the database.

Read More