

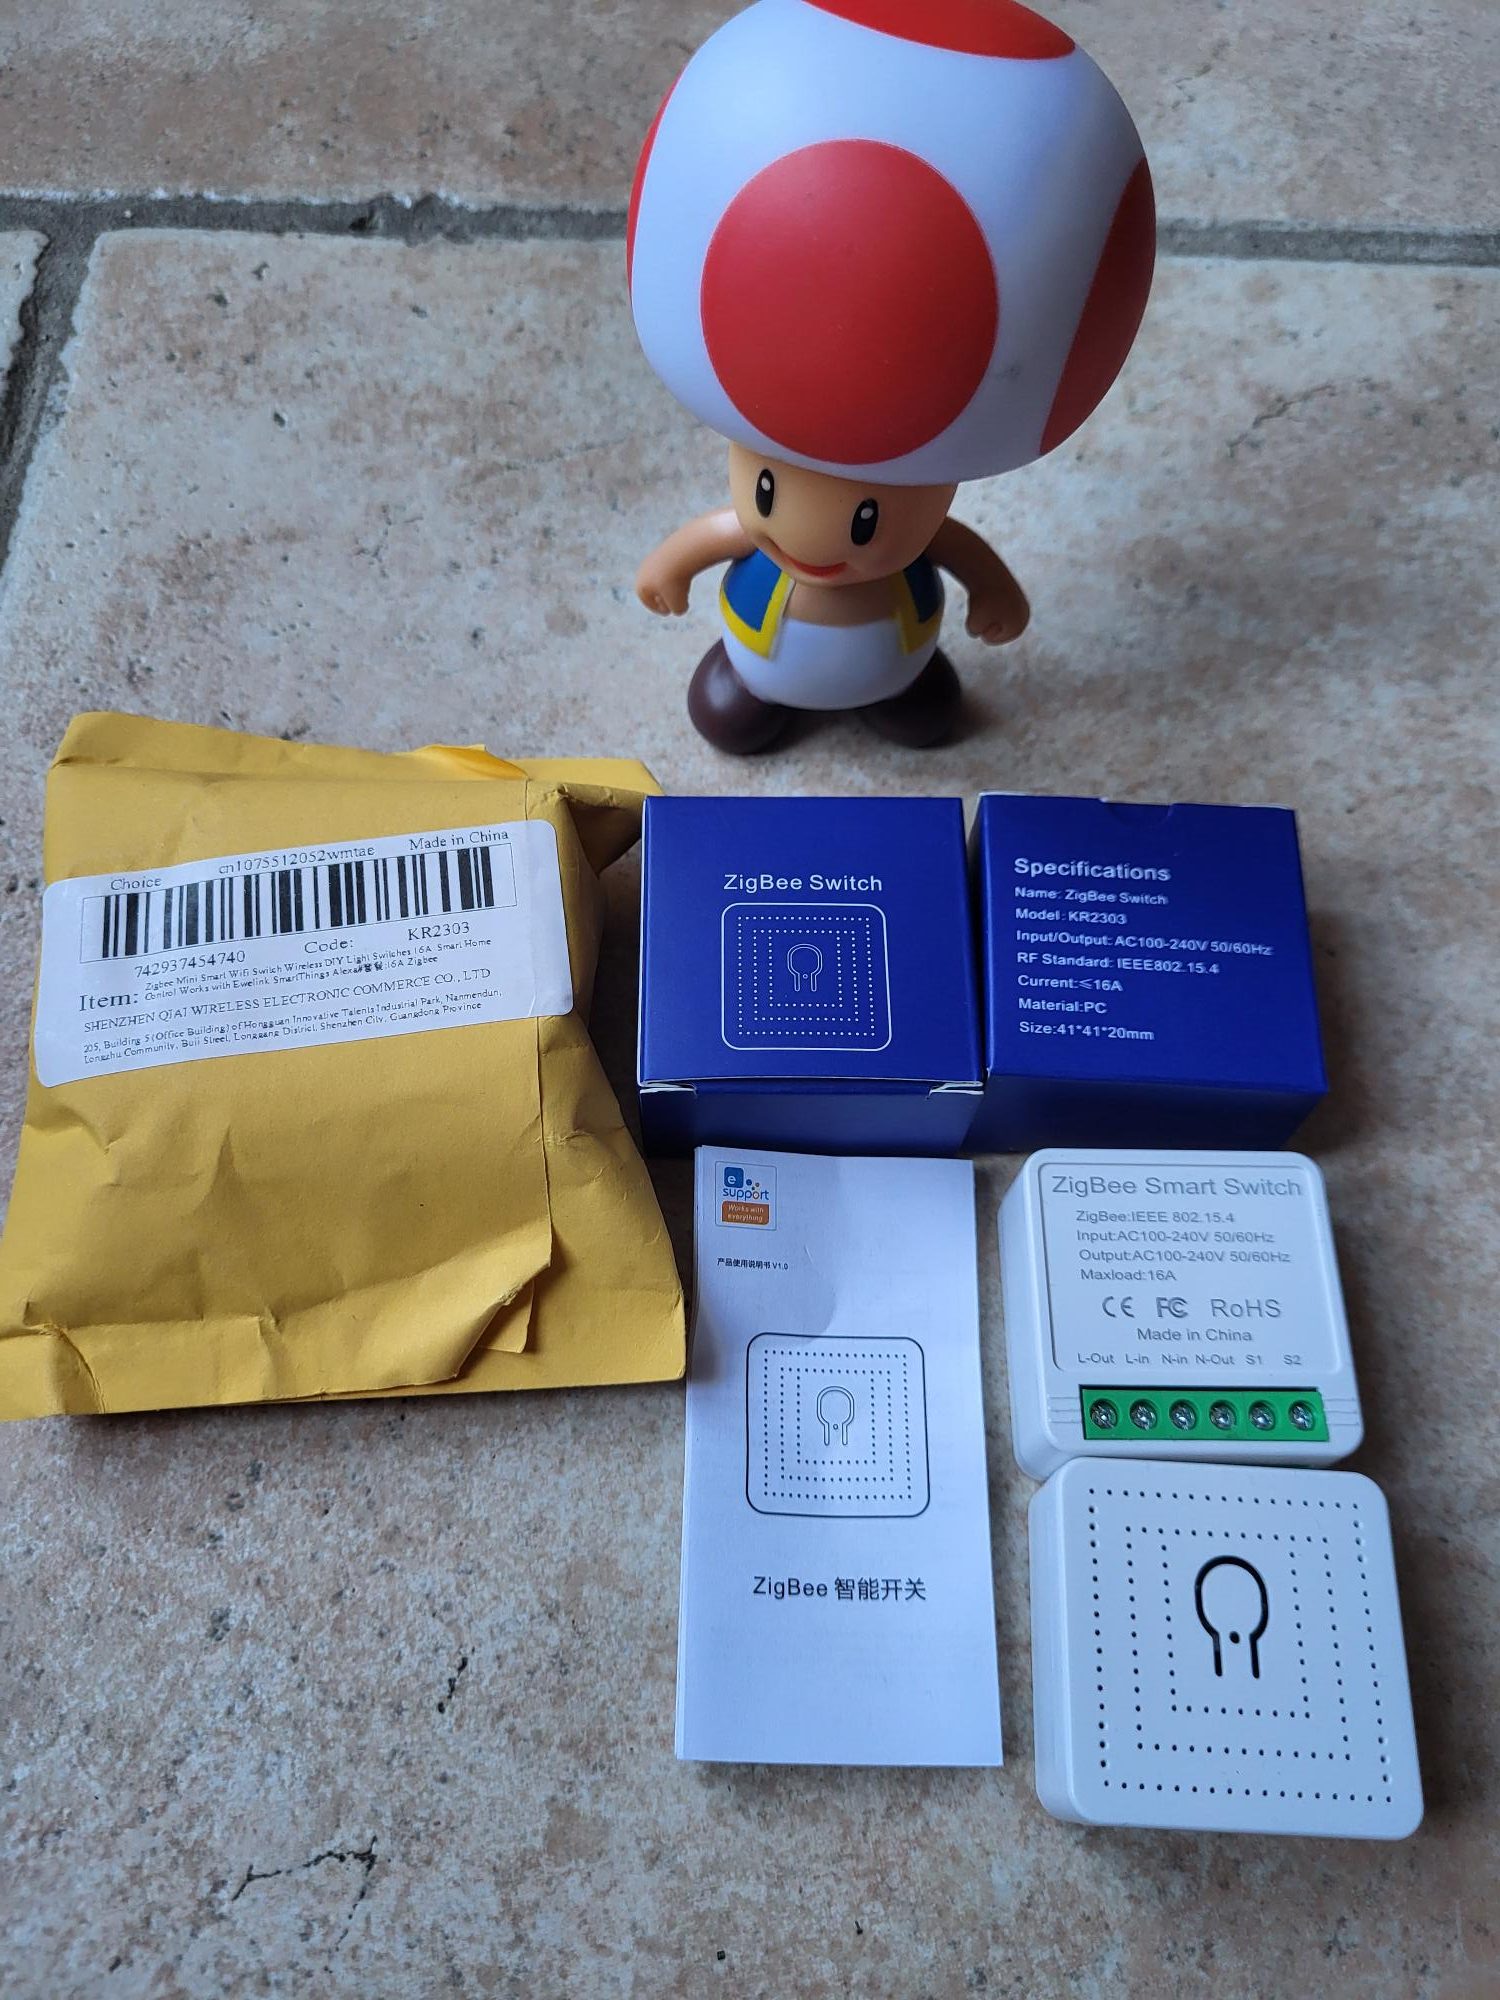
Installation KR2303: Verification and connection
The switching module KR2303 facilitates the integration of Zigbee into a home automation system. This detailed guide explains every step of checking, connecting and pairing for optimal operation with Zigbee2MQTT and Home Assistant. Follow these precise instructions to replace a faulty switch without difficulty.
I check the received model
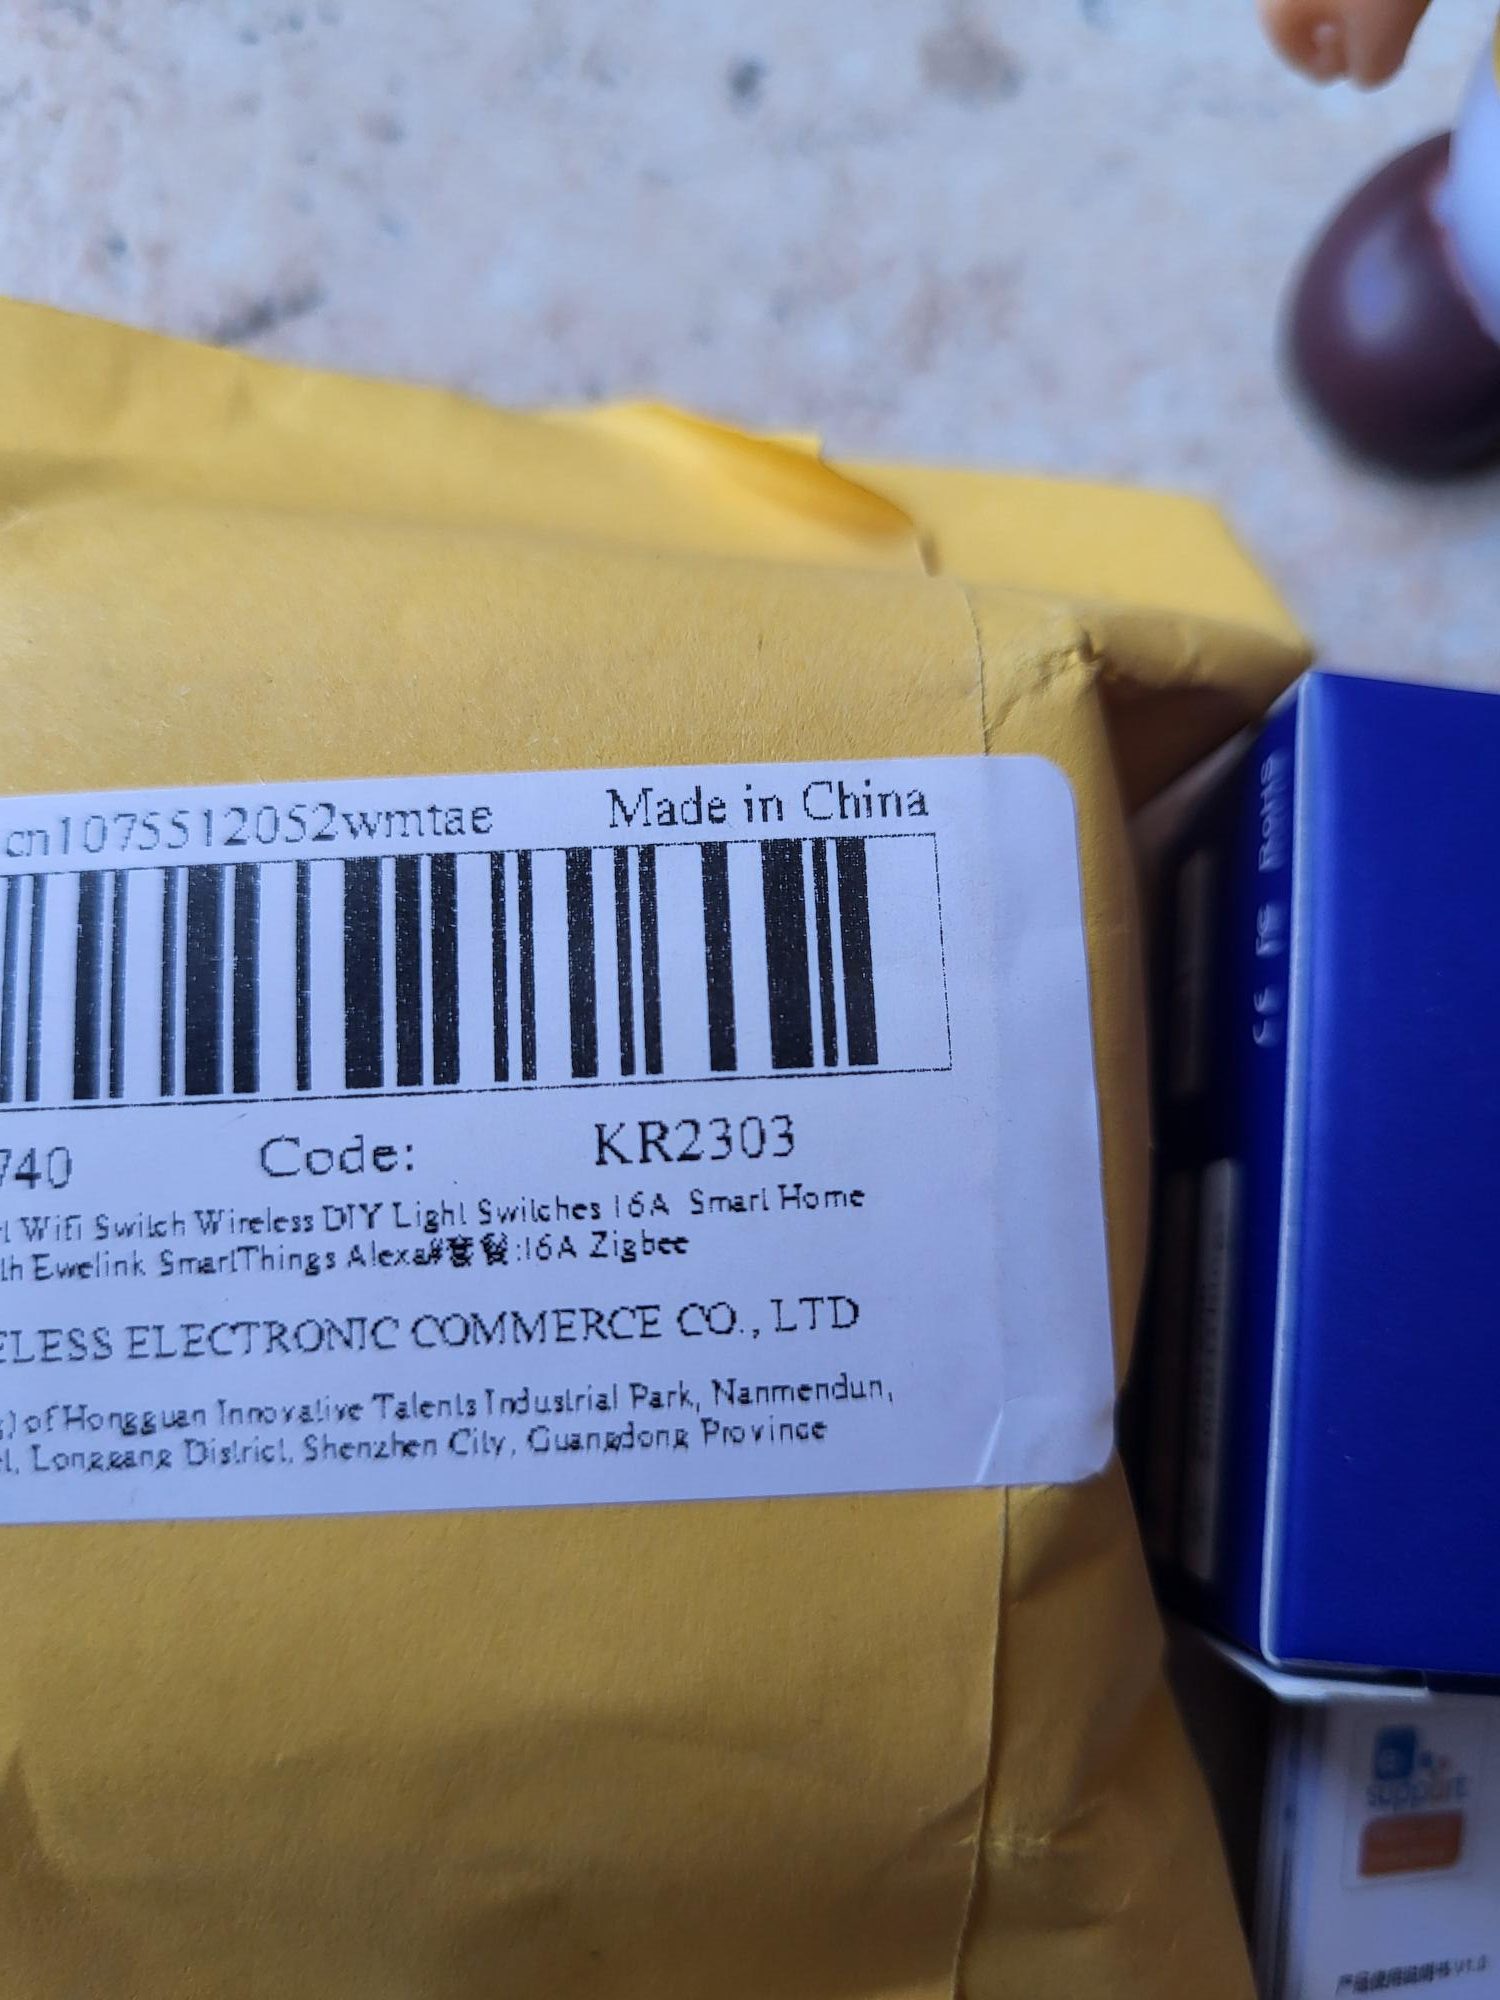
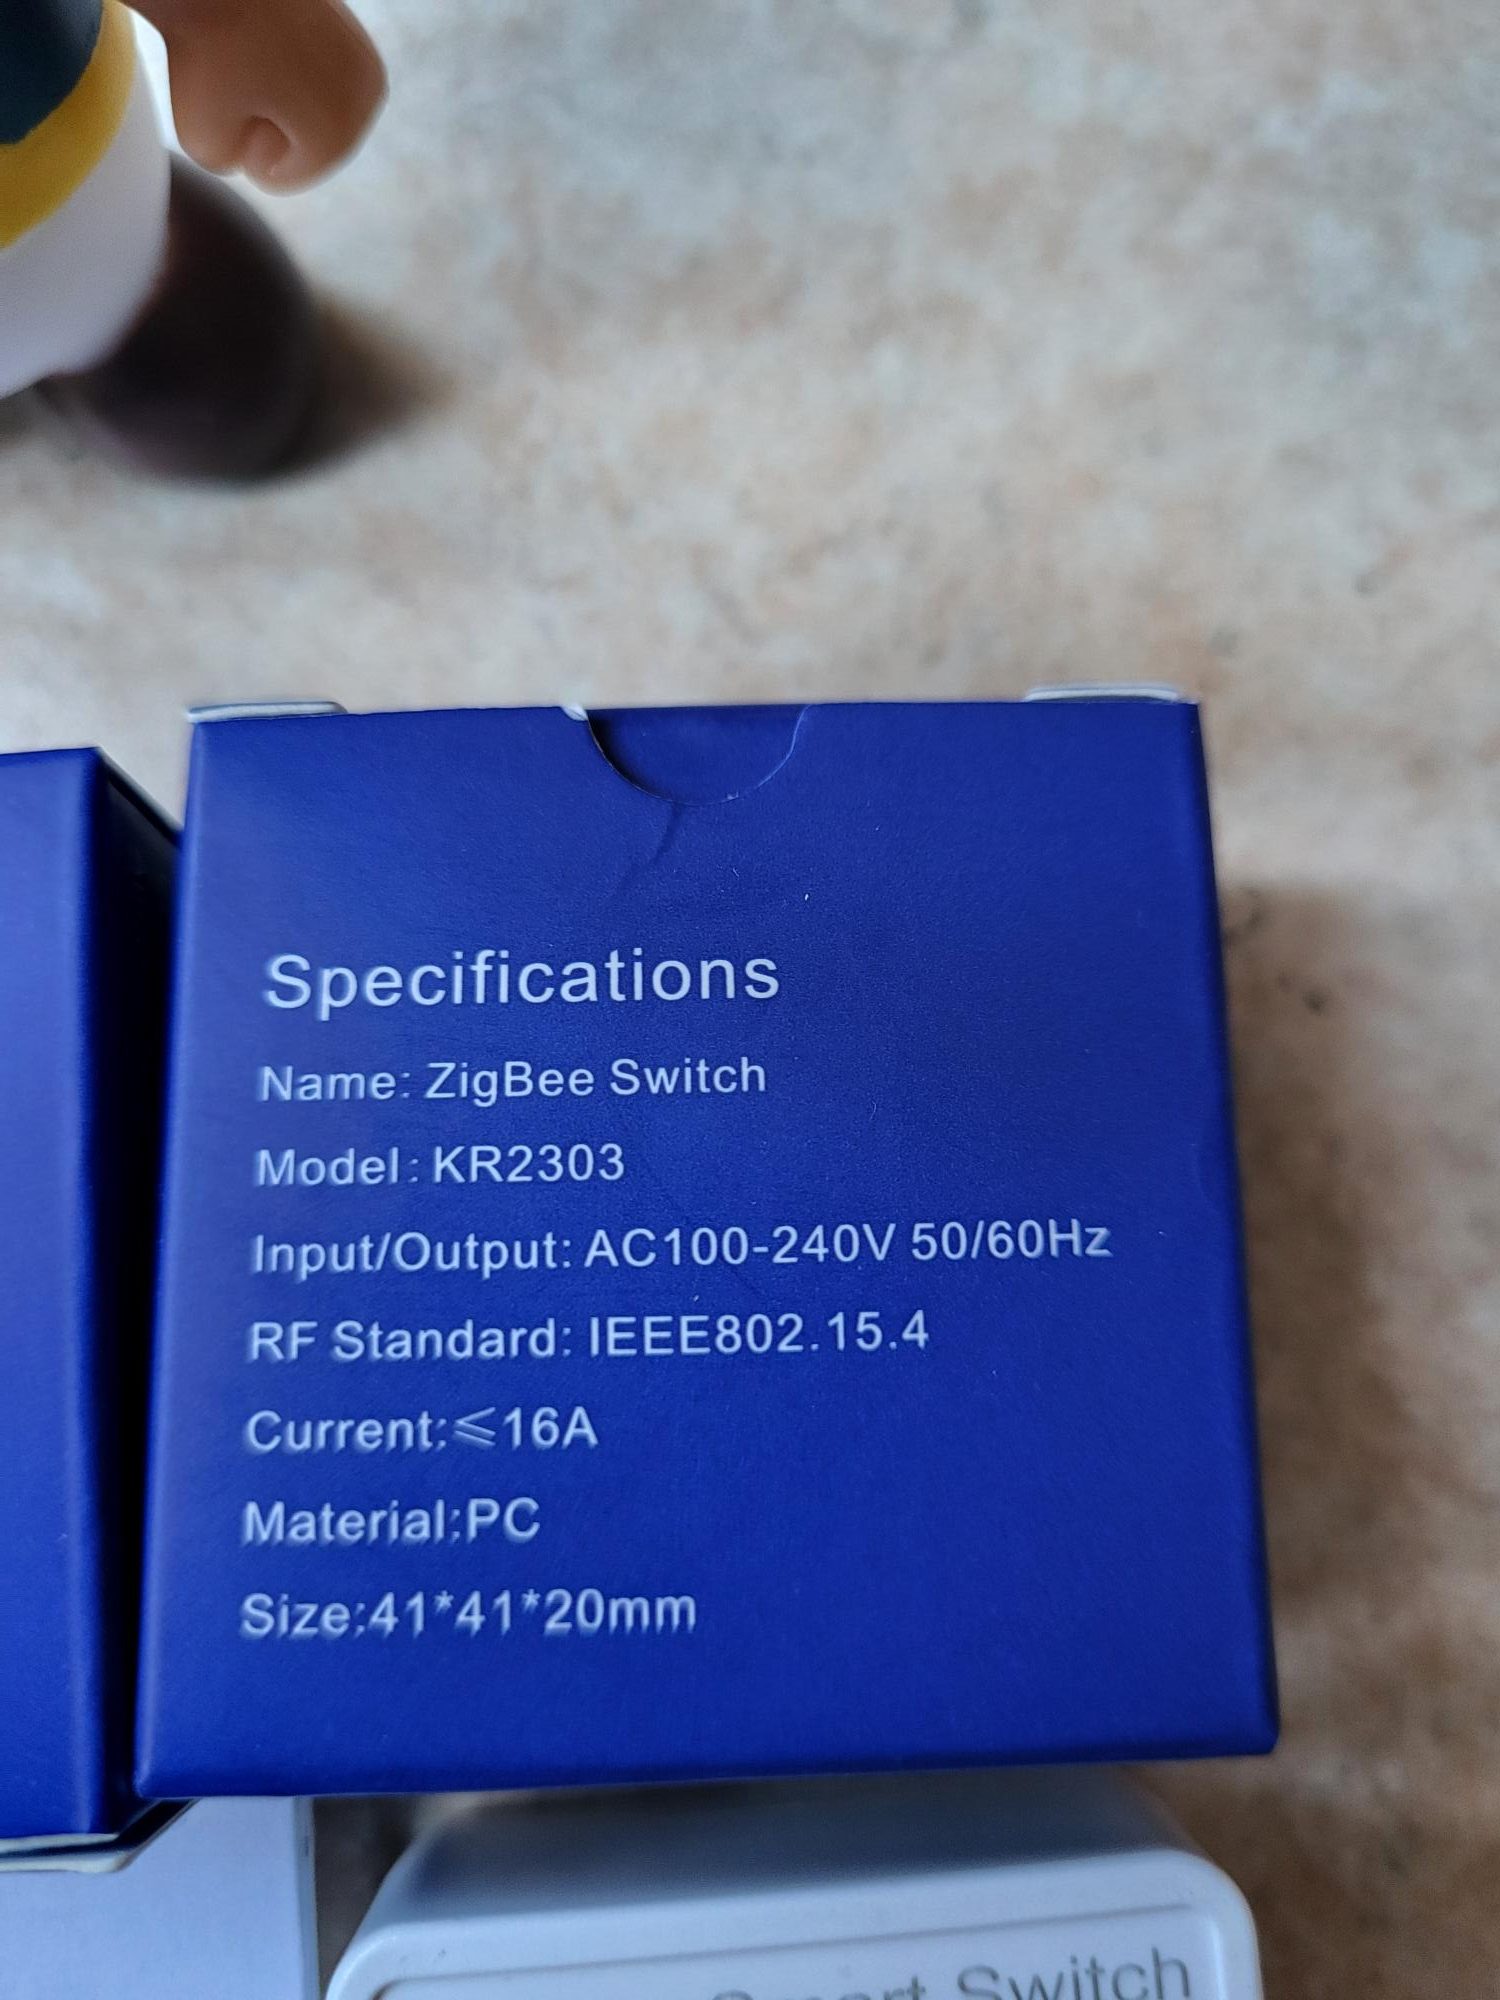
Many references of Zigbee modules exist on the market, each with different specificities. The model I received clearly bears the reference KR2303 engraved on the case. This identification is crucial to ensure compatibility with available firmwares and tutorials.
This model KR2303 is distinguished by the lack of an integrated energy monitor. Unlike other more advanced versions, it focuses only on on/off switching, making it ideal for simple applications such as controlling lighting or basic electrical appliances without the need for consumption tracking.
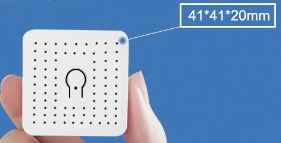
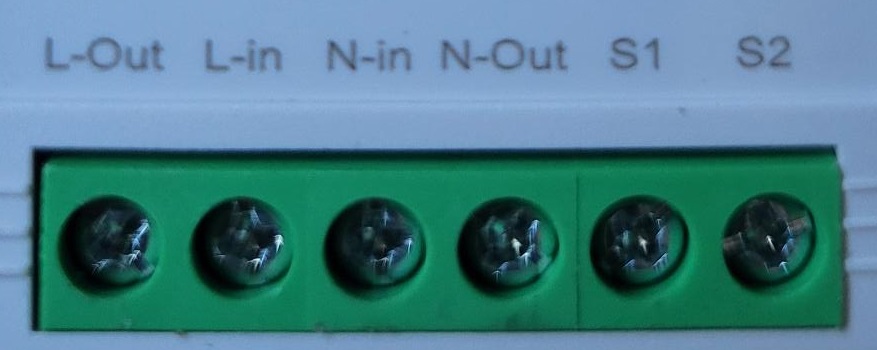
I found the explanation of connectors S1 and S2
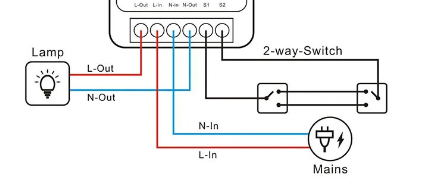
The S1 and S2 connectors correspond to the inputs for external switches in 2-way mode (two-way). This technical diagram clarifies their use to create lighting circuits that can be controlled from several places, such as a corridor with switches at the head and foot of stairs.
I connect L-in and N-in
The L-in and N-in terminals receive 230V AC power supply. Use an insulated screwdriver to firmly screw the wires into the corresponding terminals: phase on L-in (brown or black), neutral on N-in (blue). Check for false contacts by pulling the wires slightly.
This type of spring cage connector is standard on din rail modules: Insert the 8-10 mm bare wire, then tighten the screw to lock. This ensures a reliable connection even in vibration.
I launch the Zigbee pairing
In the Zigbee2MQTT interface, activate the pairing mode by clicking on ‘Permit Join’ (recommended duration: 2 minutes). The powered module KR2303 usually flashes its LED to signal that it is looking for a network. Wait 10-30 seconds for automatic detection.
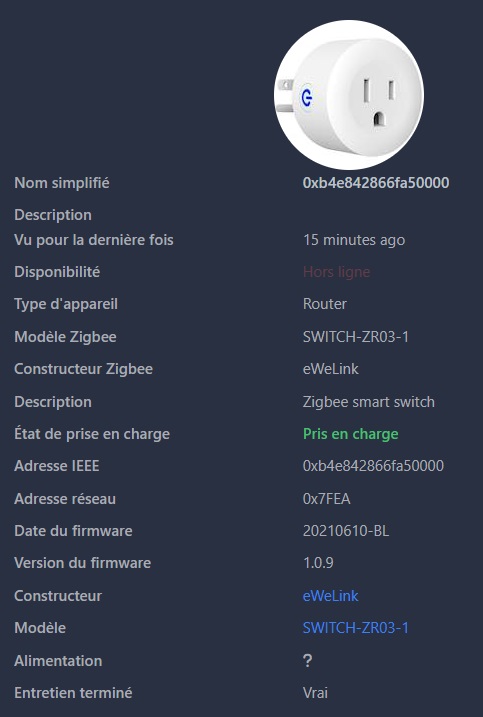
The device appears in the list of discovered devices. The icon image may not exactly match the KR2303, but it does not impact the operation. Zigbee properties such as on/off state are immediately available for testing.
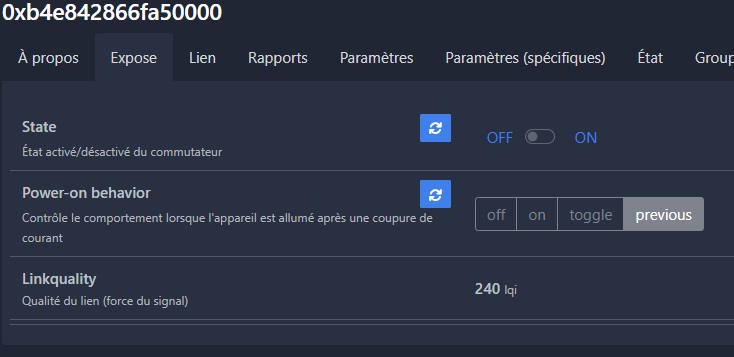
The Test on/off buttons confirm the mechanical relay: listen to the audible click and check with a multimeter on the L-outs if necessary.
I'm going to Home Assistant.
In Home Assistant, the module integrates automatically via the MQTT or Zigbee2MQTT integration. The entity appears in the list of devices with the name defined when pairing.
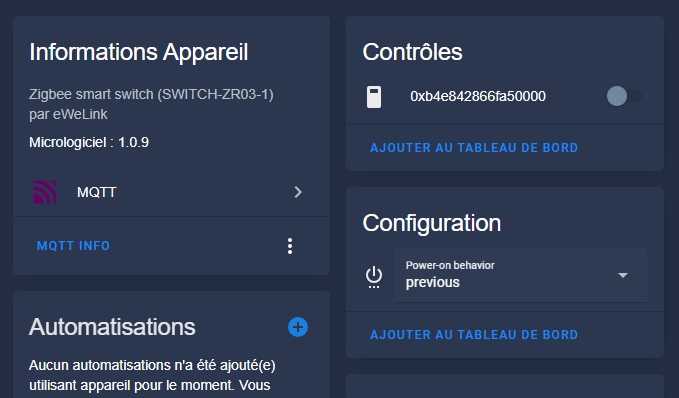
The device sometimes goes back under the reference ZR03 instead of KR2303 due to identical Zigbee clusters, but all functions (on/off, status) are fully operational. Add it to your dashboard for direct control.
Putting into production
For the final installation, I replaced a failed Sonoff ZBMINI with this KR2303 in my switchboard. Turn off the general circuit breaker before handling, transfer the L/N/output connections to the new module, and then test the circuit.
Everything works perfectly: Superior Zigbee stability, no disconnections, and silent relay. This module is reliable for 24/7 use in home automation production.
 English
  French
  Spanish
  Chinese
  German