
 |
 |
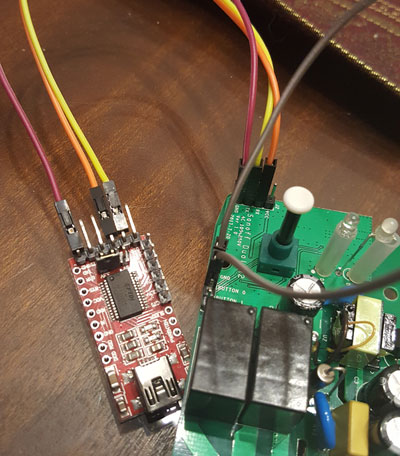 |
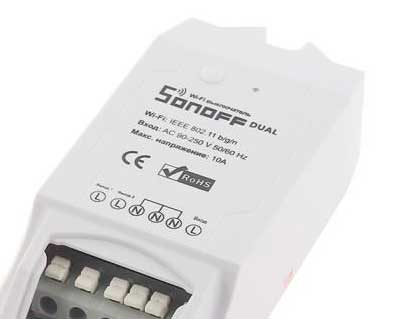
Flash the Sonoff DUAL, for those who have tried, it is sport to go find the GPIO 0 and switch to programming mode. Read More

| |
|
|
Flash the Sonoff DUAL, for those who have tried, it is sport to go find the GPIO 0 and switch to programming mode. Read More
 |
|
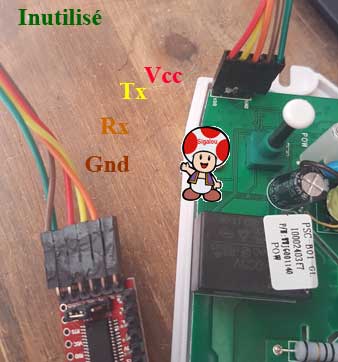 |
Flashing the Sonoff POW, is rather simple to program (in comparison with other modules that do not make GPIO0 accessible.
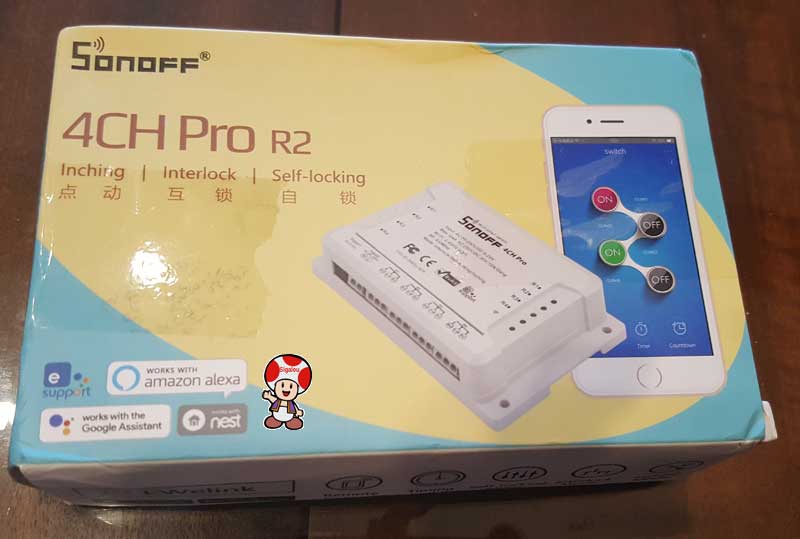
I just received the 4CH Pro R2, version R2 changes the implementation of the ESP8285 chip, the method for detecting the pin 15 (to find GPIO0) changes slightly, this tutorial to save you time.
Note: 21/02/2021 : I have since tested the 4CH Pro R3, I was going to make a tutorial page for its programming. It is ultimately simpler than the R2, Sonoff learned from his mistakes and put the GPIO0 back on the button (oufff).
I did not make a tutorial page because I found a very clear and well done tutorial on the Fobul - Domotics page. Congratulations to him, go to his page and take a look at his blog.
For flashing, I used ESP_Easy_mega_20210114_normal_ESP8285_1M.bin

PuTTY is a program to connect remotely to servers using the protocol SSH This will allow us to intervene on the Raspberry.

Jeedom is an open-source home automation solution, which therefore guarantees a great support of the various current home automation protocols such as Z-wave, RFXcom, … It is possible to add them through a market.
It is also possible to install Jeedom on raspberry pi and add modules.
Finally, access to the software is via a web interface or smartphone application. The server is directly on the box, it is not managed in a cloud which does not make it dependent on the company that manages it and avoids problems related to private life.

Raspbian is a GNU/Linux operating system specially designed and optimised for the Raspberry Pi.
https://www.raspberrypi.org/downloads/raspbian/
For Jeedom and the Raspberry, it is advisable to take the version Lite
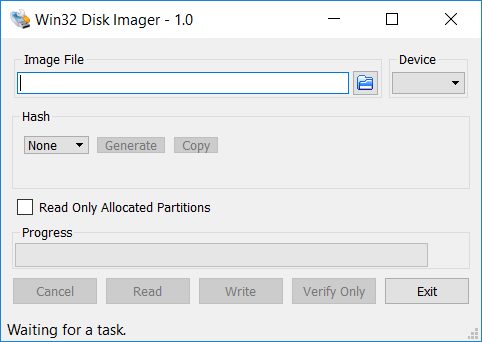
Win32 Disk Imager is a utility for transferring the disk image of an operating system to an SD memory card. Ideal in case you are looking to create an installation memory card for your Raspberry Pi, Win32 Disk Imager is extremely easy to use.
To create your SD card, launch the Win32 Disk Imager utility on your computer, then select the disc image in ISO format that you want to transfer to the card and the drive containing the card. Then click on the ‘Write’ button to start the process of writing the disk image to the memory card.
The latest version must be found HERE

 English
  French
  Spanish
  Chinese
  German