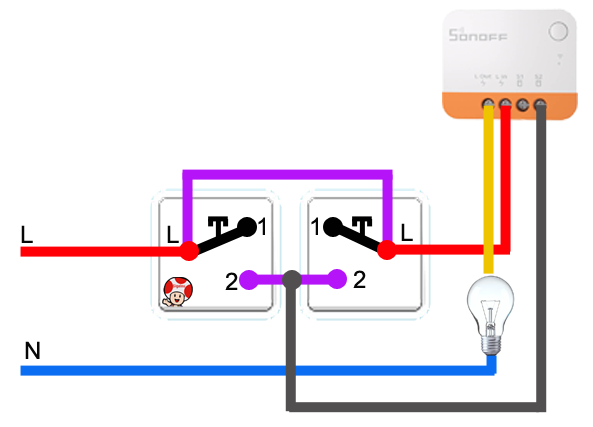
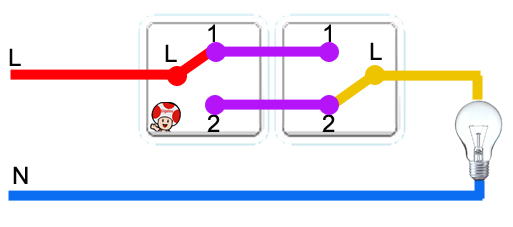
On this RetEx, I set the bar quite high, I would like to replace an existing back and forth, so with two wires shuttles by one back and forth domotized Zigbee without having to add thread.
Please note that I have not Not Neutral switches.
The only deviation I allow myself is to replace the switches with push buttons.
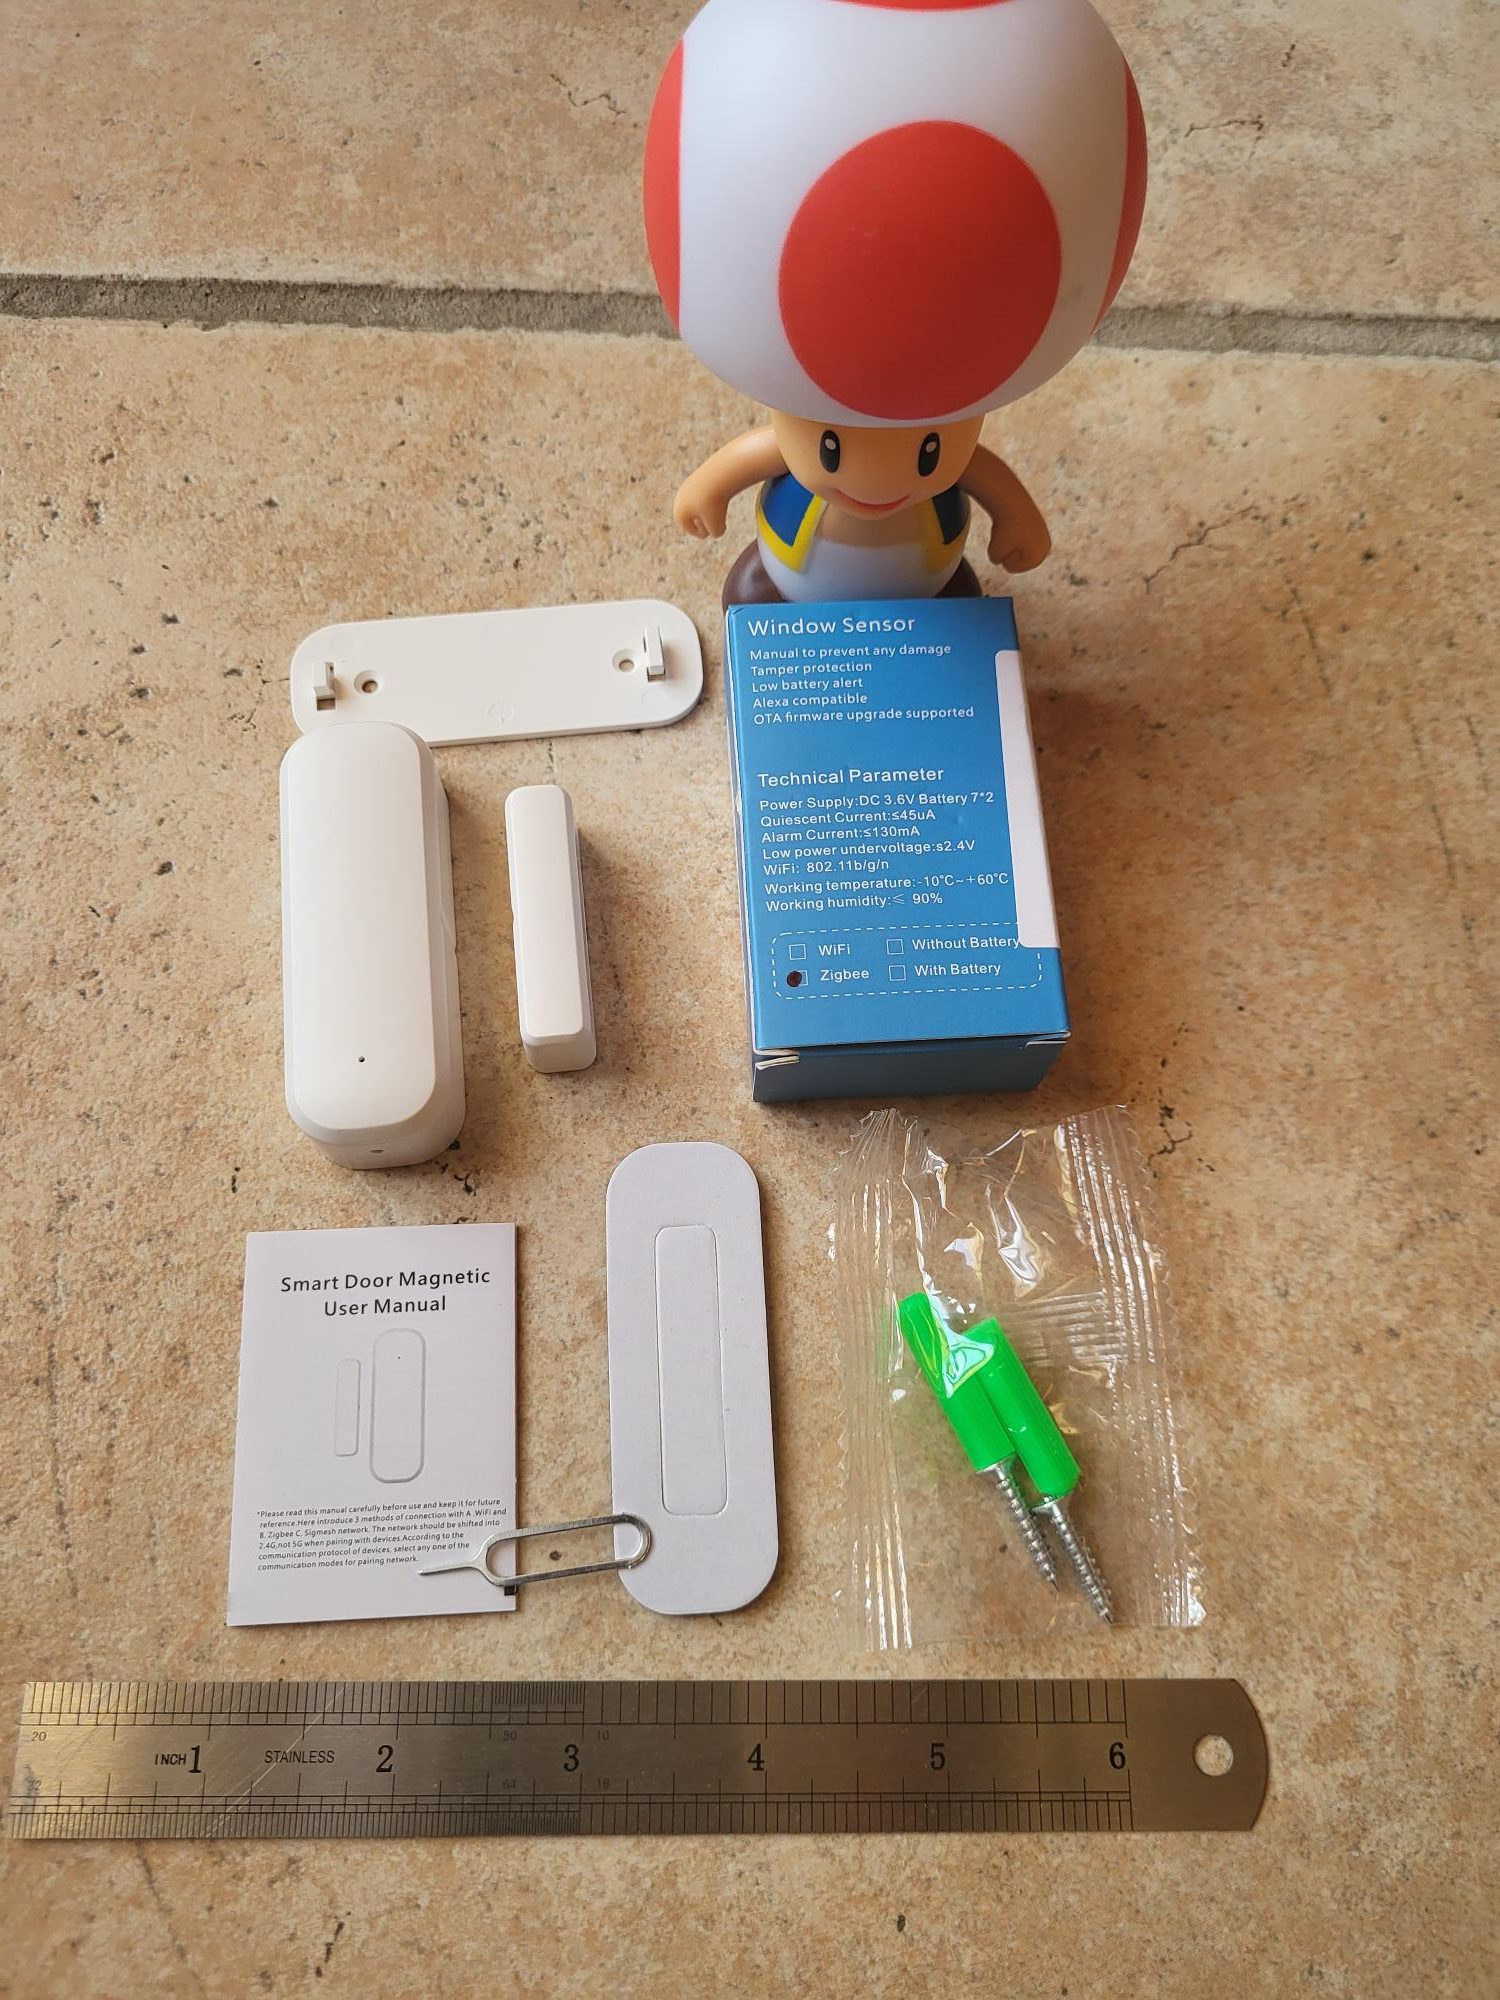
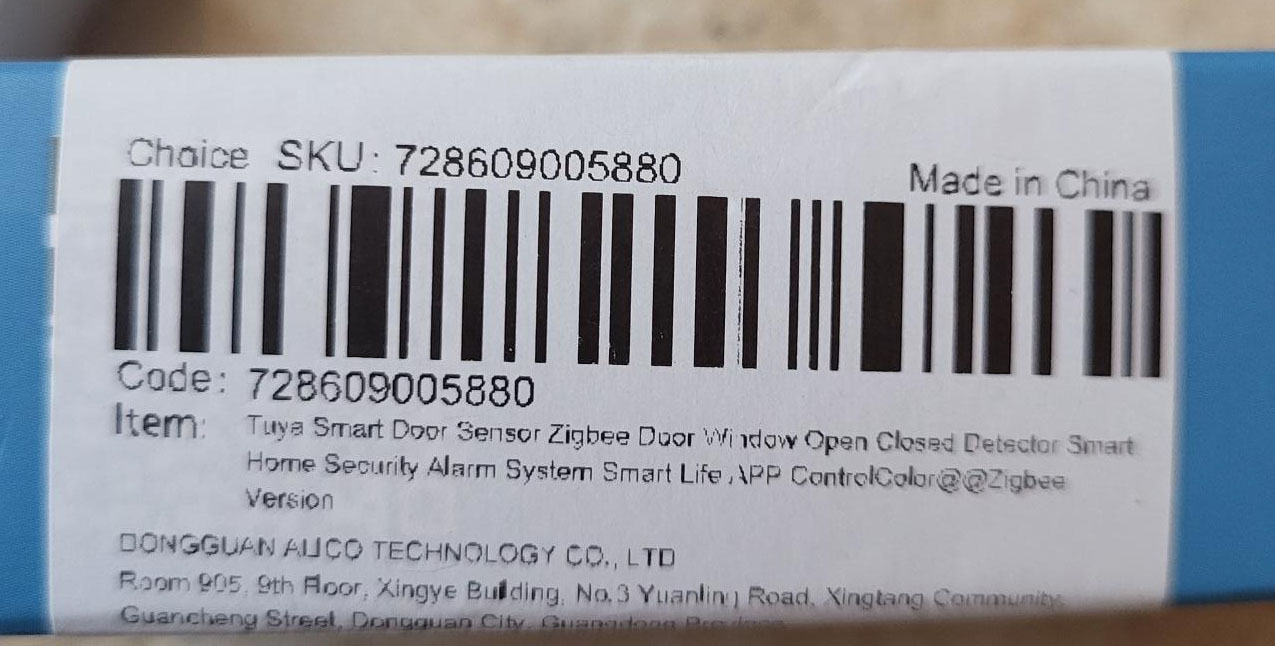
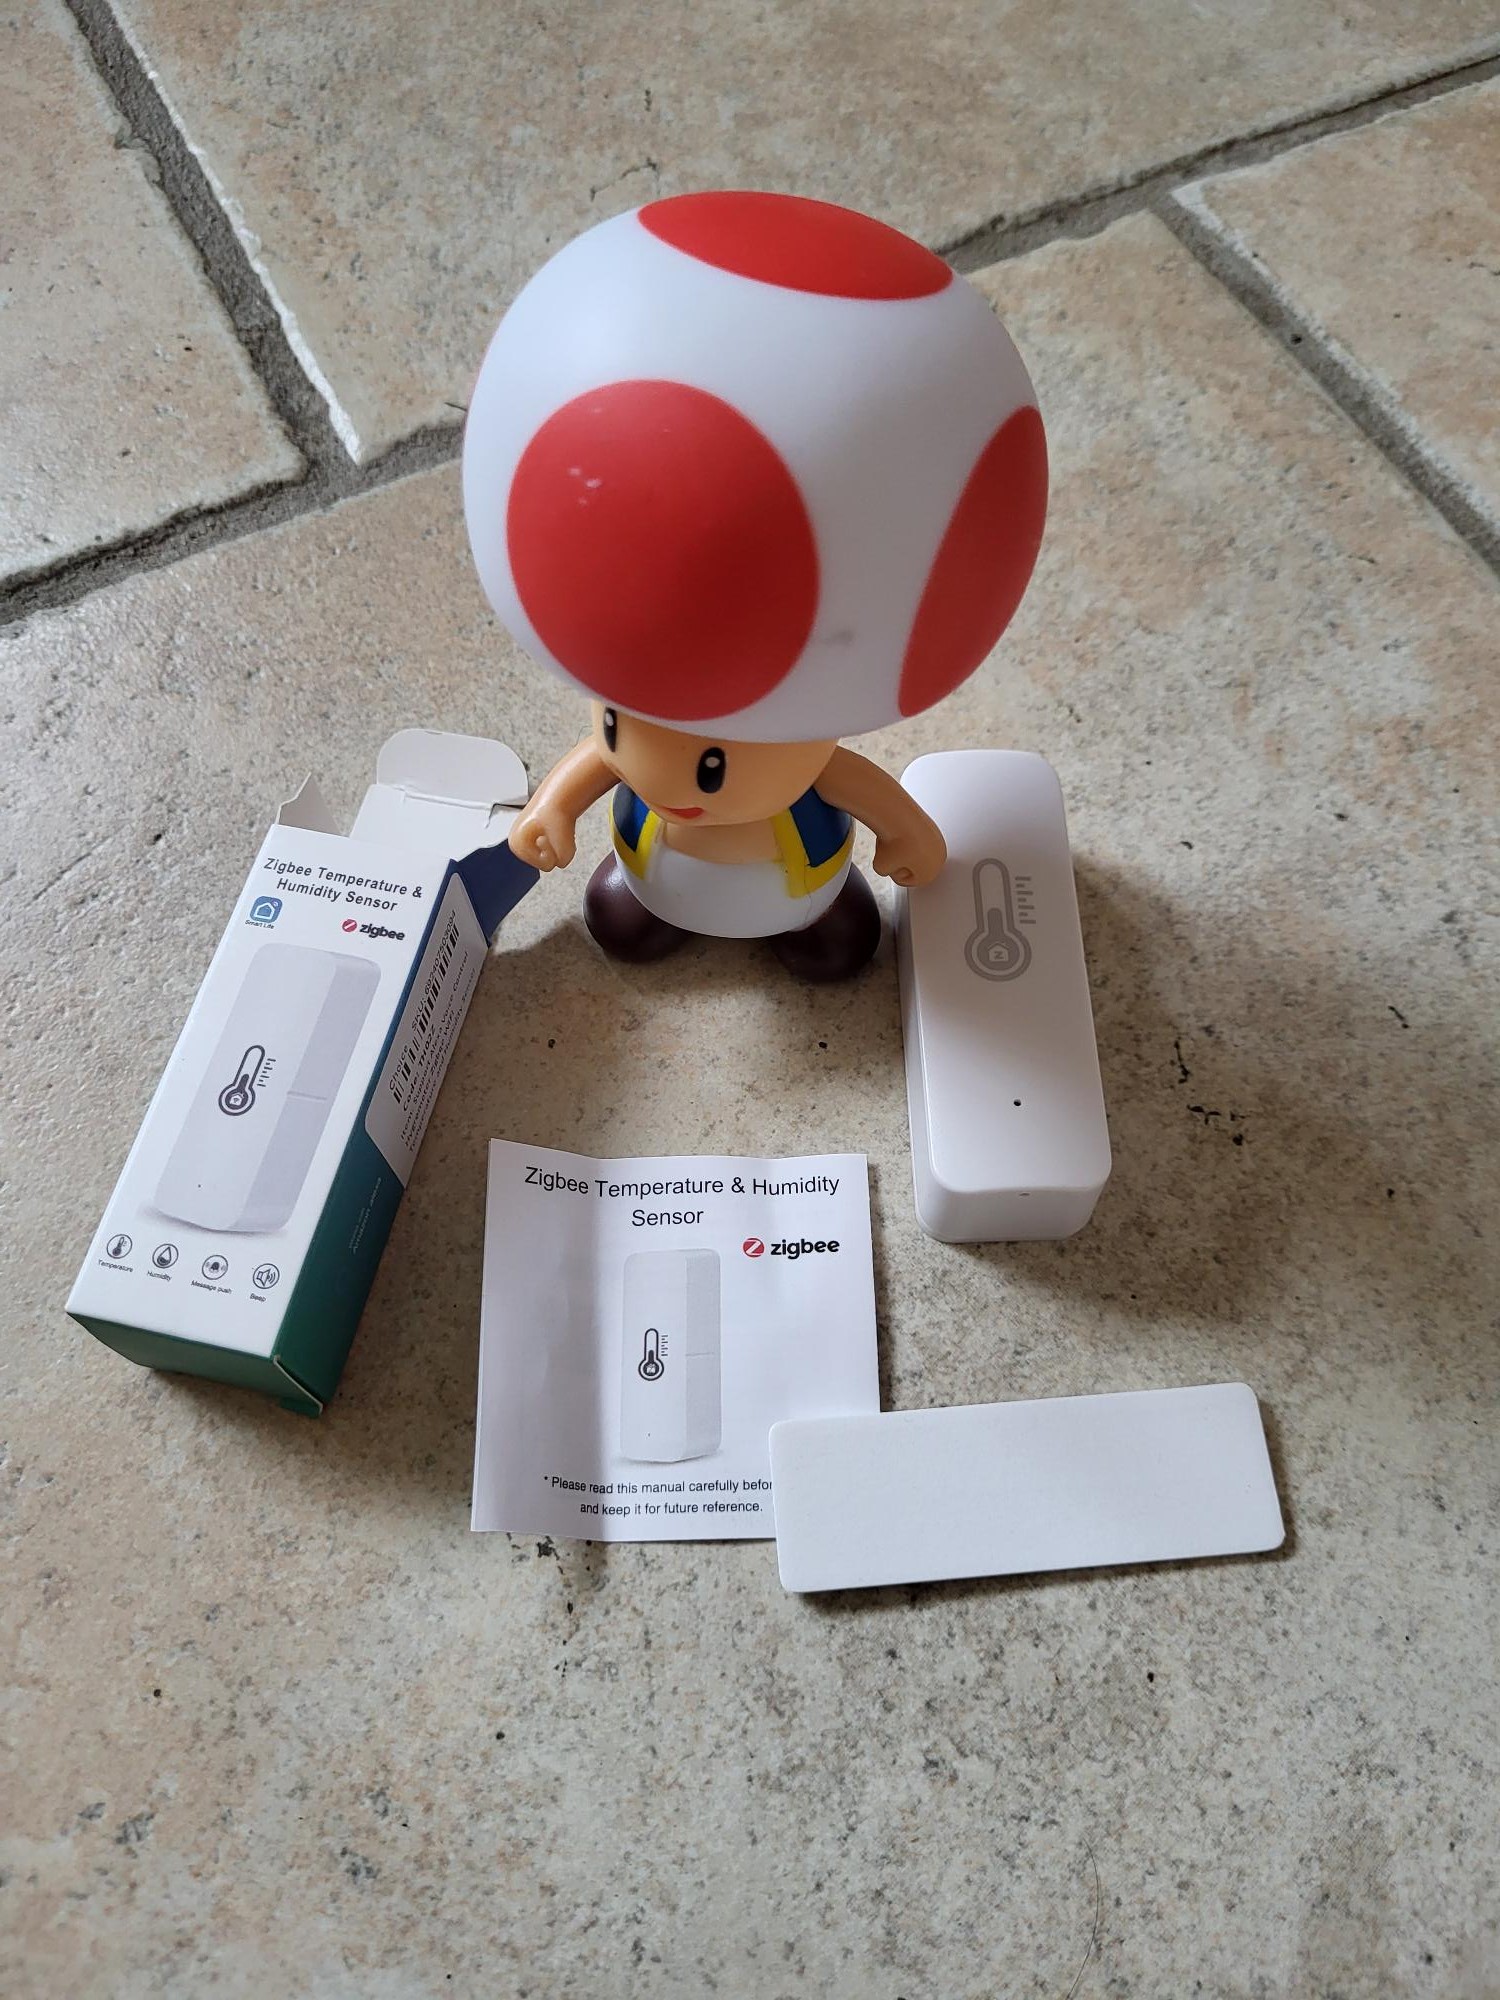
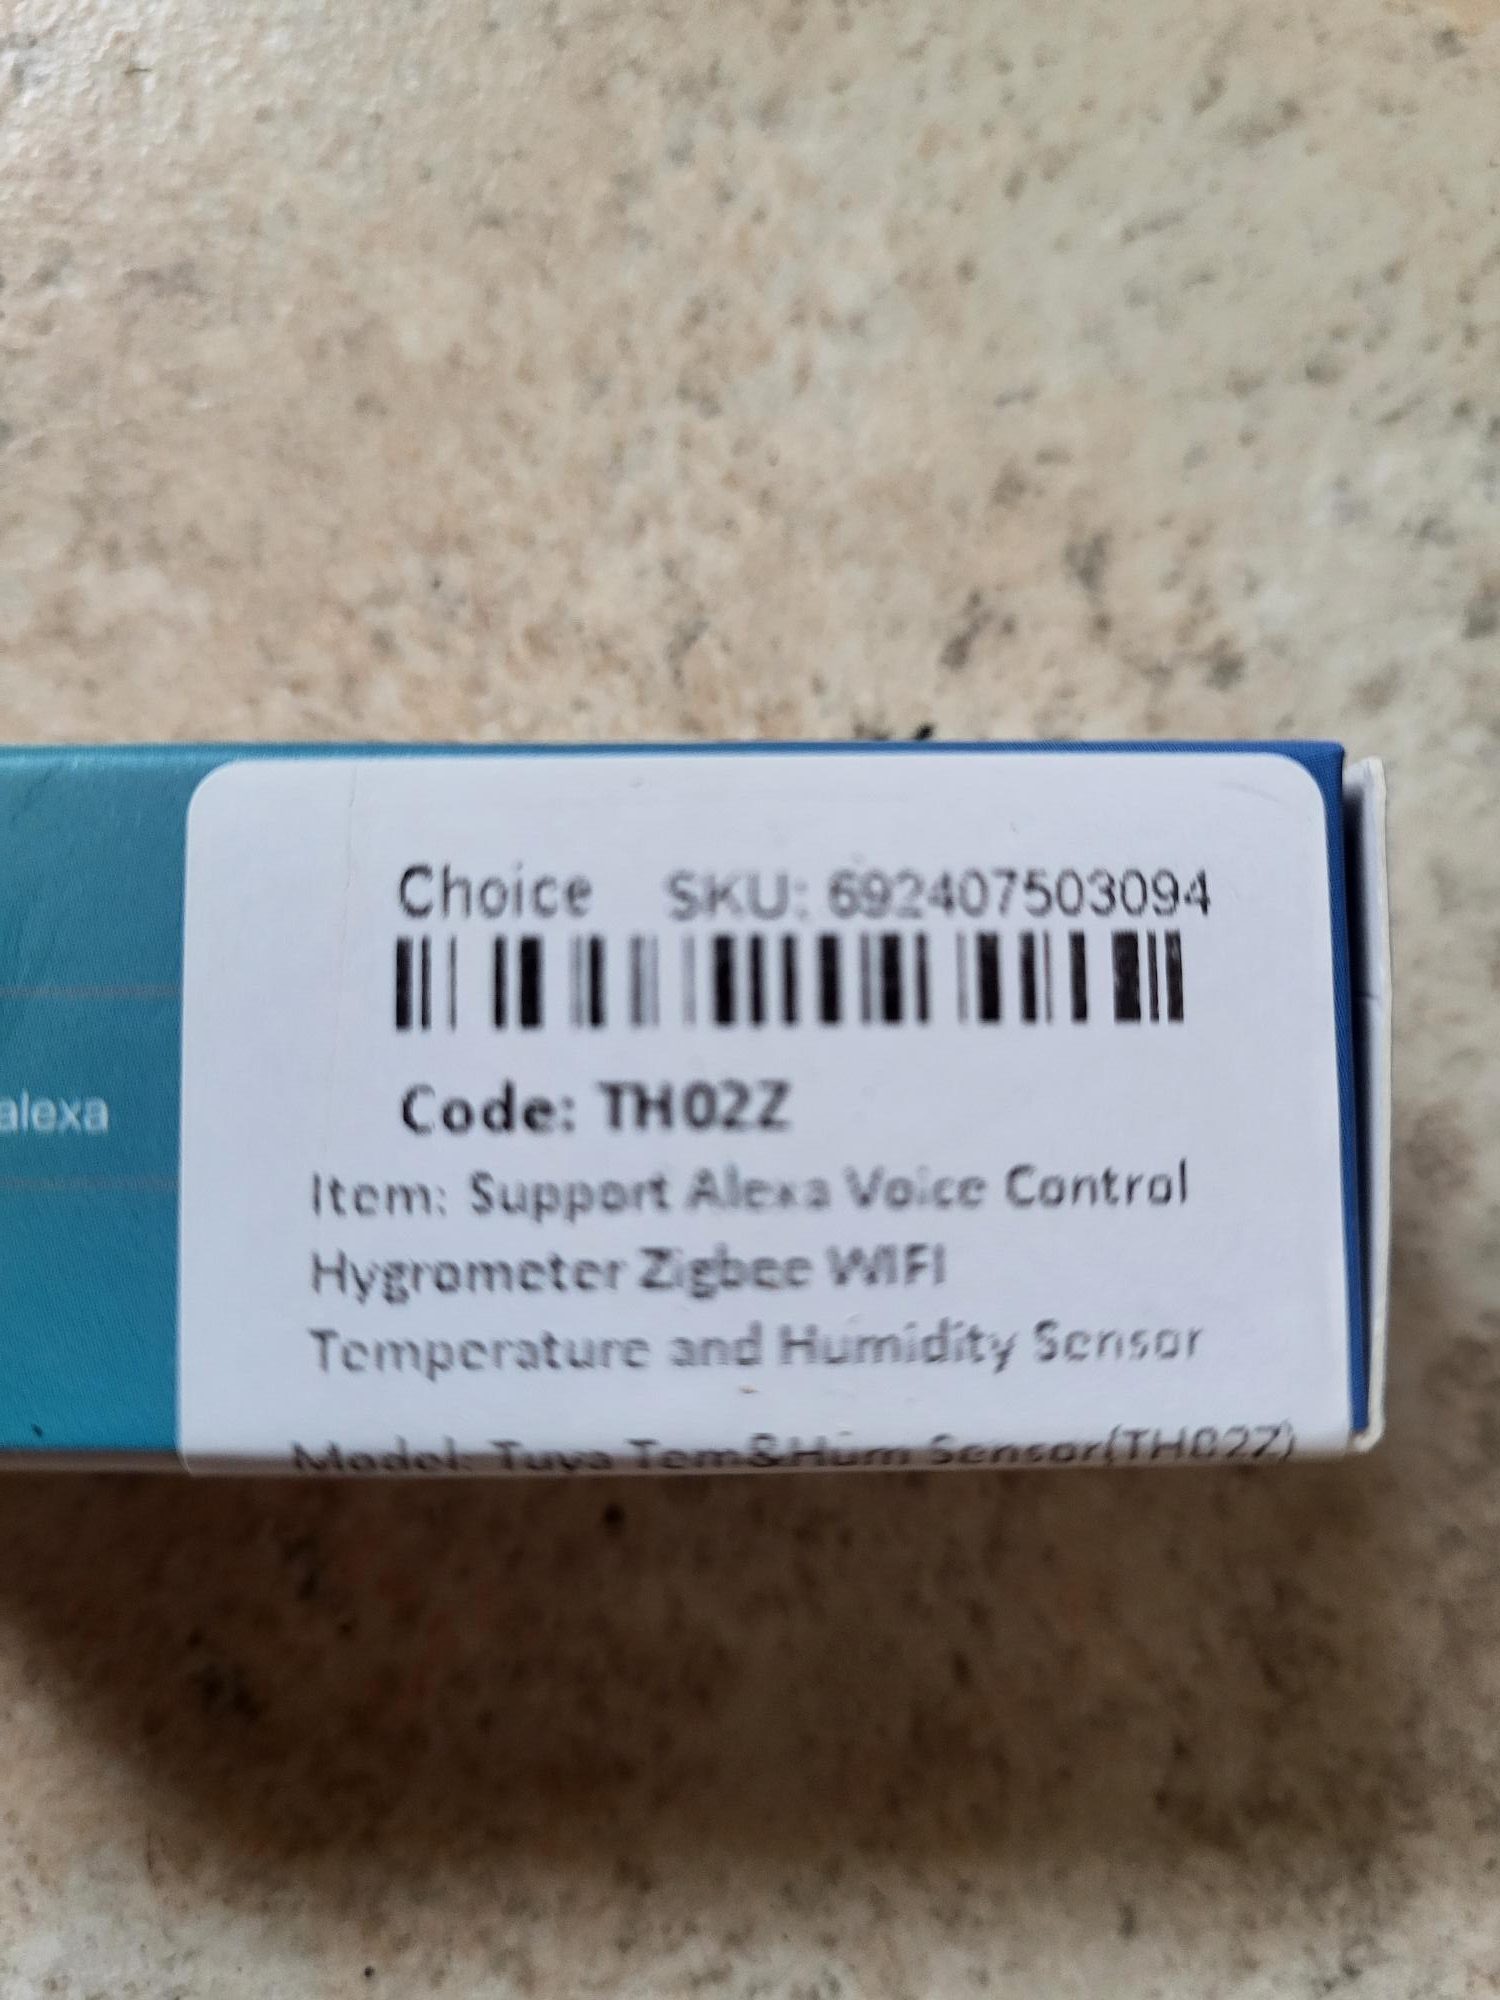
There are a lot of references, the model I received is a mystery. It has no reference inscribed, it is to the Zigbee2MQTT detection that I found a model.
It should be noted that in this model, the supplier added something to attach the sensor to the wall, which is nice.
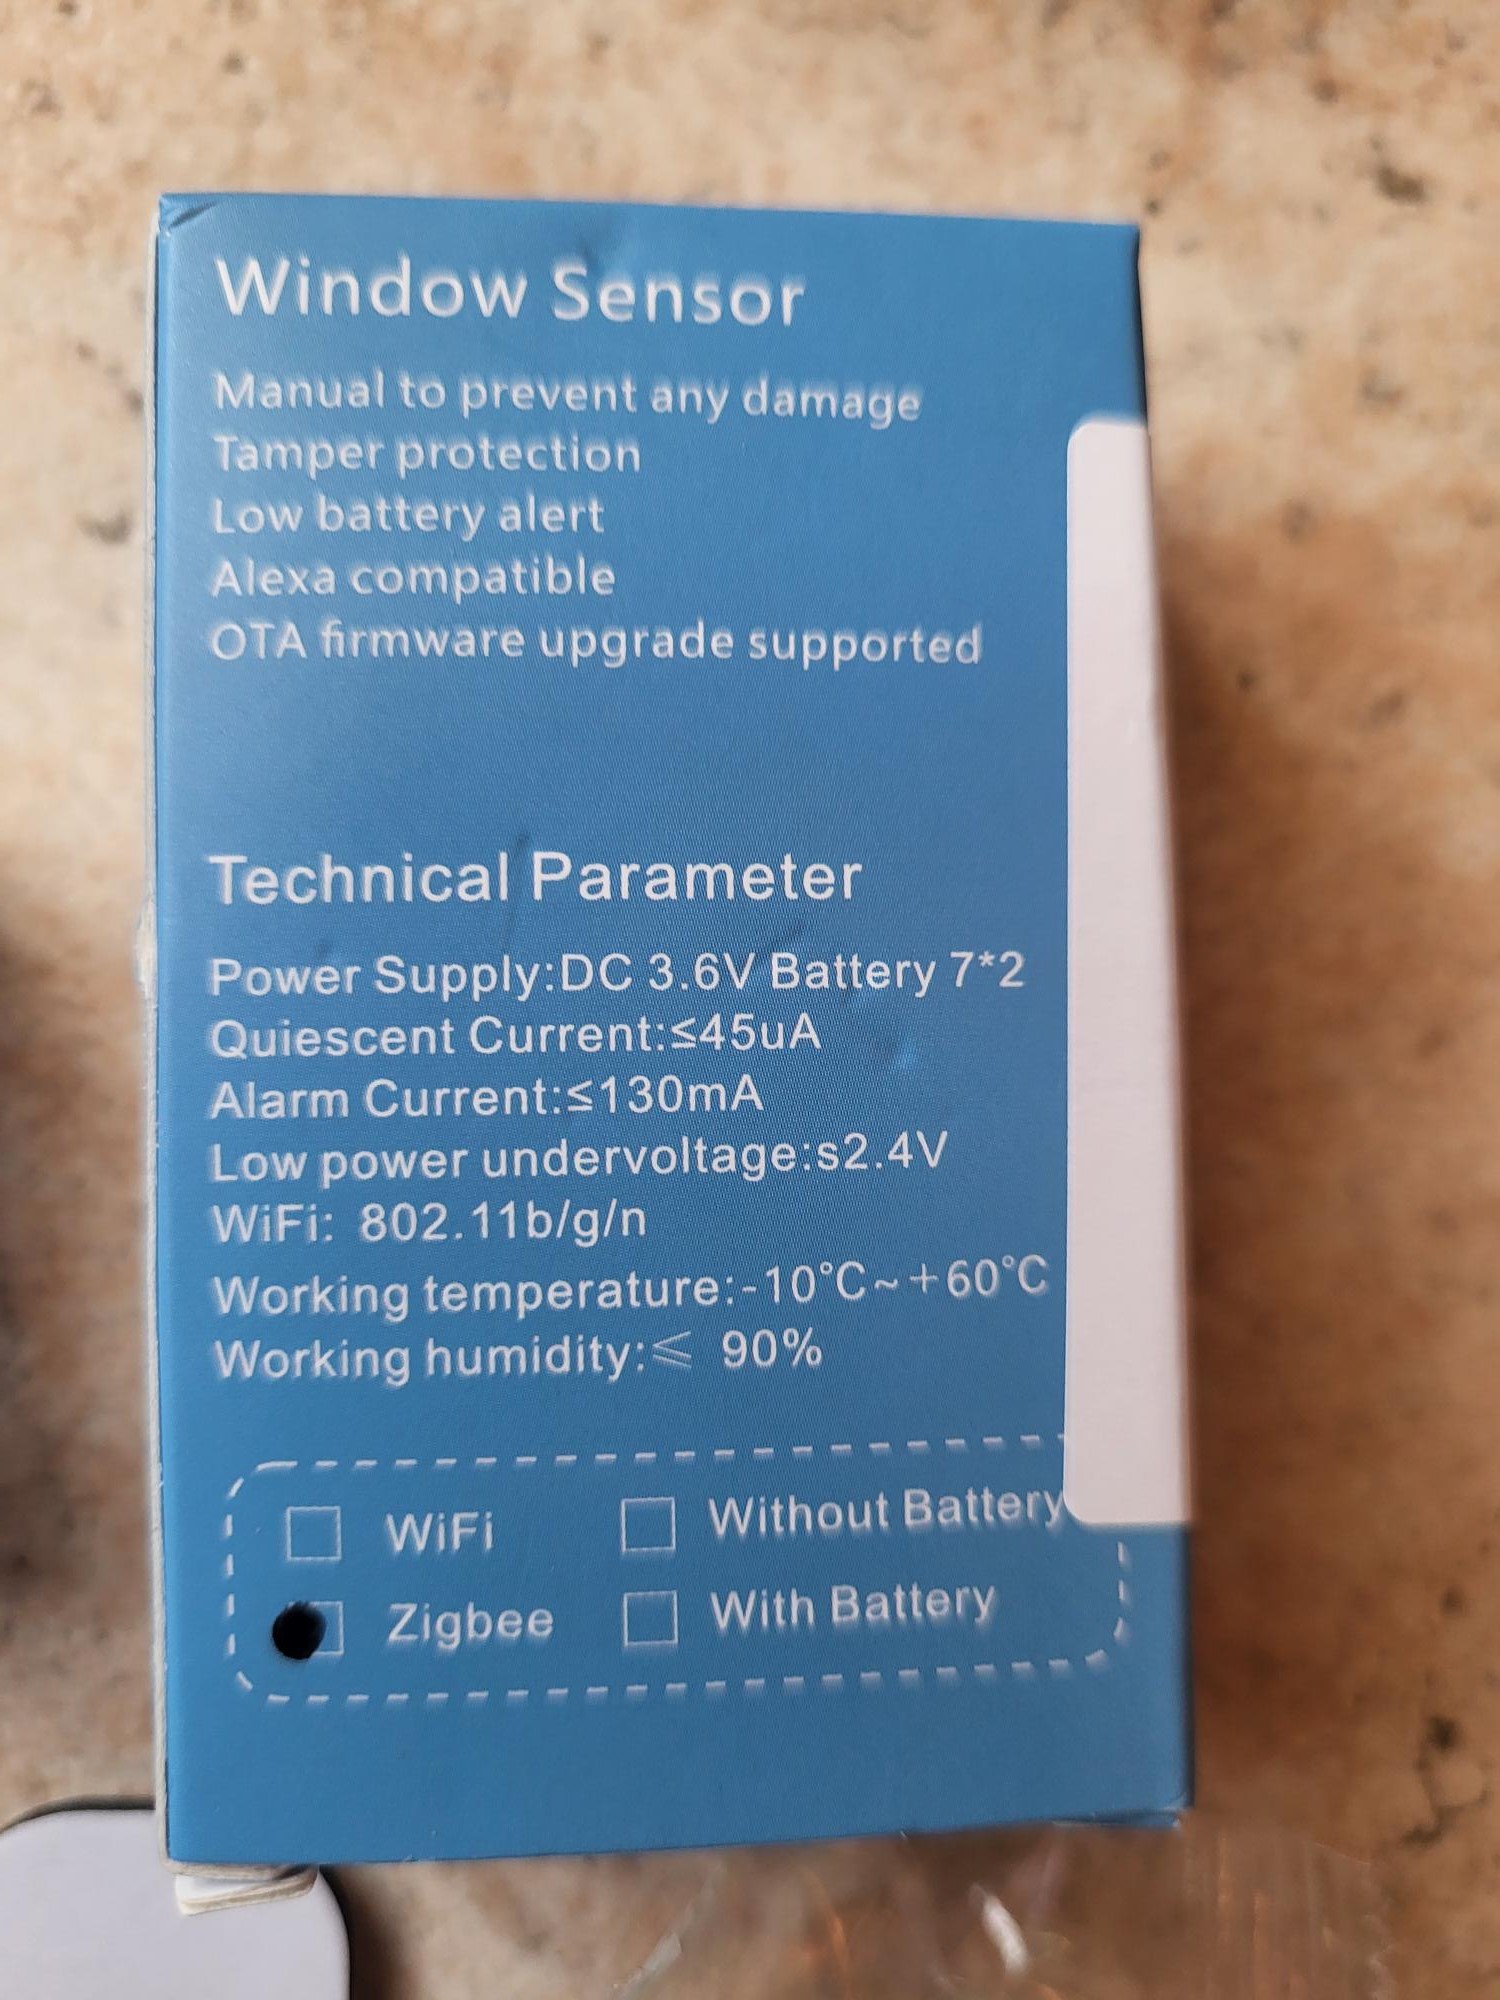
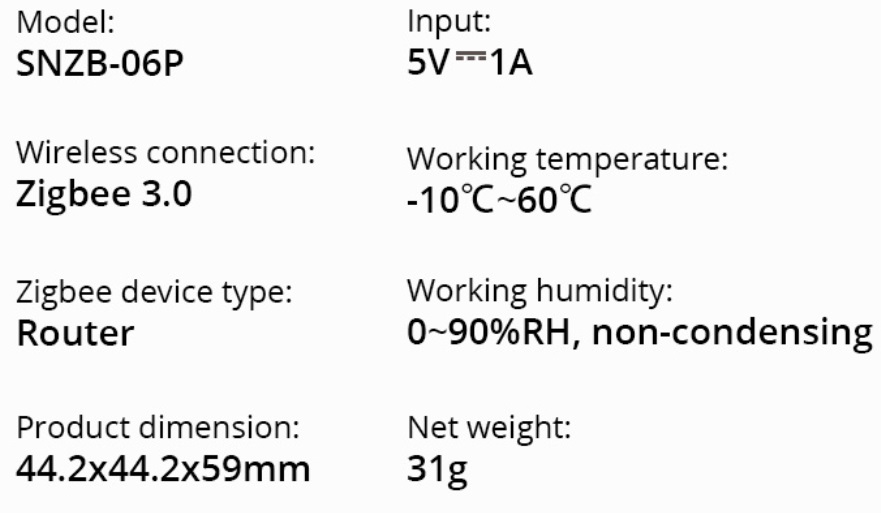
I look at the technical characteristics
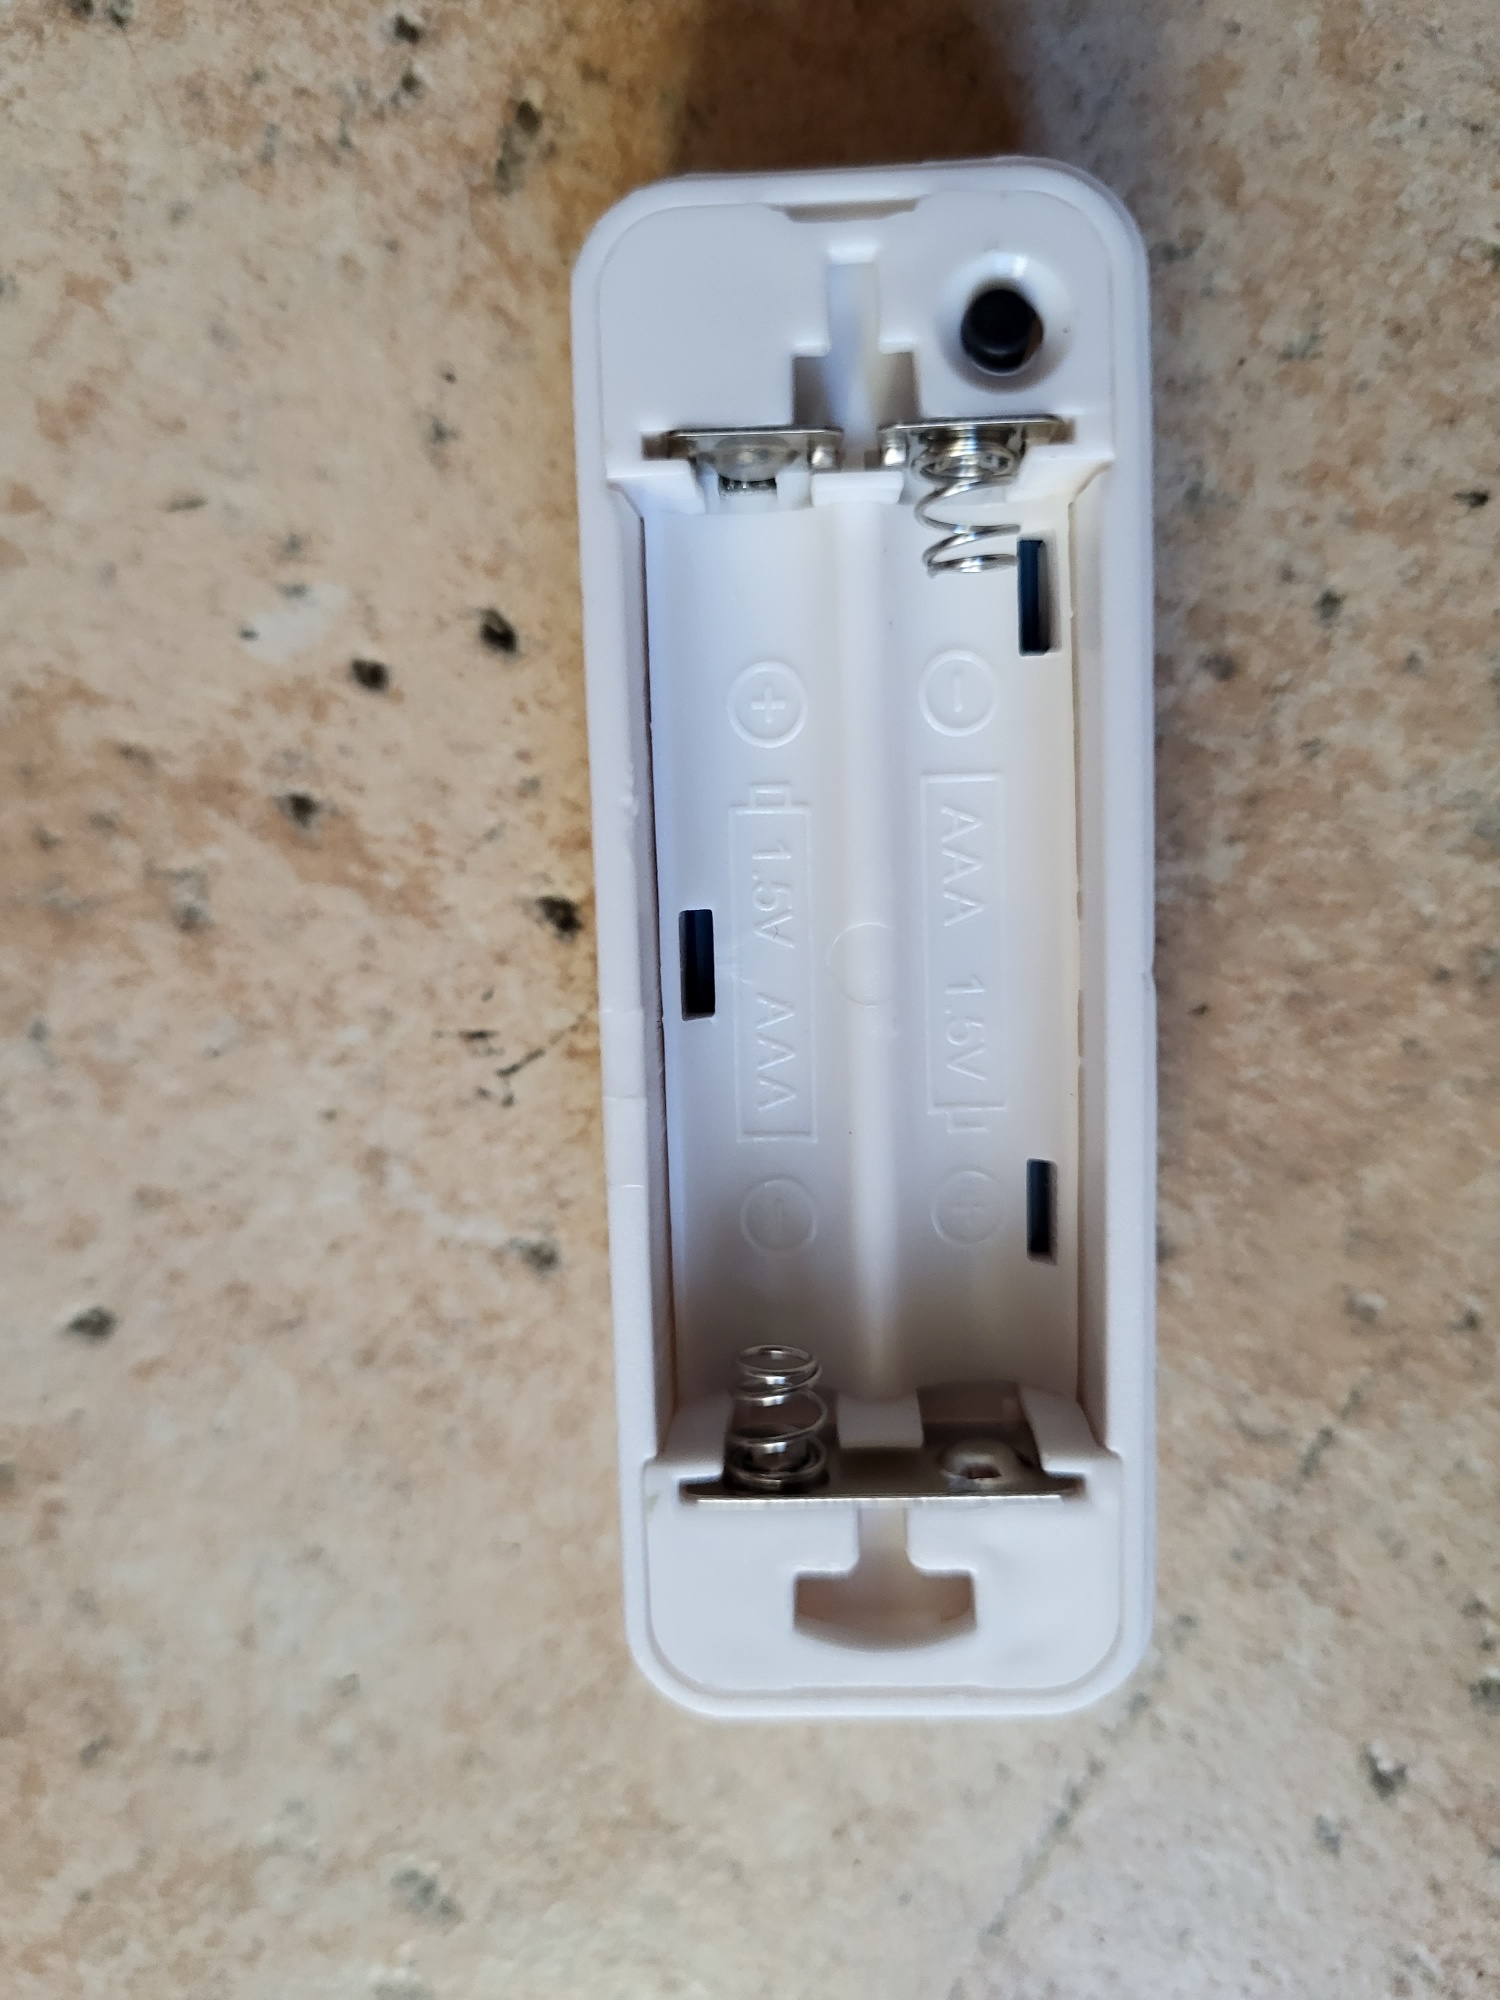
I put batteries
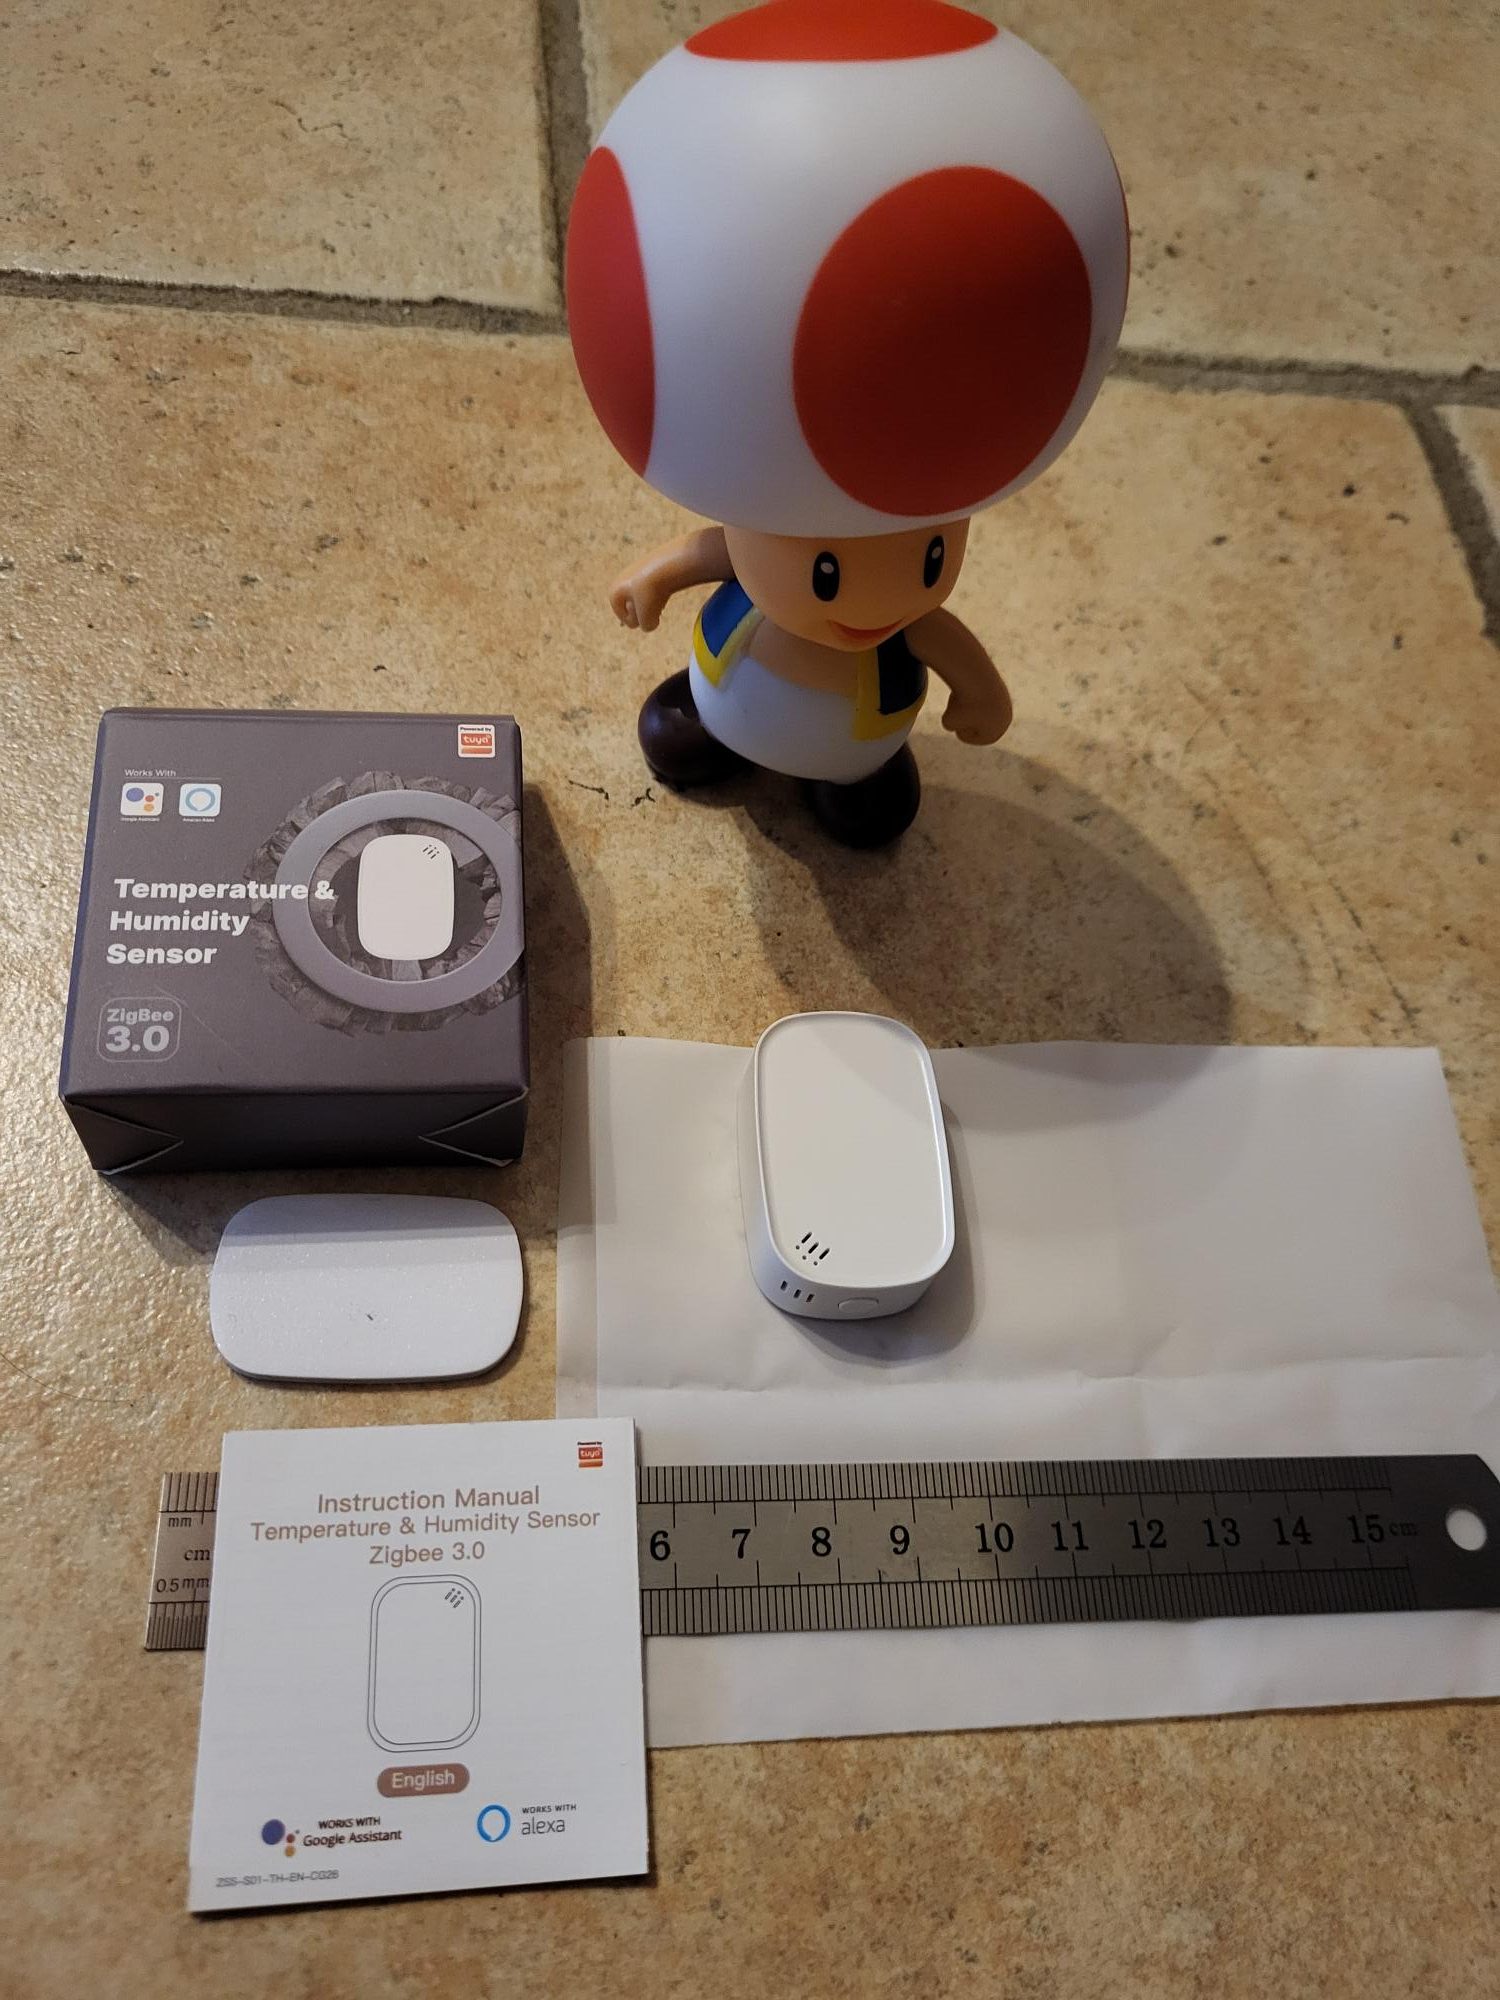
This model is equipped with a very practical AAA battery system (not supplied).
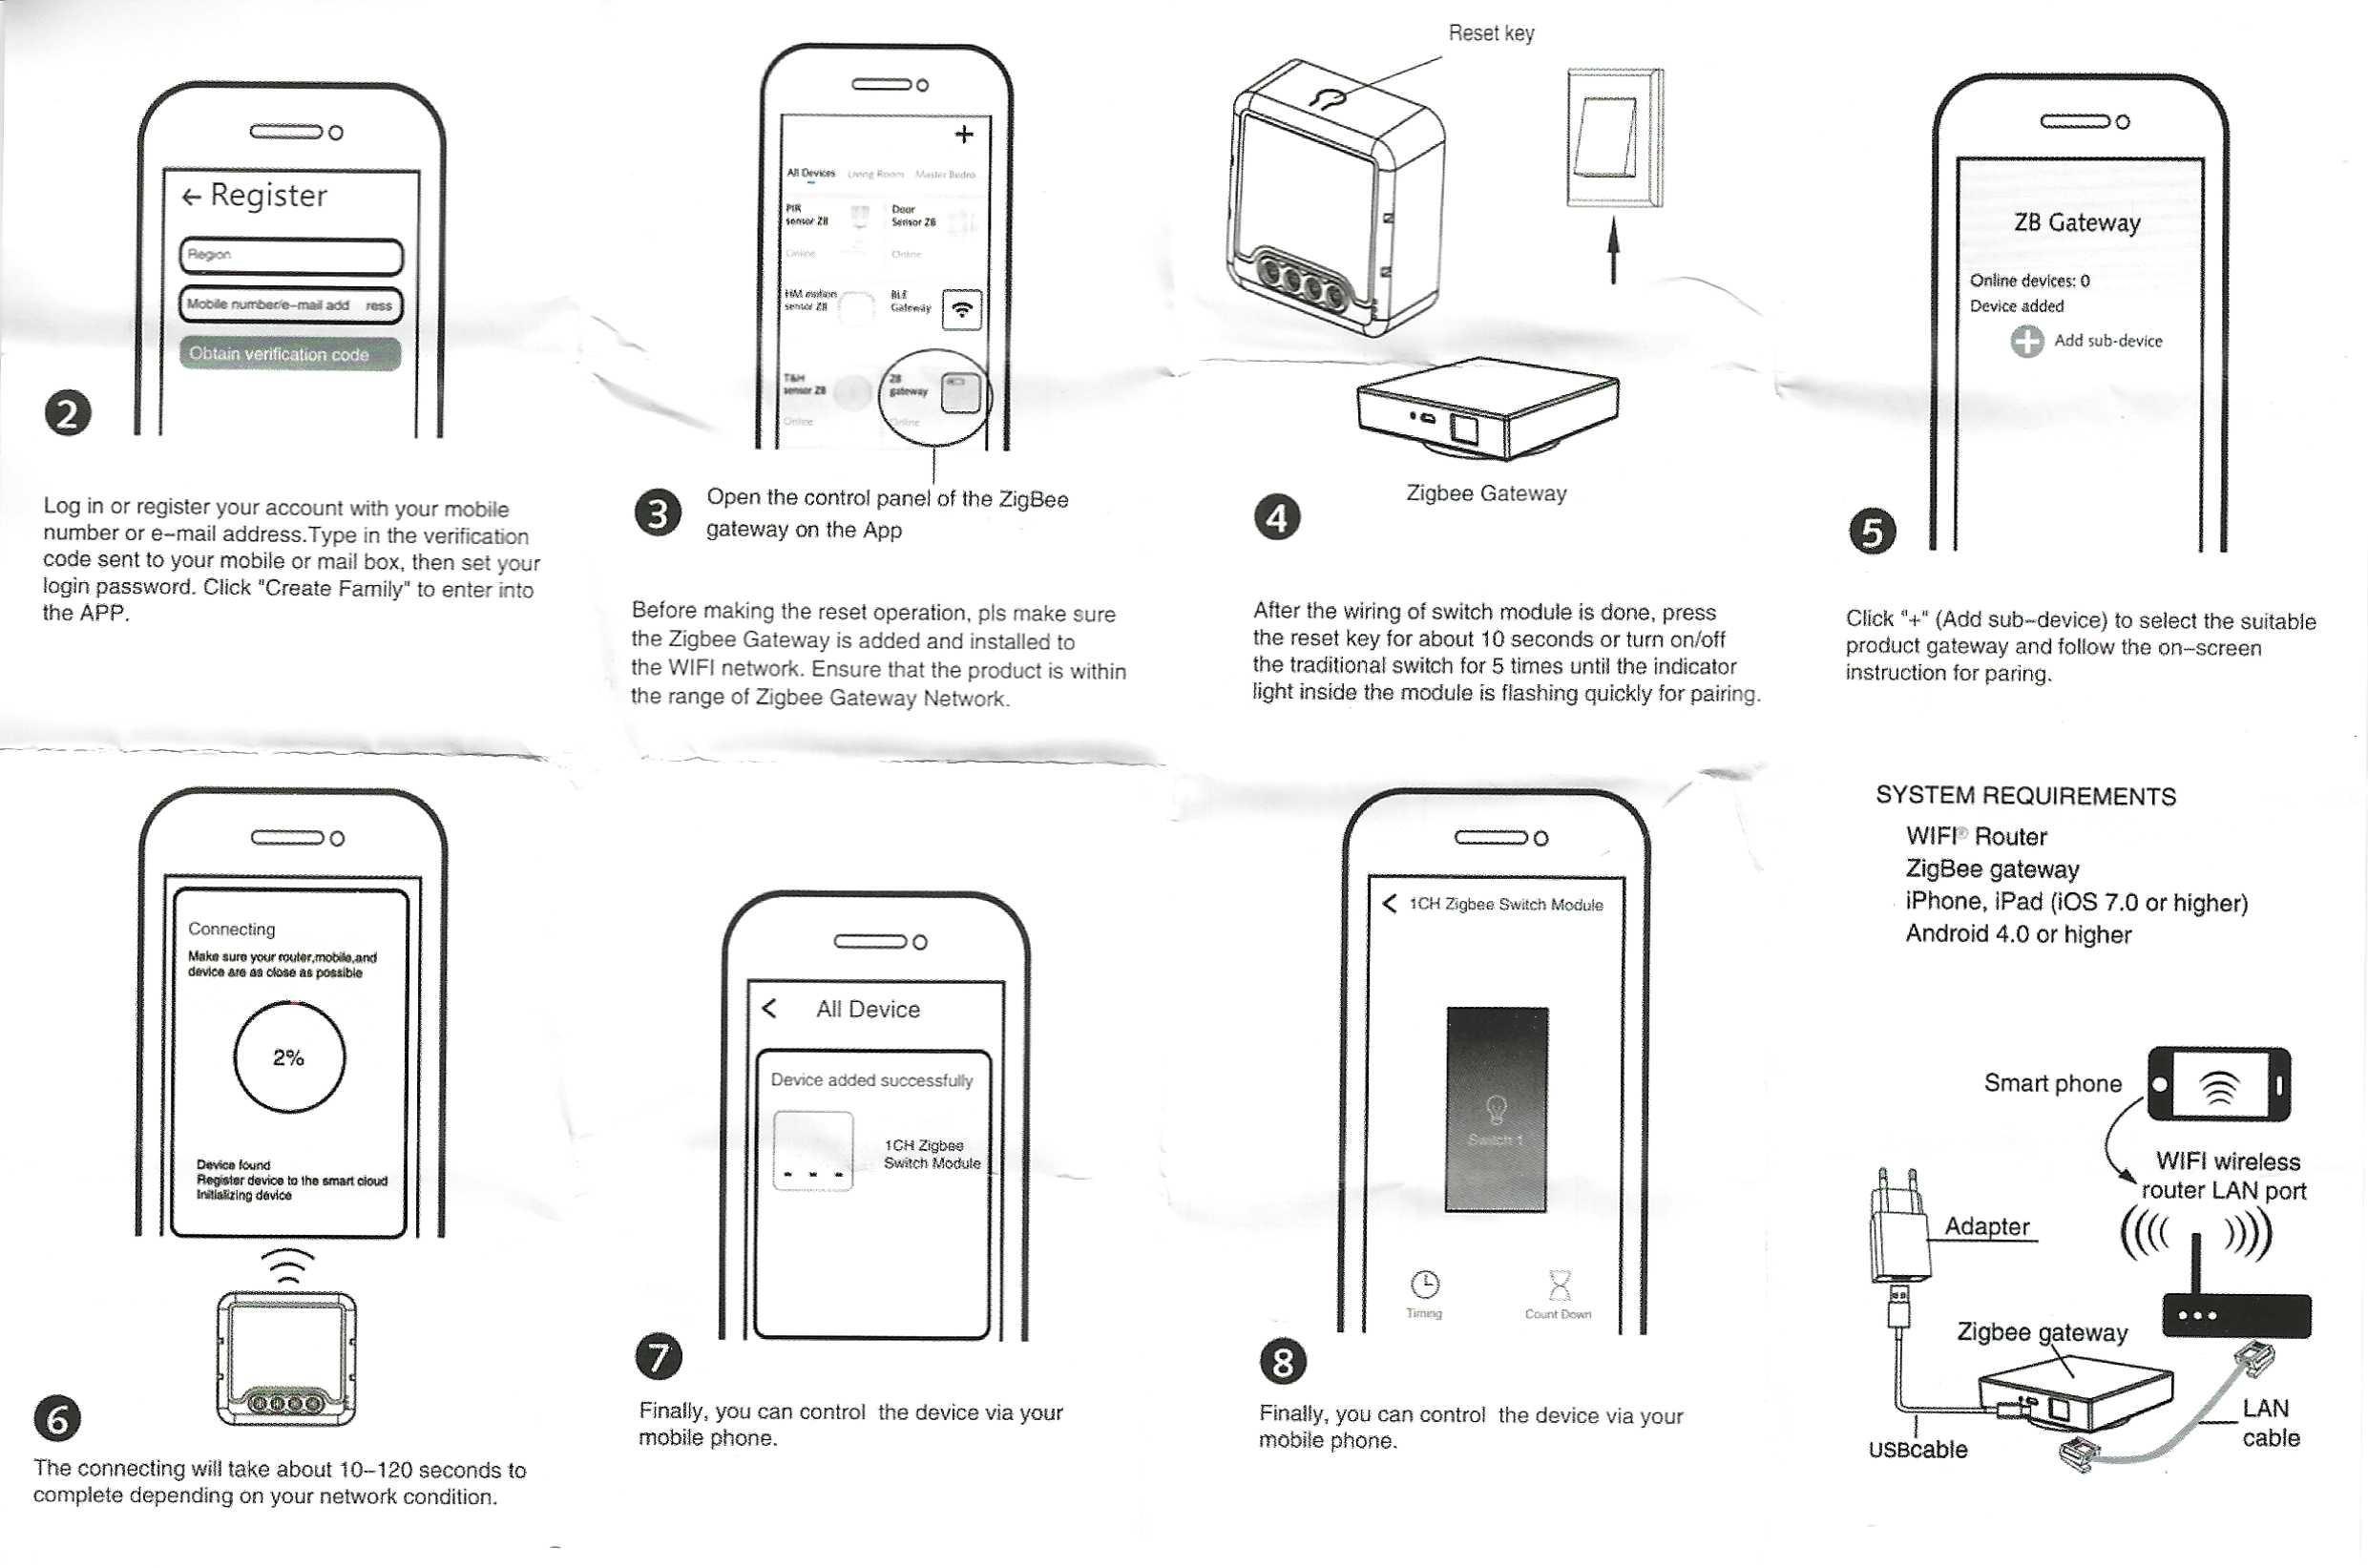
I launch the Zigbee pairing
I switch Zigbee2MQTT to pairing mode but nothing happens.
I press the reset button at the top of the module with a metal spike until the blue LED flashes.
The pairing starts.
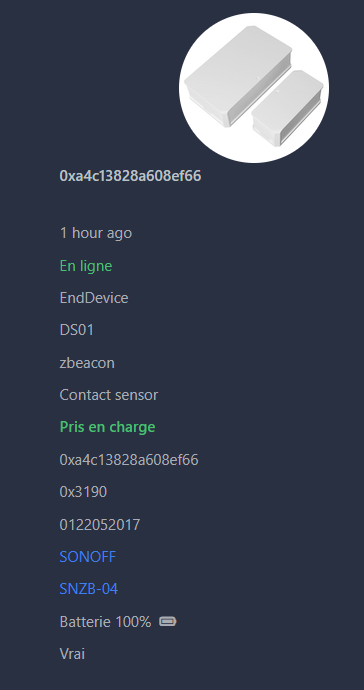
It is therefore the DS01 model that appears on Zigbee2MQTT with an unknown manufacturer?! zbeacon?!
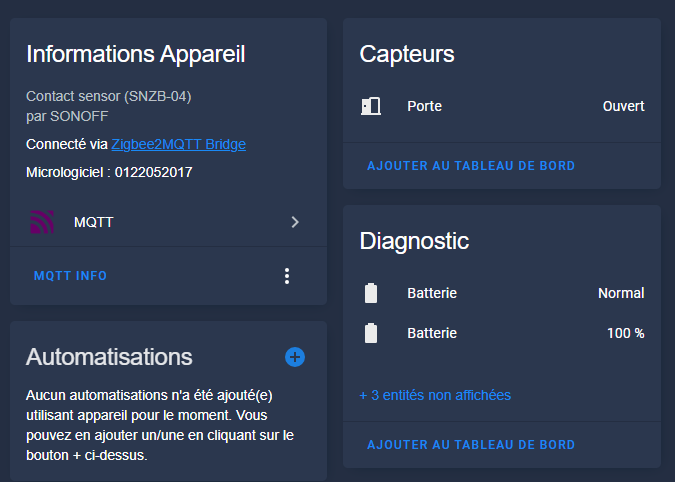
On the drawing, it looks like a sonoff by the way, I think zigbee2mqtt identifies it as an SNZB-04.
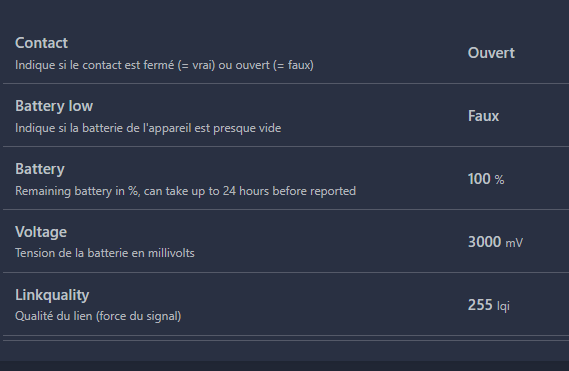
The Open/Closed contact is well-functioning.
Clearly the information on the batteries goes up.
I'm going to Home Assistant.
I can find my equipment there
It is perfectly integrated! Note that it comes back in SNZB-04 as in Zigbee2MQTT, this product must be a clone of SNZB-04, impeccable.
Zigbee Tuya module with neutral: verification and installation
This Zigbee Tuya module requires a neutral to operate and improve the Zigbee network. I received a model without visible reference, marked JR-ZDS02 at the time of purchase, with mandatory N terminal. Unlike the neutral-free module like the ZB-Switch-1ChL, it routes the Zigbee frames, thus enhancing the reach and stability of the mesh.
Neutral allows active routing of Zigbee signals: Each module with neutral acts as a repeater, relaying commands between remote devices. Without neutral, the equipment remains a terminal point, limiting network coverage. Choosing a module with neutral therefore optimises the entire home automation installation.
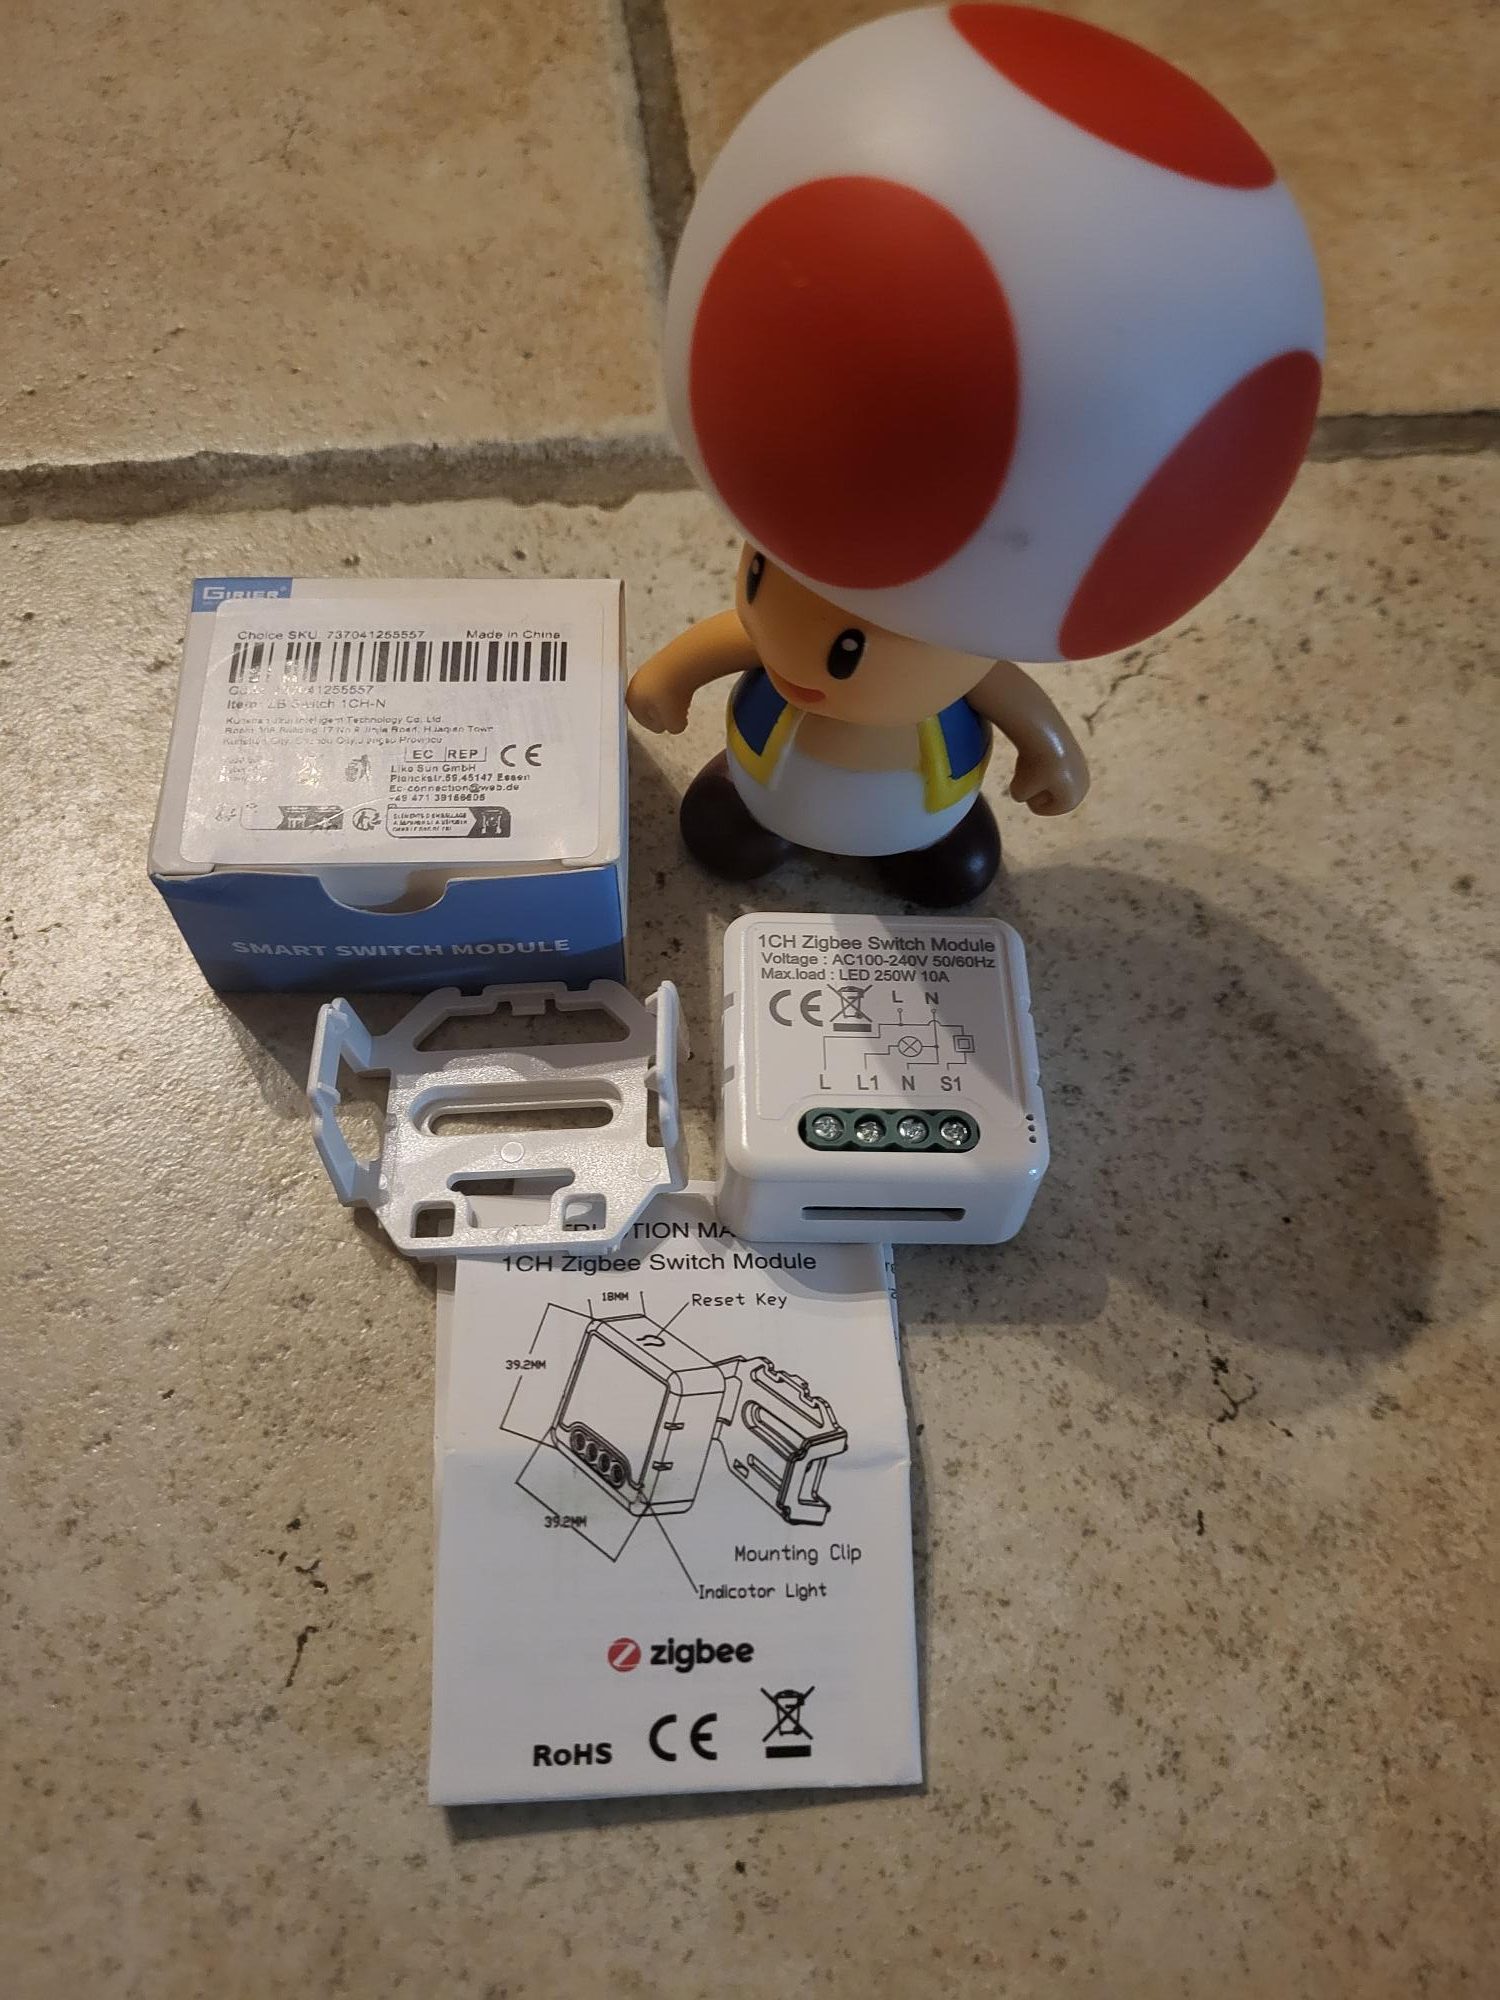
I check the received model
Many references exist for these Tuya Zigbee modules, but mine does not display any on the box or module. I noted JR-ZDS02 because it was indicated at the time of purchase. This specific version requires the presence of the neutral (blue wire in the electrical installation).
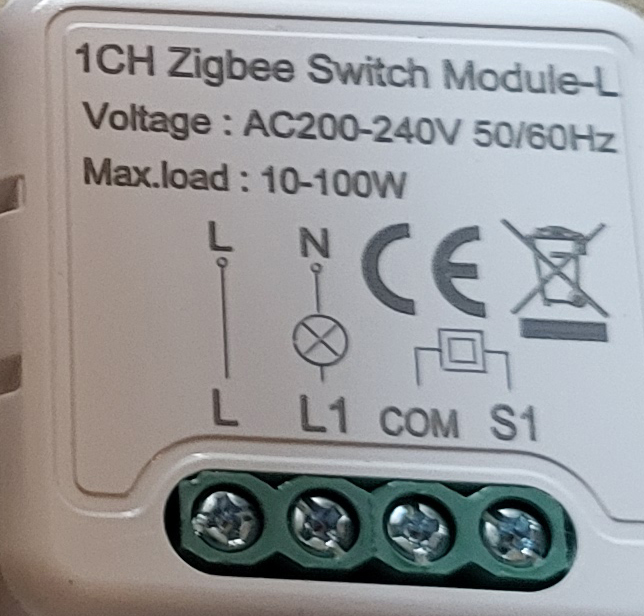
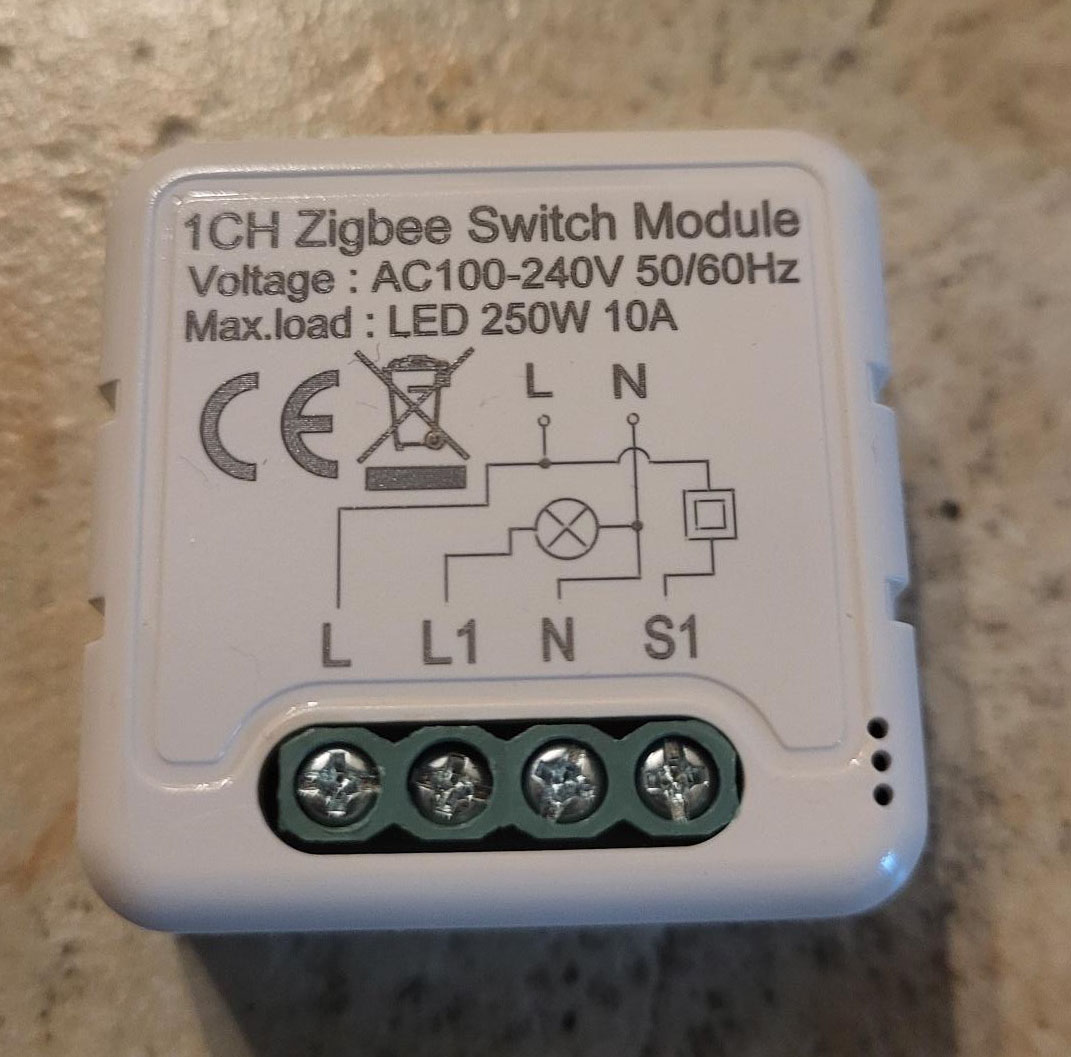
Attention: this module looks like a line for a line Module L (ZB-Switch-1ChL) which, on the other hand, operates without neutral. The key difference lies in the terminals: N (neutral) here, COM (common) on the other model.
Visible difference between terminal N and COM
As a reminder, favoring equipment with neutral improves the Zigbee network. They route the frames, creating a robust mesh where each module relays the signals. Without neutral, they terminate the network without relaying, reducing the overall reach.
I connect L and N
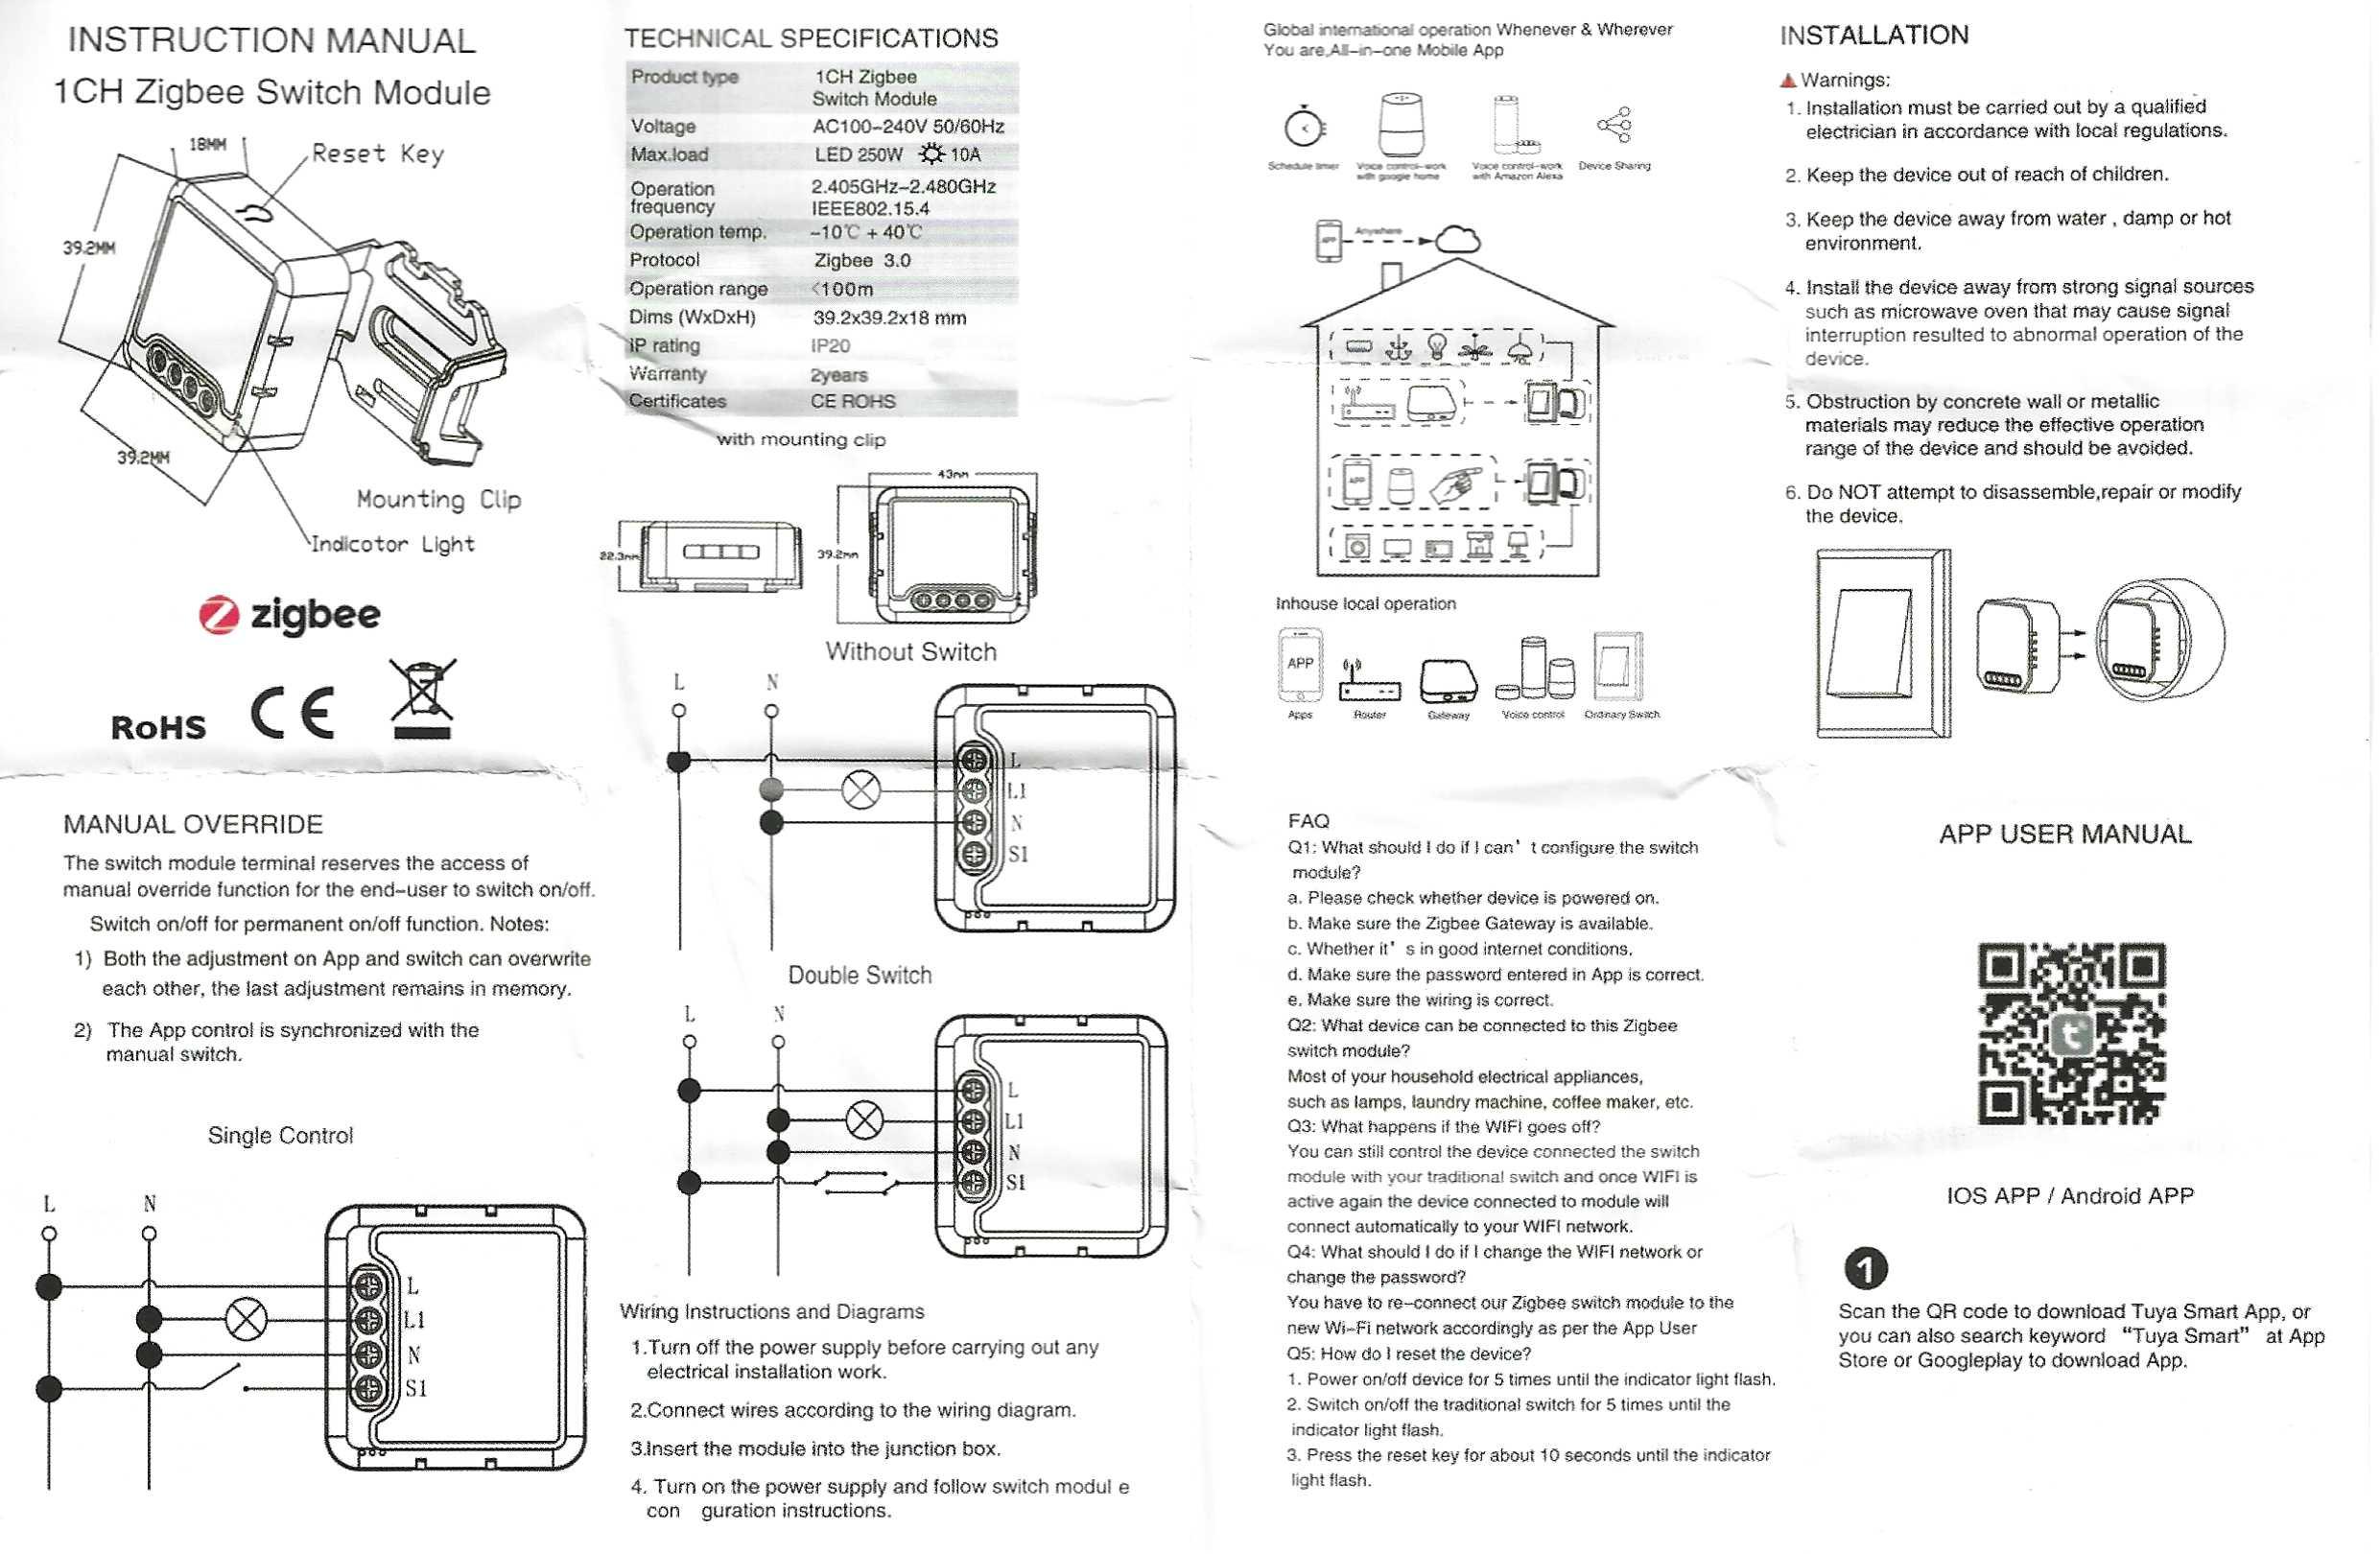
Connections use a standard Wago or screw connector, typical of built-in modules. Connect the phase (L, brown) to the L terminal, the neutral (N, blue) to the N terminal, and the load (lamp or circuit) to the output terminal.
Always check that there is no tension with a tester before handling. Cut off the general circuit breaker, securely connect the twisted wires, and then close the flush-mounted housing.
Classic connector for L and N
I integrate this box with Zigbee2MQTT
When power is turned on, the blue LED flashes immediately: sign that the module is switching to automatic pairing mode. Enable the pairing mode in Zigbee2MQTT (Permit Join button for a minimum of 30 seconds).
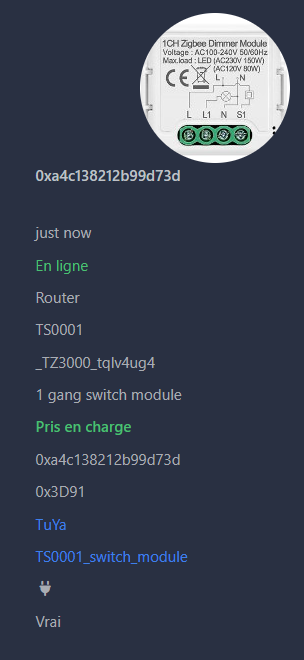
The pairing succeeds in a few seconds: the module appears in the list of devices. It is recognised as _TZE200 _fwoovgla (TS0001), with the exact icon of the 1 channel module.
Fast pairing and perfect recognition
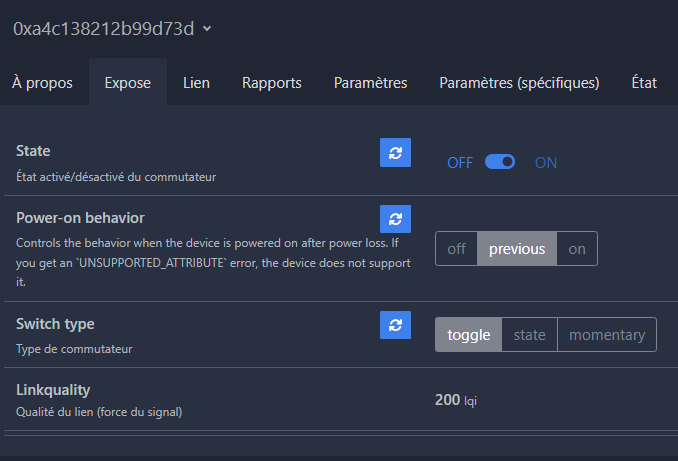
Entities shall immediately report: state (on/off), brightness (if dimmable), power, and linkquality. Test the ignition/turn-off: Everything works without any additional configuration.
Functional state and brightness controls
I'm going to Home Assistant.
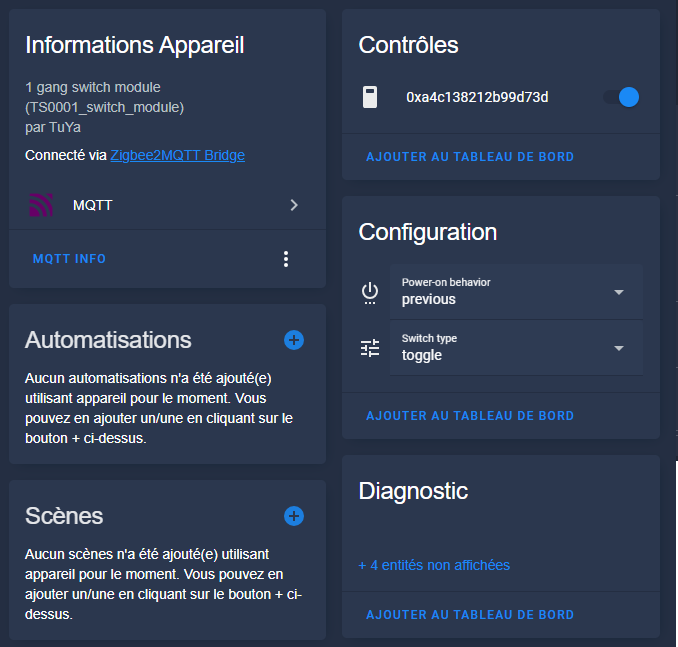
In Home Assistant, the equipment appears automatically via the MQTT integration. It is configured in switch or light according to the exposed entities (state for on/off, brightness for dimmer).
Ready-to-use entity in HA
The whole is perfectly integrated: fluid controls, immediate responsiveness, and monitoring of power consumption. No additional YAML configuration required.
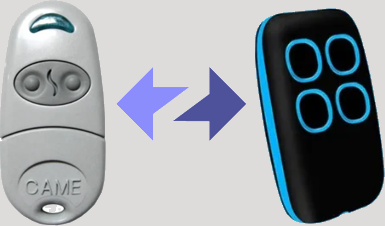
Wanting to replace a remote control on my portal, I wondered if it was possible to replace it with a Chinese product that was 8 times cheaper. Read More
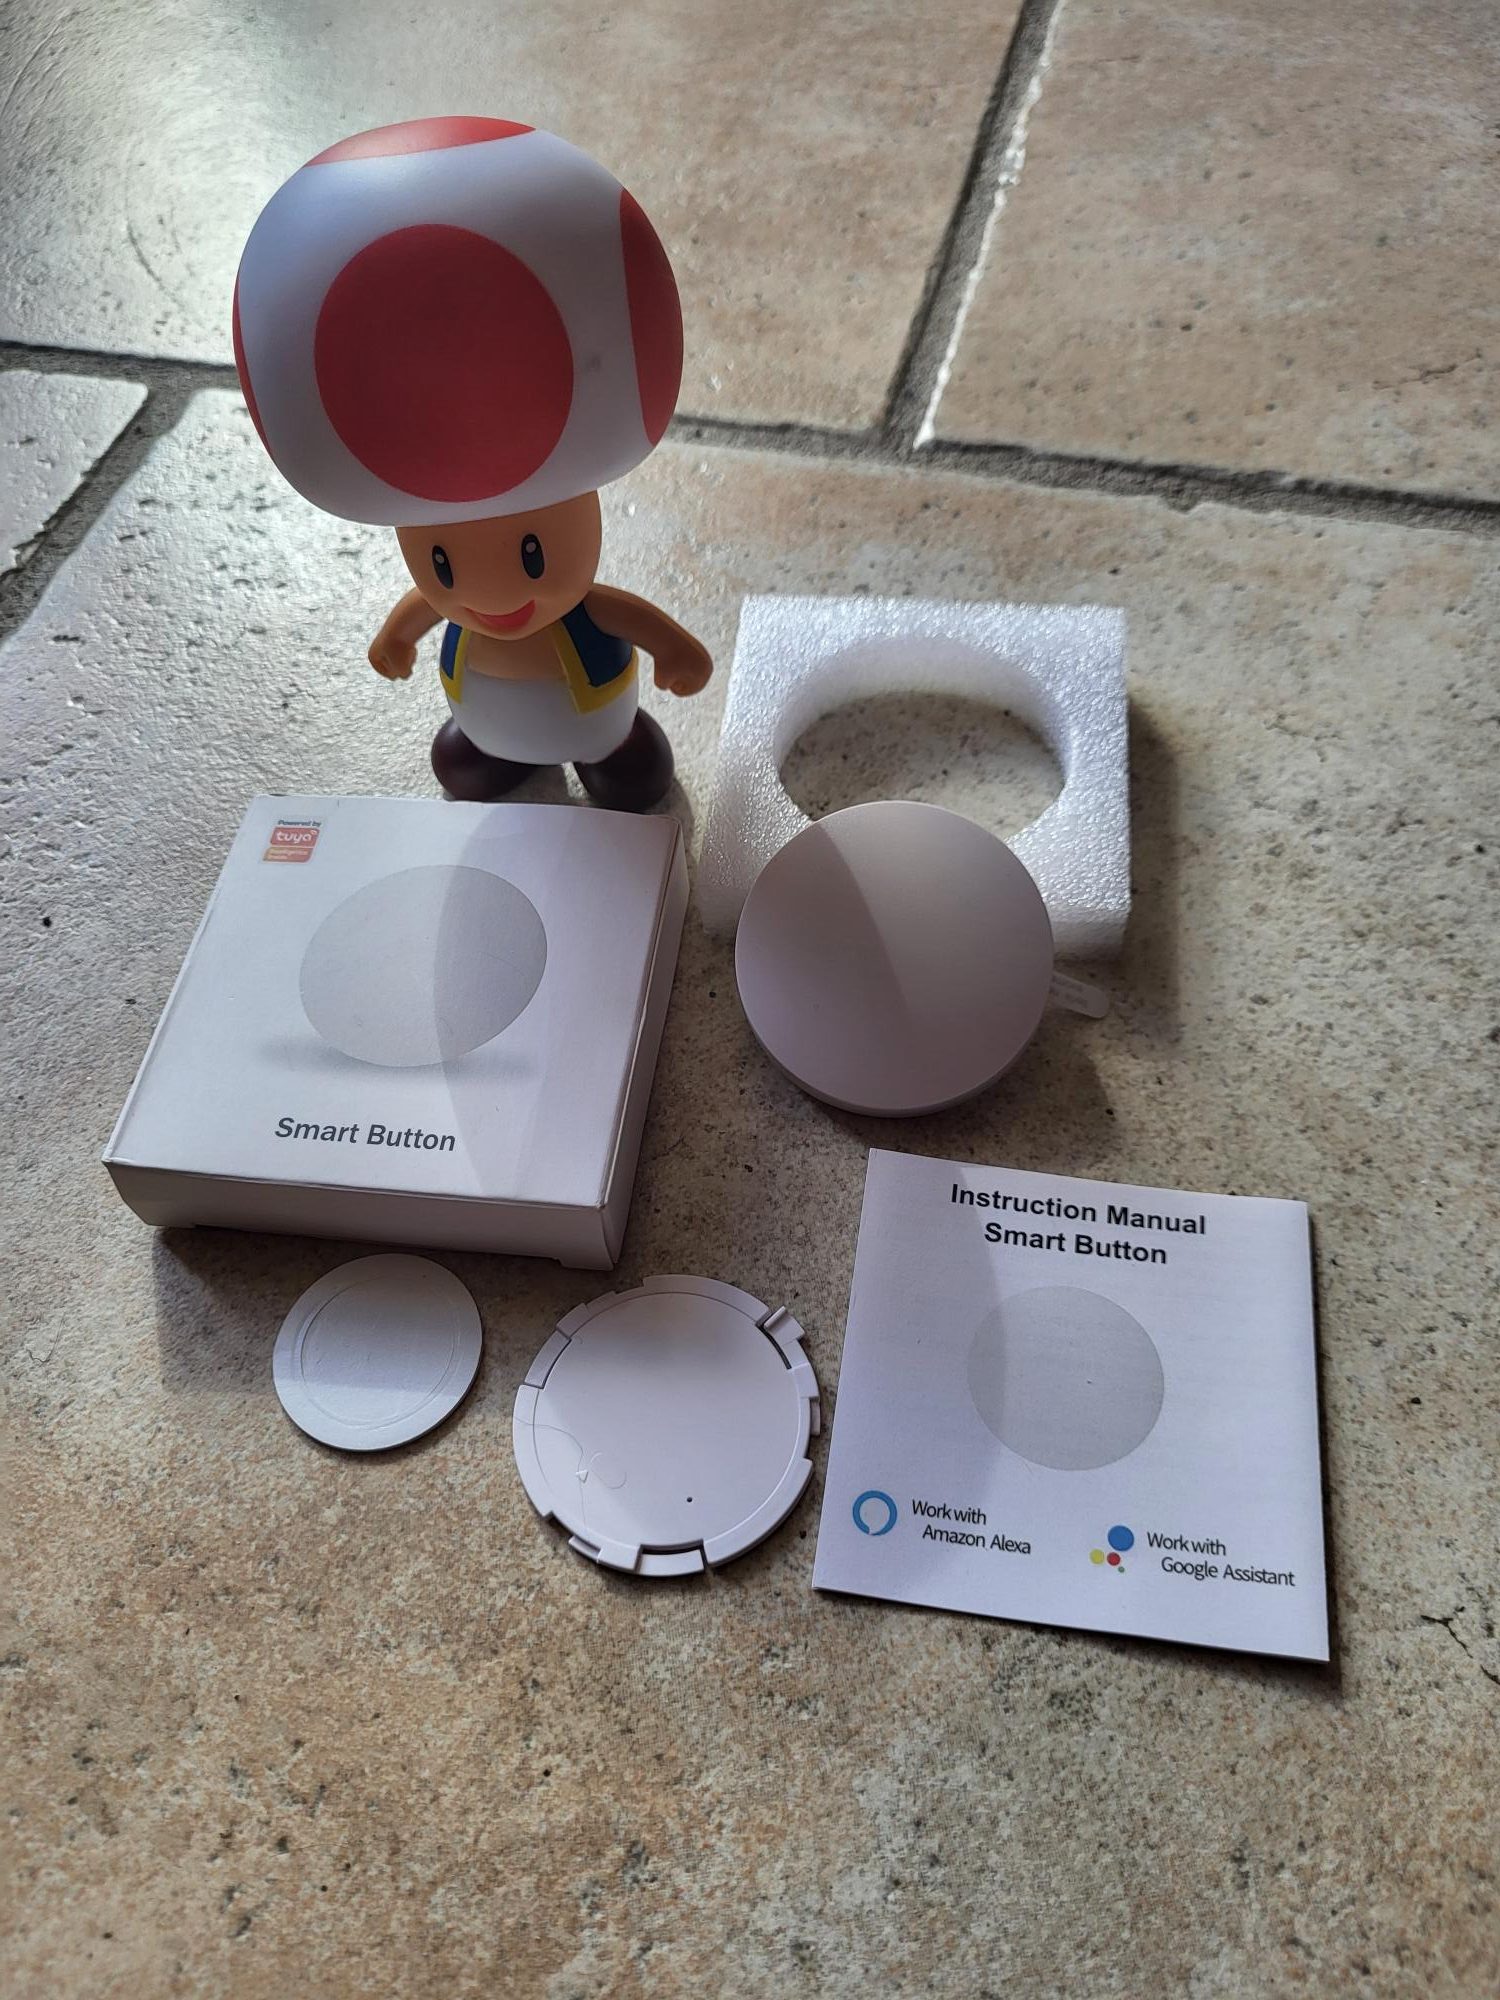
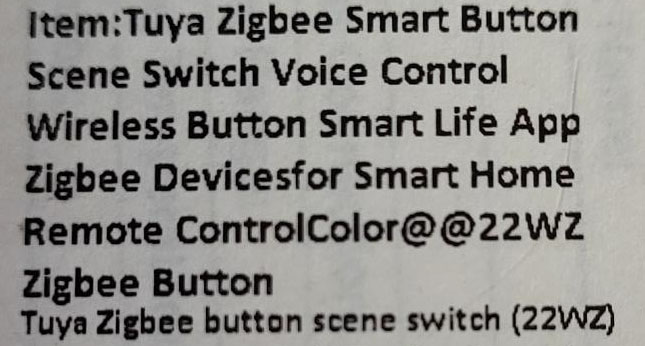
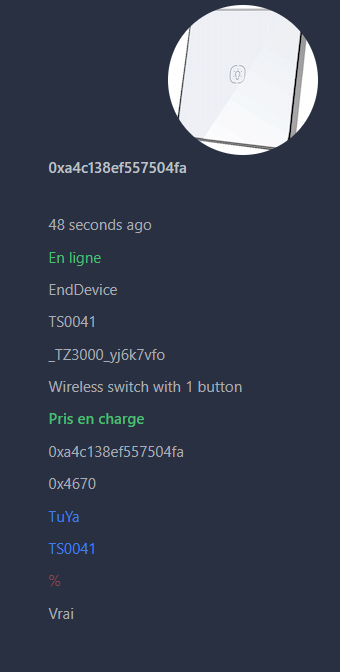
The Zigbee Tuya button that I received comes in a single carton marked only ‘Tuya’, with no obvious technical details. A small label on the side confirms the Zigbee and Zigbee2MQTT compatible model, avoiding cloud-only WiFi versions. This immediate verification reassures because Zigbee2MQTT allows a complete local integration, without constant internet connection or privacy risks related to the remote Tuya cloud. Here I explain how to identify a real Zigbee model for secure and responsive home automation.
Label confirming the Zigbee model on the button box.
I distinguish Zigbee button versions
This type of button exists in several variants according to Chinese manufacturers. The one tested previously shares the same compact shape and functions: single, double and long pressures. In the world of low-cost home automation, copies are very similar, but Zigbee2MQTT compatibility remains the decisive criterion. Always check the exact reference to avoid WiFi disguised as Zigbee.
✅ Purchase price in batch (link ‘verify available’)
I prefer Domadoo for its reliable and responsive French service, or Amazon for 24-48h delivery with easy returns. On AliExpress, I check three key points: the precise reference in the description, the actual photos of the seller (not generic), and an evaluation rate >98% on +100 sales. This protects against mislabeled counterfeits or WiFi models.
I integrate the button into Zigbee2MQTT step by step
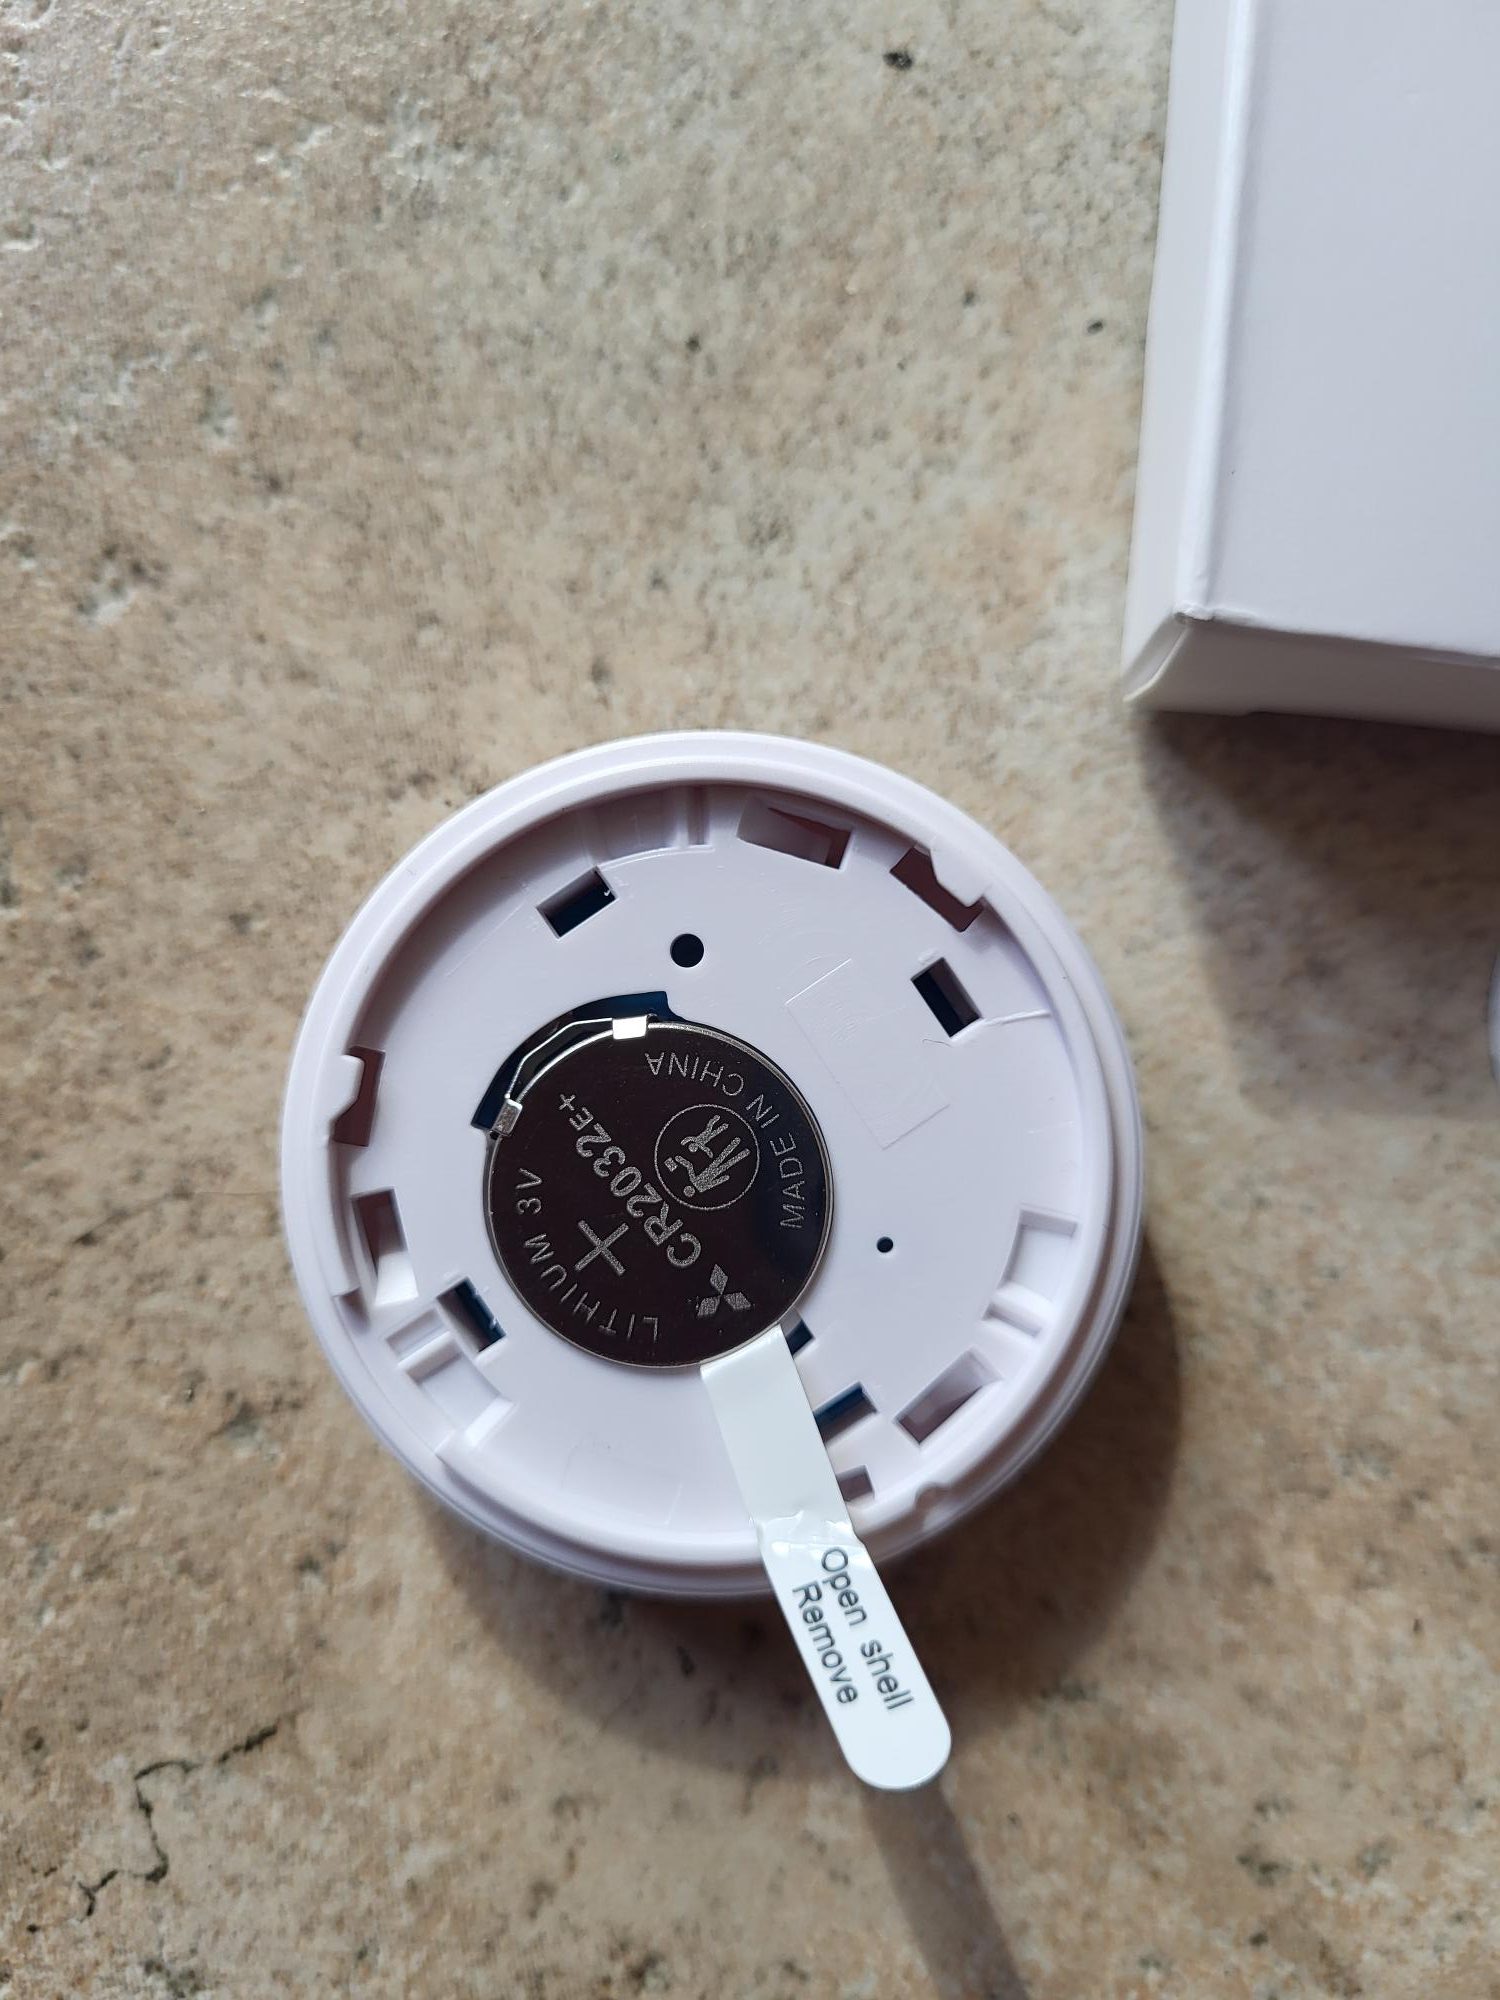
I start Zigbee2MQTT in pairing mode via the web interface accessible at the IP address of the Zigbee coordinator. I then open the button by gently removing the plastic tab that blocks the included CR2032 battery. This standard 3V button battery provides 1 to 2 years of battery life depending on the frequency of use, and is replaced without tools by simply lifting the rear cover.
Simple removal of the tab to activate the CR2032 battery.
To open the case if necessary, I rotate the rear cover 2-3 mm counterclockwise. Attention: the clip system is fragile, excess force breaks the bindings. When inserting the battery, a red LED flashes 5-10 seconds to signal automatic pairing. Without visible reset, just press firmly in the center of the battery 5 seconds to force the pair mode if nothing happens.
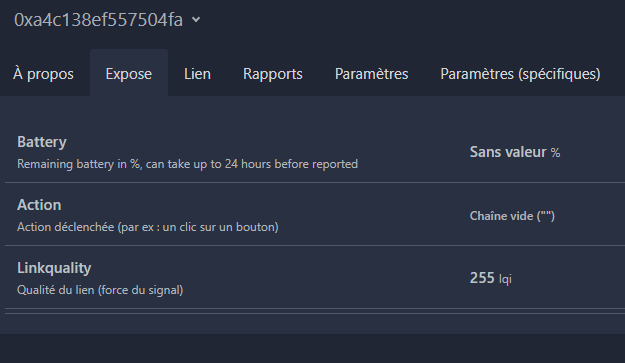
On the left: successful pairing in less than 30s. On the right: "Action" field reacts to single, double, long press.
The pairing finishes in less than 30 seconds, the button is displayed with a generic icon but perfect functions. Single, double or long pressures are displayed instantly in ‘Action’. The battery level is not reported, typical of basic Chinese firmware: schedule a change every 18 months or note the date of installation.
The button works natively in Home Assistant
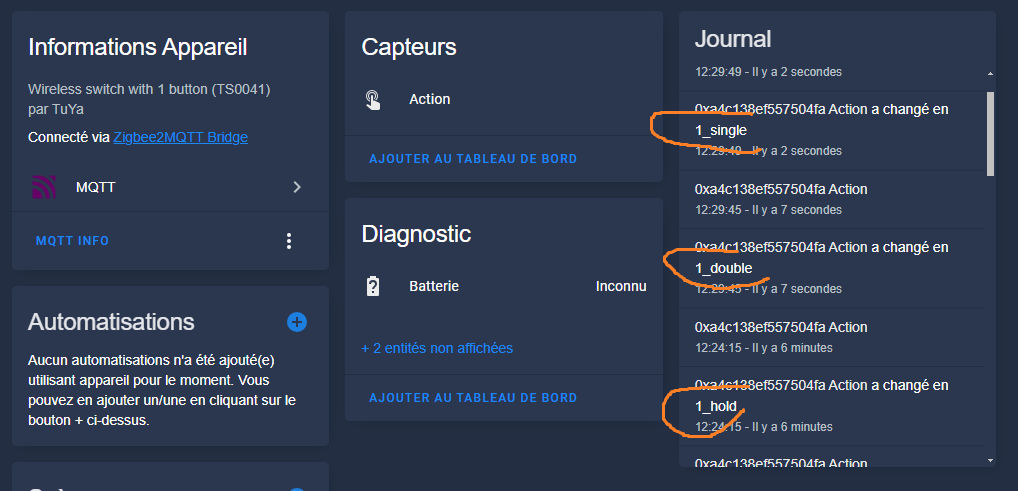
Once in Zigbee2MQTT, the button automatically synchronizes in Home Assistant via the MQTT integration. No extra adjustment is required: the "Action" sensor exposes all events ready for automation.
Single, double, hold states recognized natively for rapid local automations.
Single, double and long pressure triggers are ideal for turning on groups of lights, throwing scenes or multi-equipment scripts. Latency remains below 200 ms in Zigbee LAN, much higher than slow and internet-dependent Tuya cloud solutions.
⚠ Caution: The information shared here is based on personal feedback. They should in no way be considered as scientific advice or formal instructions. It is imperative to exercise great caution if one wishes to reproduce what is described, and it is strongly recommended to use a professional whenever technical aspects or potential dangers are involved. ⚠ Contact | Legal notice


 English
  French
  Spanish
  Chinese
  German