

Objective
The purpose of this tutorial is to use the pretext of reproducing a tile corresponding to the Synology Security Advisor on Jeedom to explain how to use the Synology-API plugin.
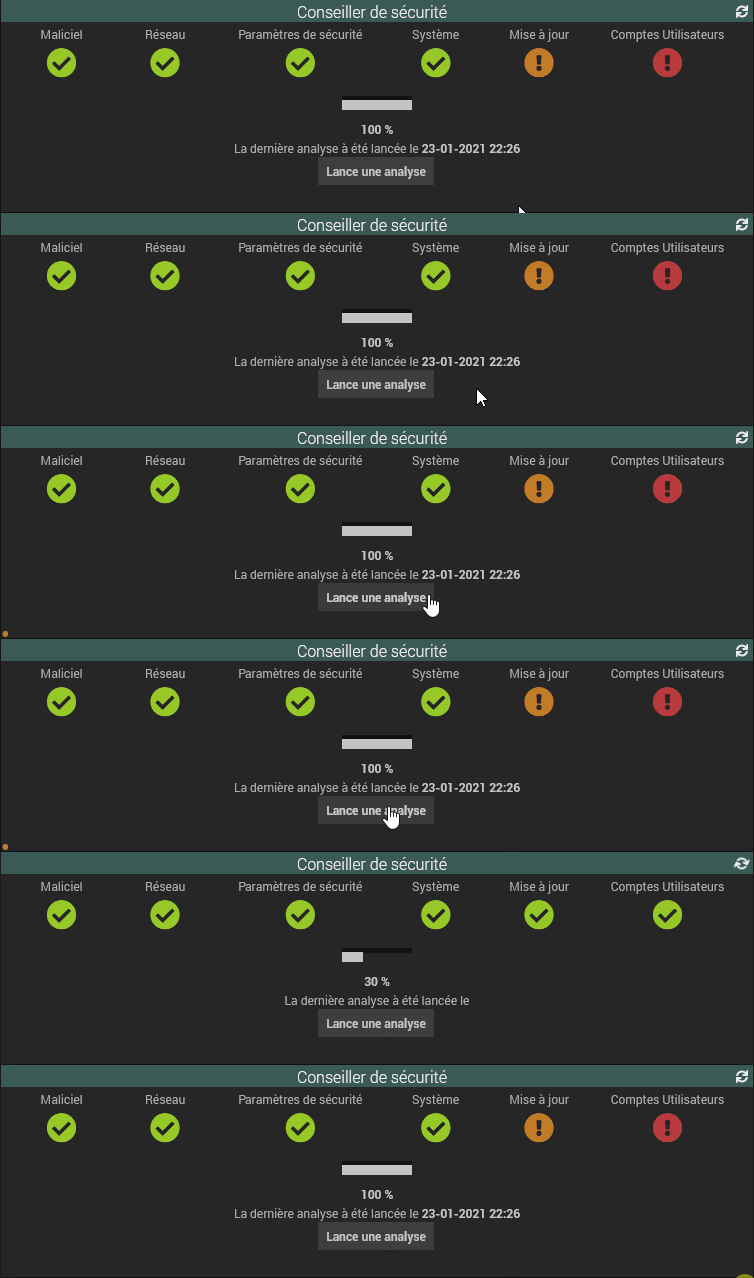
Important: This tutorial is in two parts
Depending on what you want to do and/or understand about the use of Synology APIs and how the Synology-API plugin works, you have two options:
- Either you read the Part I that explains to you, step by step in the most pedagogical way possible what you do
- Either you read directly the Part 2 who will provide you, turnkey the tile of your equipment, with the commands and information already programmed
Hardware, software
- All Synology equipment is equipped with a Security Adviser, who will be used:
- On the Jeedom side, you need the Jeedom-Synology link called Synology-API

Part 1: Complete explanation with pedagogical virtue, step by step
Send orders to Syno
Find the commands to send to the router
In the Tuto Enable/Disable WIFI from my network with Jeedom, it is explained how to find the commands to send.
For this tutorial, the command to be sent to launch the analysis in the security adviser is:
- Name of API: Core.SecurityScan.Operation
- Method to be used: start
And as a parameter:
- &items=ALL
Adding this command to Jeedom
To send an order from the Syno, you must add an action command in the Synology-API plugin.
- Launch Synology-API and click on the + to launch the wizard
- In API to use, select Core.SecurityScan.Operation
- In Method to be used, select Start
- In other settings, add &items=ALL
- Be careful not to forget the & at the beginning.
- click Launch Query.
The assistant replied: Request sent and executed successfully! This is because it worked and Syno replied that the request was executed.
Just below, the wizard proposes to save this command to be able to reuse it directly or via a scenario. Fill in the form and validate the addition of the order

Recover information from Syno
On the principle of previous queries, the Syno can be questioned for information. To respect the Jeedom language, we will refer to these queries as "info commands".
Continuing the current example, we will question the Syno to retrieve the result of the Security Adviser’s analysis.
The manipulation to find this information is identical to the previous explanation.
Here is the API to be used:
- API: SYNO.Core.SecurityScan.Status
- Method to be used: System Get
This request returns the following reply:
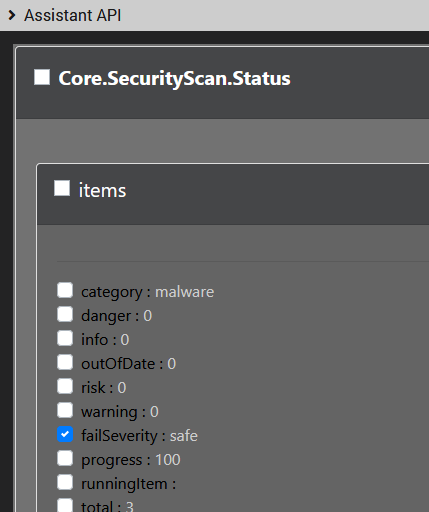
Tick:
- all failSeverity boxes in each section
- lastScanTime
- sysProgress
After adding the new Jeedom device that includes all the commands, you can rename the commands for a better understanding.
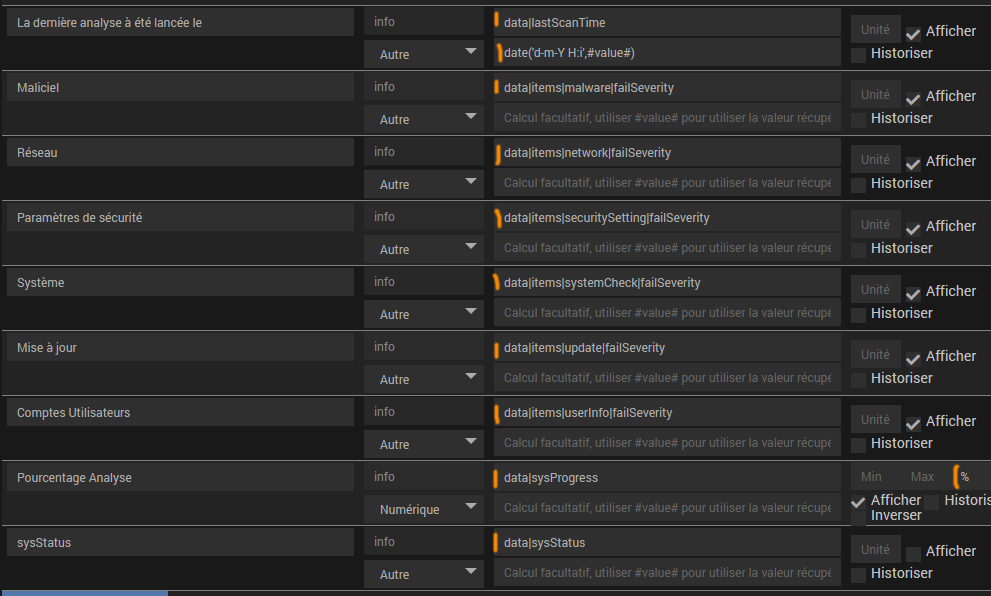
Please note that it is useful to use the ‘calculation’ box to transform the information given by the API into a date/time.
For example: date(‘d-m-Y H:i’,#value#)
Improve Widget (v1)
The failSeverity field gives information in the format of a word corresponding to a state: e.g. Safe, Risk, outOfDate, …
It will be necessary to create a Jeedom widget to transform this state into a logo, here is what I propose to create a Widget:
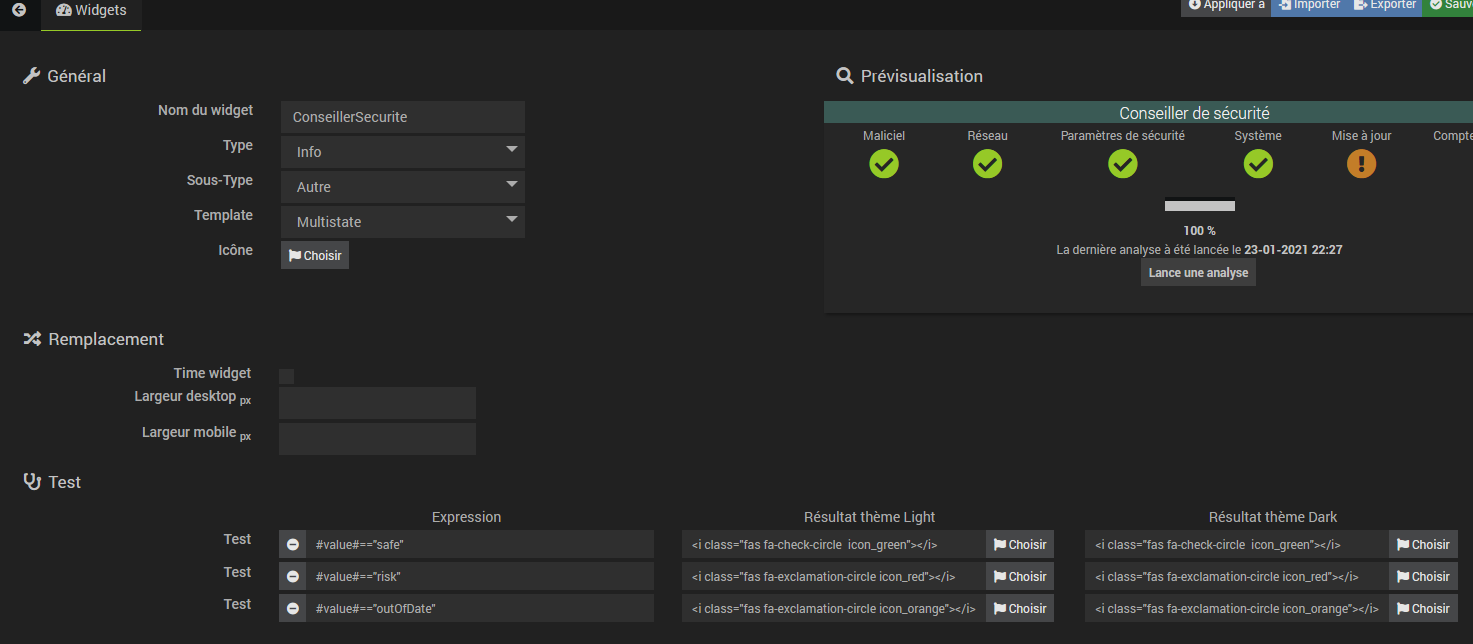
I chose to do three tests:
- #value#== "safe" which displays fas fa-check-circle icon_green
- #value#== "risk" which displays fas fa-exclamation-circle icon_red
- #value#=="outOfDate" which displays fas fa-exclamation-circle icon_orange
- #value#=="warning" which displays fas fa-exclamation-circle icon_orange
- #value#== »info » which displays fas fa-exclamation-circle icon_blue
This widget is therefore assigned to all failSeverity values
Improve Widget (v2)
I left the previous paragraph because it has a pedagogical virtue to explain widgets but since then I have integrated the widget into the plugin.
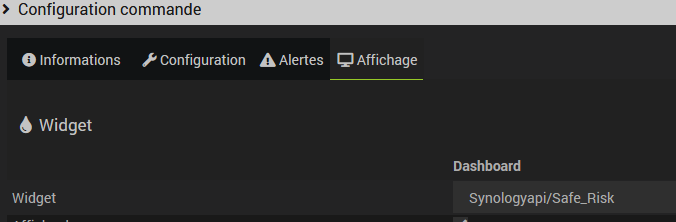
Simply choose the Synologyapi/Safe_Risk widget for each info command:
Merge the two devices into one
The Synology-API plugin is able to merge two devices to have on the same device Jeedom commands and info.
All you need to do is follow the fusion wizard
Bonus: Have the security advisor’s result updated in real time
The order Launches an analysis asks Synology to trigger the analysis.
Immediately after the launch of this command, it is necessary to add the launch of a refresh to update the tile, this is done by clicking on the gear on the right at the end of the command
then Configuration tab, add Refresh

This will launch the first Refresh, for the rest, you have to use a scenario.
The scenario will be:
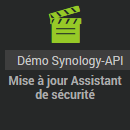
This scenario will be triggered by:

The content of the scenario will be:
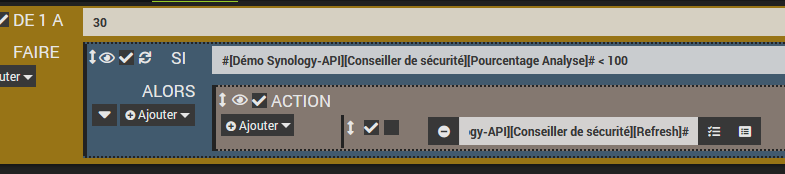
Result
Part 2: Direct import of a device model
If you do not have the soul of a computer scientist and do not want to understand what you are doing, use the second part directly, which gives you the device model.
You will thus directly have the commands and information that will be preprogrammed, even the widgets are included thus offering you a clean and usable tile immediately.
Import a model of equipment
The Synology-API plugin has integrated an import feature, you just have to click on the button Import a Model, just under the name of the relevant Synology equipment:
For this "WiFi" device, here is the JSON file to import
- http://jeedom.sigalou-domotique.fr/documentssigalou/Conseiller_de_securite.json
- or in zip format: http://jeedom.sigalou-domotique.fr/documentssigalou/Conseiller_de_securite.zip
Once the widget is imported, it is up and running.
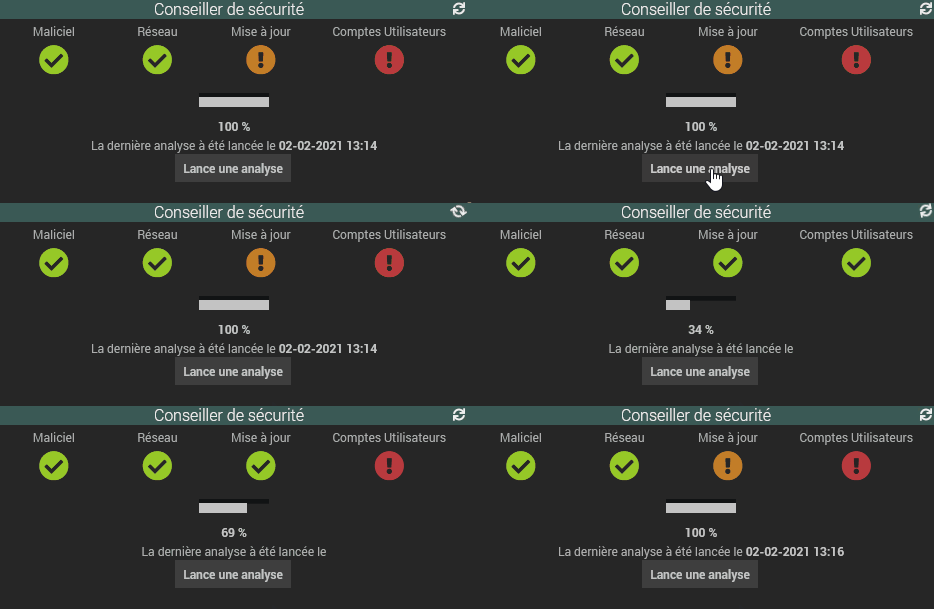
In order for the widget to update, you must add the bonus of the 1st part, follow this link to add the tile refresh automation.
 English
 French
 Spanish
 Chinese
 German