

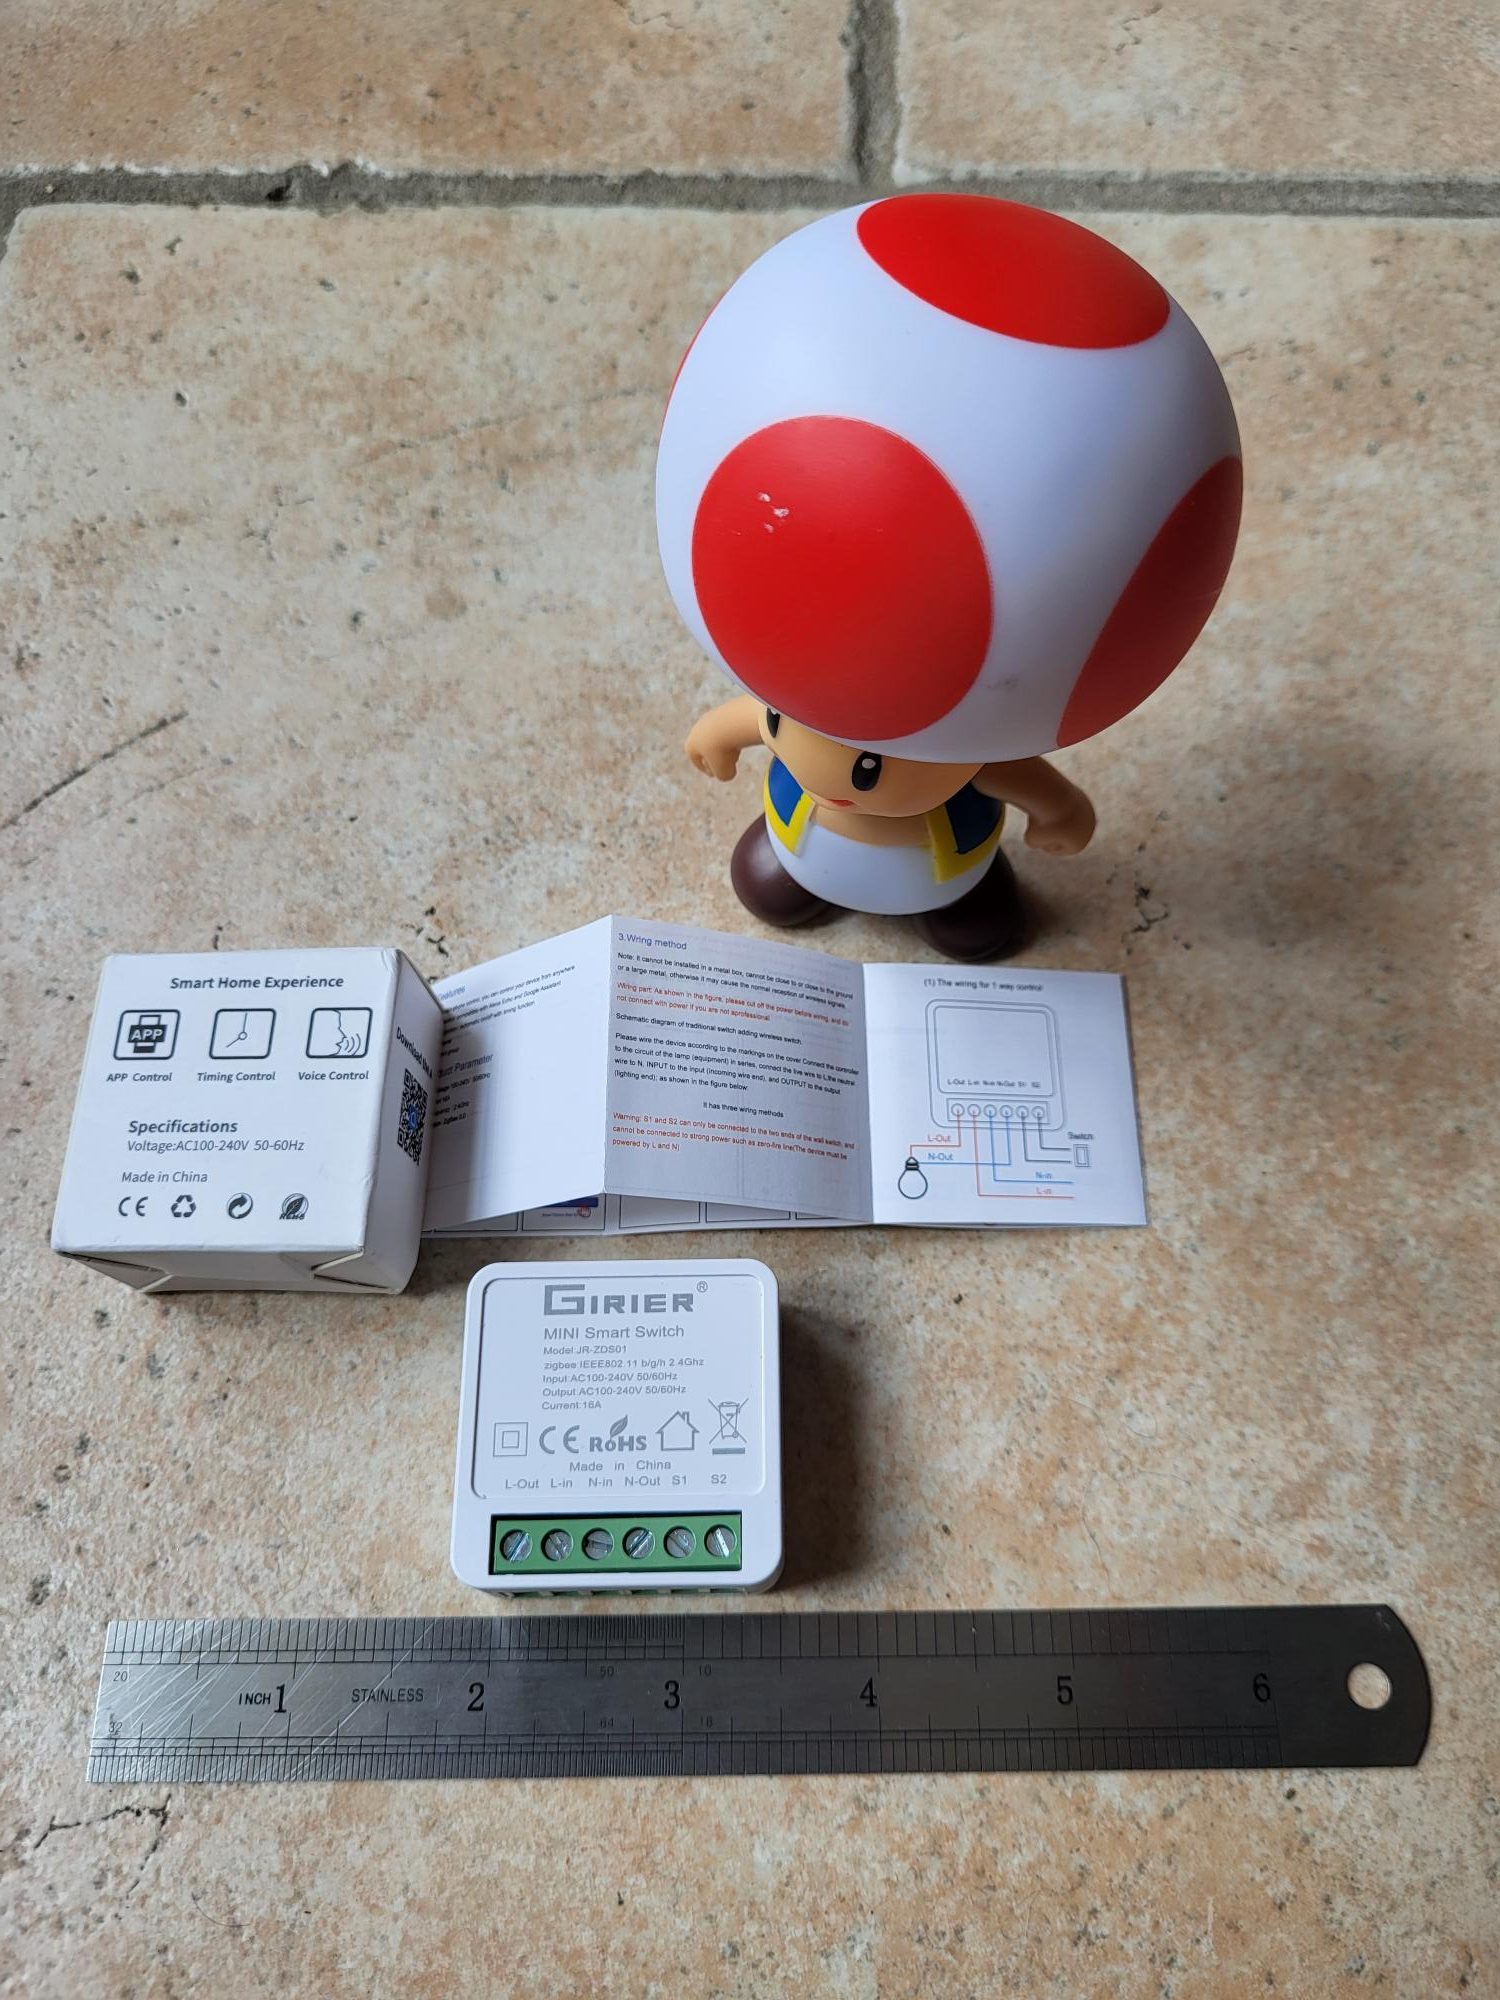
Installation Girier JR-ZDS01 Zigbee in 5 steps
The Girier JR-ZDS01 is a compact and reliable Zigbee 1 gang switch for home automation. This article details my complete installation with Zigbee2MQTT and Home Assistant, from unboxing to integration. Follow these precise steps to reproduce the installation without error, even without experience in electricity or home automation.
I check the model JR-ZDS01 received
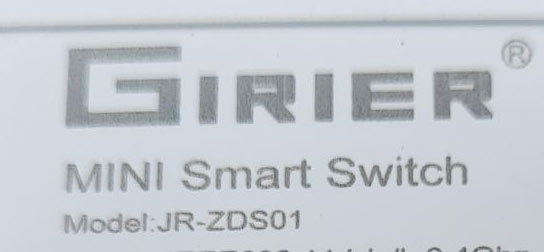
Several references coexist at Girier, but my copy clearly bears the mark JR-ZDS01 on the case. This model is a single 1-gang switch with no built-in energy monitor, unlike other more advanced versions.
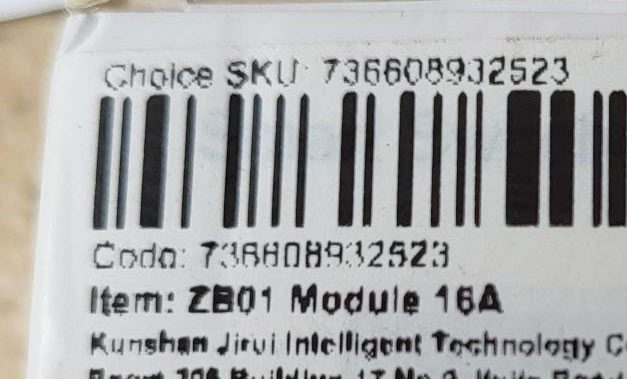
There is another reference on the packaging: ZB01, which probably refers to the generic version or a variant. Always check the inscriptions on the main case to accurately identify your device.
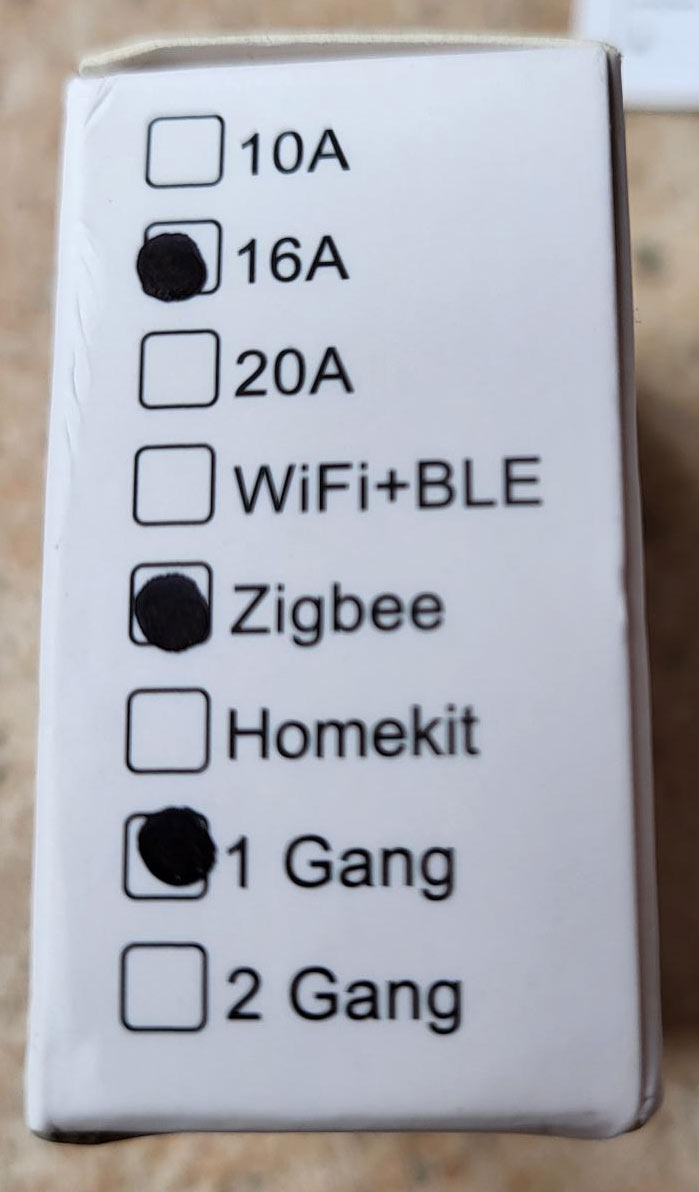
The Girier brand offers several ranges. The sticker on the box lists other models such as 2 or 3 gang switches, confirming the diversity of their catalogue.
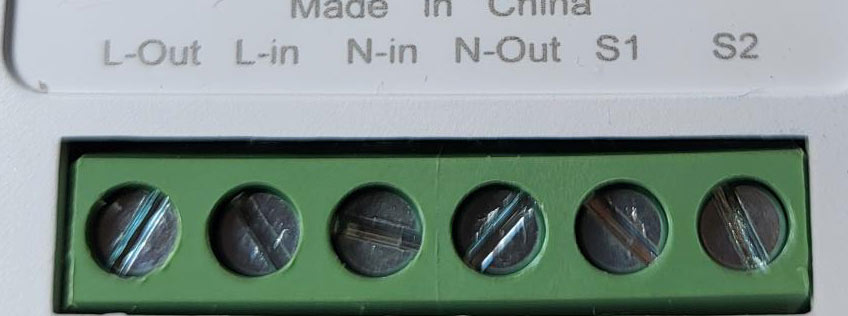
I connect L-in and N-in
This model uses conventional screw connectors for power supply: L-in for phase (brown or black thread under 230V) and N-in for neutral (blue thread). Firmly tighten the screws without excess to avoid damaging the wires, typical of Zigbee built-in modules.
I launch the Zigbee2MQTT pairing
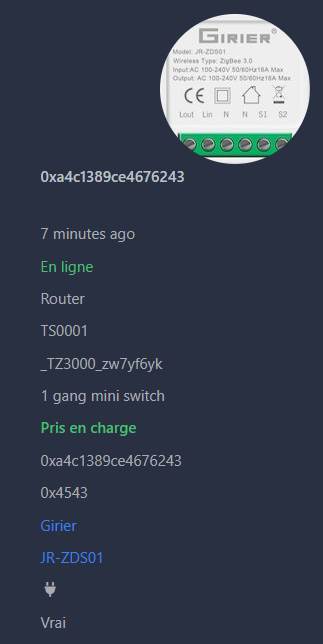
In Zigbee2MQTT, enable the pairing mode ("Permit Join" button). The equipment automatically connects within seconds. It appears as JR-ZDS01, even if the displayed image does not match exactly – this does not impact the operation.
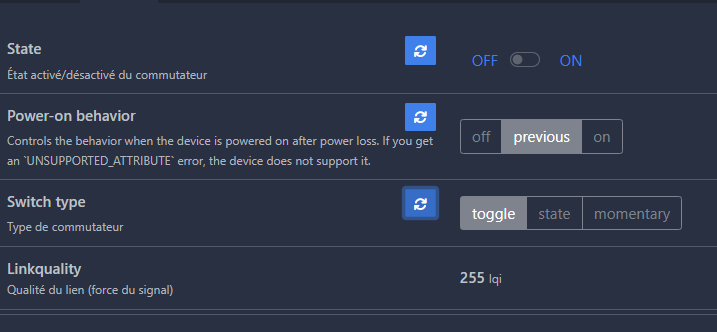
Available presentations include switch (state: ON/OFF/TOGGLE), power_on _behavior (off/previous/on) and switch_type (toggle/state/momentary). Test the orders immediately: the switch shall respond without delay. For a timed ignition, send {"state": "ON", "on _time": 300} (300 seconds).
I configure in Home Assistant
Restart Home Assistant to integrate the equipment via Zigbee2MQTT. It automatically appears as a switch entity with the name JR-ZDS01, ready to use in automations or the dashboard.
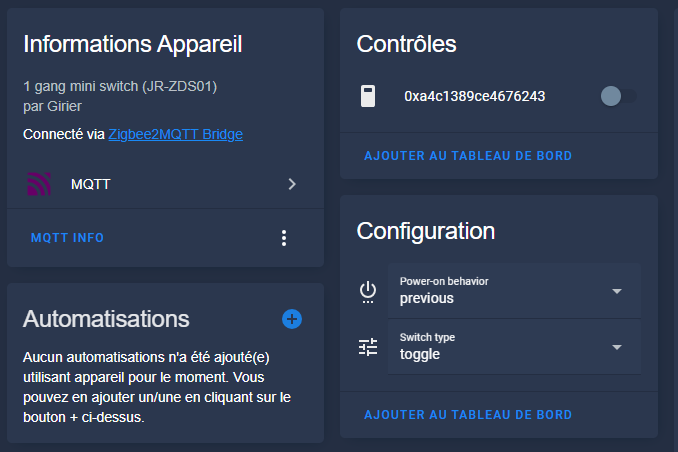
The switch works perfectly: switch on/off, toggle, and real-time status boost. No additional configuration is required for basic use.
 English
  French
  Spanish
  Chinese
  German