

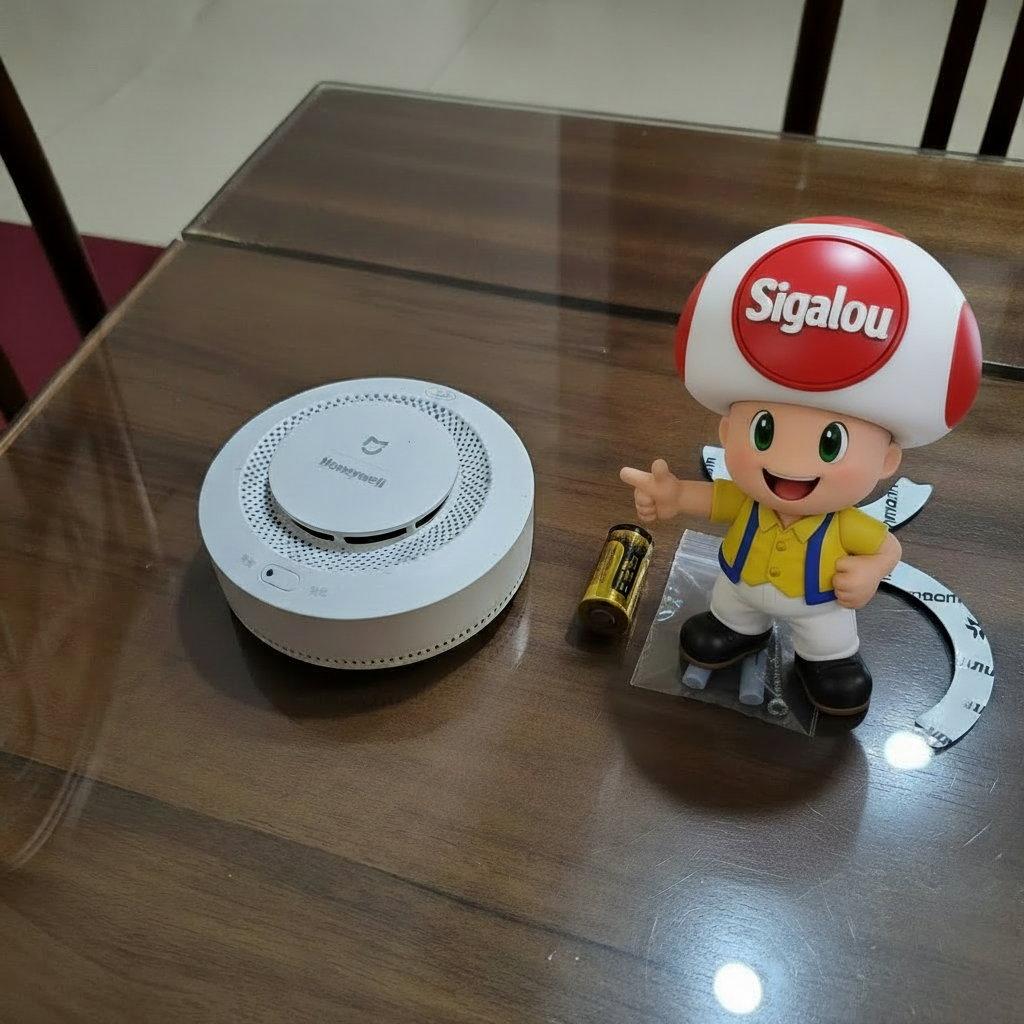
🔍 I check the received model
The package arrives intact. Inside, I can find the Zigbee Mi Honeywell smoke detector JTYJ-GD-01LM/BW which I ordered.
Beware of the same device profile in Wifi, Bluetooth or nothing at all.
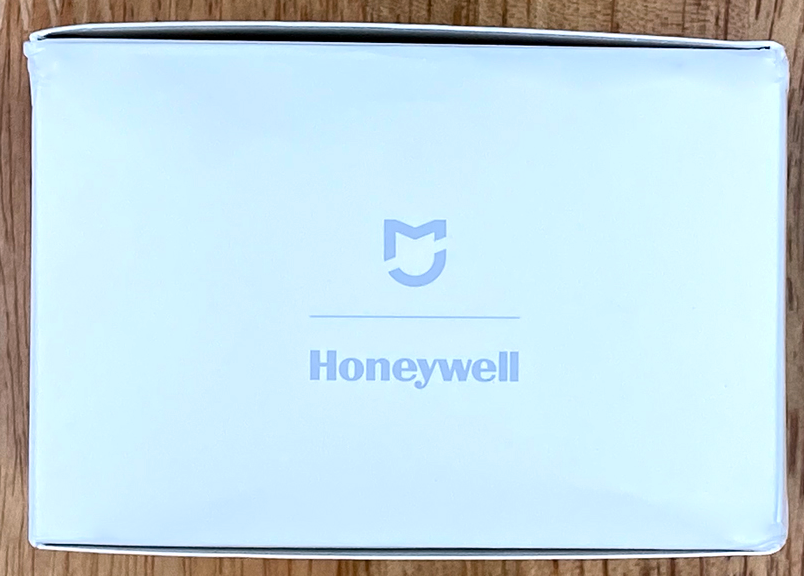
It is a Xiaomi Mijia Honeywell model, diameter approximately 10 cm, with ceiling mounting bracket and screws provided.
- On the carton : Not much except Honeywell
- Type of equipment : Photoelectric smoke detector
- Protocol : Zigbee 3.0
- Power supply : 1 CR123A battery supplied
- Intended installation : Ceiling, kitchen
- Detection ranges : Smoke density, adjustable sensitivity
- Dimensions / IP : ~105 mm diameter, IP not specified
🛒 Where to buy this Zigbee detector?
Be careful, check the seller to avoid counterfeits.
Here is the link to the page dedicated to JTYJ-GD-01LM/BW. I referenced the sellers and prices.
📦 Unpacking and First Impressions
At the reception, I unpack the detector, the wall bracket and the screws. Quality Honeywell premium, solid plastic white, discreet design. Perfect for a kitchen ceiling.
🔋 I add the stack
I'm sliding the new CR123A battery into the compartment. You have to think about letting him do his self-tests and calibration, for 5 minutes, I'll have a coffee
🔗 I pair in Zigbee2MQTT
I put Zigbee2MQTT in pairing mode. I wait 5 minutes for the full self-test, then press the centre button 3 times quickly. (not easy to find the pace, several tries to make it work). The LED does not help me, it is Zigbee2MQTT who tells me that it is detected!
The photo corresponds, the model also, well played Xiaomi, well integrated.

Right there, everything is fine and everything is perfect, I look at the Exhibitions


🚨 Smoke (binary)
Smoke alarm status. true = smoke detected, beep + alert. false = clean air.
🔋 Battery Low (binary)
Weak batteries. true = change CR123A. Useful for making a notification.
🔓 Tamper (binary)
Detector open/disassembled. true = sabotage alert.
It doesn't work at my house.
📊 Battery (%)
Percentage batteries. 100% = new.
🎛 Sensitivity (enum)
low/medium/high. Medium recommended balance.
💨 Smoke Density (numeric)
Density smoked. For progressive thresholds.
Smoke density (e.g. 9 on my screenshot) measures the quantitative concentration of smoke particles in the ambient air, in internal arbitrary units (not ppm or standardised dB/m, raw value of the sensor).
Low value (0-10 normal) = clean air.
Gradually rise (e.g. >50 threshold alarm according to sensitivity). Precise early detection before "smoke=true".
Usefulness: Progressive automations. For example: fan if >20, alert if >50, siren if smoke true. Monitors pollution/smoke cooker without a strong alarm.
Ex. 9 = very clean, ideal rest. Watch trends in HA!
🧪 Selftest (enum)
To run a self-test.
🔋 Voltage (mV)
Battery voltage (e.g. 3065 mV).
🧪 Test (binary)
Test mode true or false.
"Test" (False in my case) indicates whether the test mode is currently activated on the detector.
In ‘False’ (false), no tests are in progress; the detector is in normal monitoring mode.
Functional details:
Should temporarily switch to "true" when a self-test is run (via {"selftest": ""} or extended button >3s), then should return to "false" after end (beep ~30s if OK).
Usefulness: Monitors if manual/auto test is running. Monthly automation without real smoke to check proper operation (safety standard).
Behaviour: Continuous beep + red LED during test. "False" confirms ready actual detection.
Note that at home, it doesn't work, I read that others had the same concern.
🌡 Device temperature (°C)
Internal temp (e.g. 31°C). This value seems wrong to me.
⚡ Power outage count (numeric)
Battery change counter.
‘Power outage count’ (45 in my case) counts the number of times the detector has experienced a power supply interruption, i.e. when the batteries have been completely discharged or removed, causing a forced restart of the module.
For a battery-powered appliance such as this detector: It is a ‘brownouts’ or ‘power cycles’ counter. It increases when the voltage drops too low (e.g. depleted batteries, peak conso), causing a reset despite remaining batteries.
The value 45 suggests 45 events since manufacturing or last factory reset (common on Xiaomi).
Usefulness: Monitors health batteries indirectly. Fast rise = change batteries soon, even if % battery OK (inaccurate static measurement).
This number is an indication of equipment malfunction
📶 Linkquality
Zigbee quality (e.g. 120 lqi).
🖊 I rename the detector
I give a clear name: "Hall Rdc Smoke Detector". This is essential with multiple sensors to avoid confusion on the dashboard.
🏠 Integration in Home Assistant
In Home Assistant, the detector appears automatically via the MQTT integration. Smoked state, battery level and tamper are displayed immediately. Ready in less than a minute on my dashboard.

I disable sensors that do not work anyway: Handling / Testing. I also disable Sensitivity that I will set to Zigbee2MQTT.

⚙ Automations I am considering
- Smoke alert : Global siren + push notification + opening shutters if day
- Low battery : Discord notification to change batteries
- Tamper : Alert if disassembled
💬 My opinion after commissioning
This Mi Honeywell detector excels with its Zigbee reliability and comprehensive presentations. Adjustable sensitivity (low/medium/high) and self-test via MQTT, perfect for beginners.
✅ Strengths :
- Reliable pairing after self-testing
- Rich presentations: smoke density, temperature, precise voltage
- Solid construction, recognized brand
- Fluid HA integration
❌ Weaknesses :
- Too bad to display exposures that do not work.
- Certified only for Mainland China and Hong Kong, and would not be accepted by fire insurance elsewhere, as it does not comply with local standards
My verdict : This detector JTYJ-GD-01LM/BW is an excellent choice, well designed, almost perfect integration, simple pairing and easily recognized on Zigbee2MQTT but it cannot be used as a main detector in France. I kept this product in production because I like it very much, but it is just a bonus of other detectors that bear the NF marking.
 English
 French
 Spanish
 Chinese
 German