

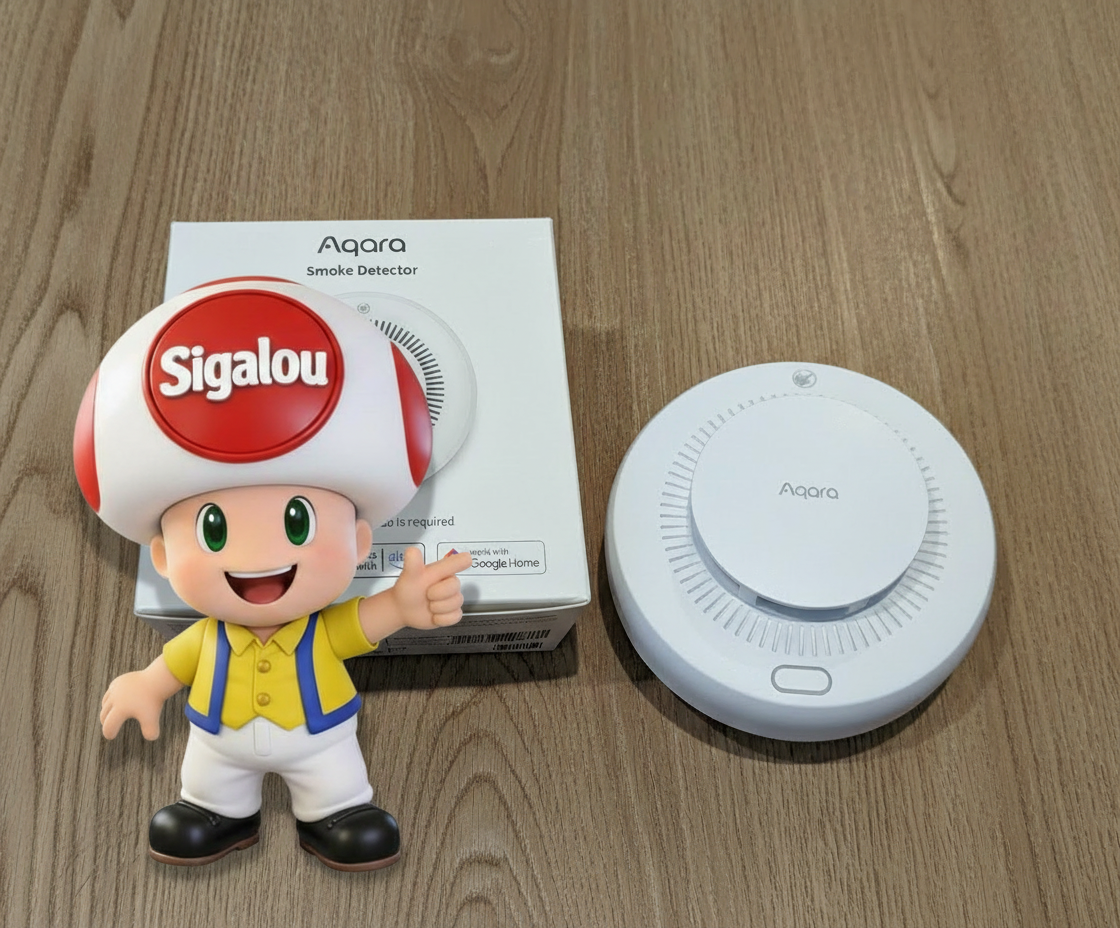
I want a model that is simple to install, reliable on a daily basis, and can be integrated into my home automation system. My objective is clear: be alerted quickly, locally (sirene) and remotely (Home Assistant).
In this article, I go around the product: what I receive, how I install it, how I pair it, and what I can automate. I voluntarily remain concrete, with short sentences and simple steps.
🎯 My objectives
I want to secure my home with a connected detector, without depending on a manufacturer app. I also want to monitor the battery and be able to test the device regularly. Finally, I want to trigger home automation actions in the event of an alert (siren, notifications, scenarios).
🔍 I check the received model
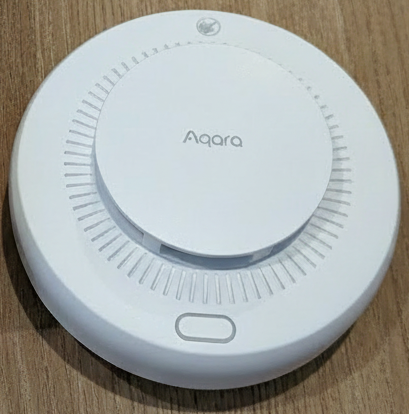
- On the technical sheet : Aqara Smoke Detector SD-S01D (reference also seen as JY-GZ-01AQ according to the shops but I do not know if the JY-GZ-01AQ has a CE).
- Type of equipment : Autonomous Smoke Detector photoelectric detection.
- Protocol : Zigbee 3.0.
- Local alert : integrated siren announced at 85 dB + light alert.
- Dimensions : ⌀104,6 × 42 mm.
- Power supply : lithium battery CR17450, voltage indicated 3V (DC 3V).
- Standard : compliance indicated EN 14604:2005/AC:2008.
- Conditions of use : temperature 0–40 °C, humidity 0–95% RH (non-condensing).
🛒 Where to buy this equipment?
Here is the link to the page dedicated to the smoke detector Aqara SD-S01D Zigbee.
I listed the sellers and the prices compared.
📦 Unpacking and First Impressions
I get a circular detector with a central button and an LED. I also find a rear mounting plate, a leaflet, a 3M adhesive and a CR17450 battery.
At first contact, I find it cleanly finished. The promise is simple: a modern DAAF, but with a Zigbee layer for alerts and automation.
🔧 Power On / Enclosure Opening
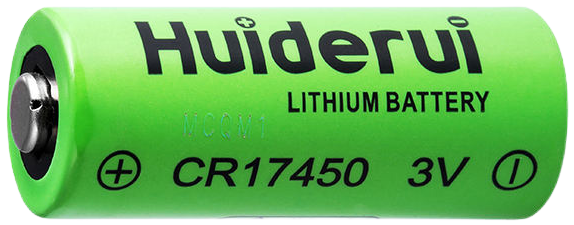
I insert the CR17450 battery and observe the LED sequence. On this model, the LED can go through several colors at start-up (and a slight sound confirms the commissioning). I also note that the button is used for both self-testing and pairing.
I have a habit: I note the installation date now. It will help me to follow the real autonomy.
🏡 Where I install it
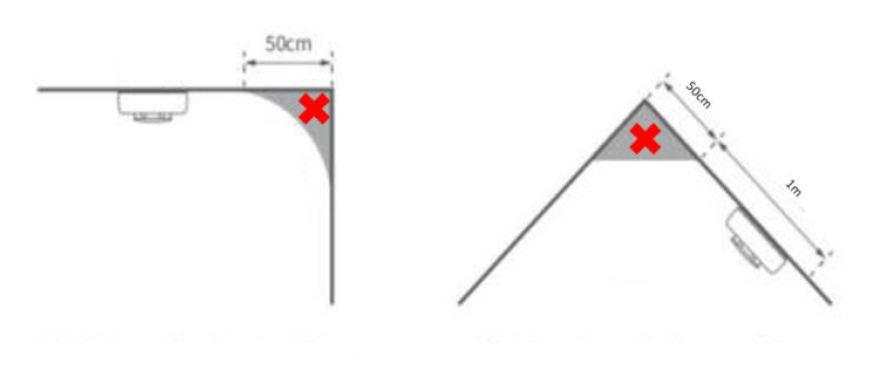
I install it in a traffic area, where smoke is likely to be detected early.
I prefer a central location and avoid areas that can distort detection (kitchen too close, steam, dust).
I keep in mind the recommendations to install a DAAF, because it is a safety issue.
🔗 I pair in Zigbee2MQTT
This equipment is well known in the Zigbee2MQTT Database under the name JY-GZ-01AQ
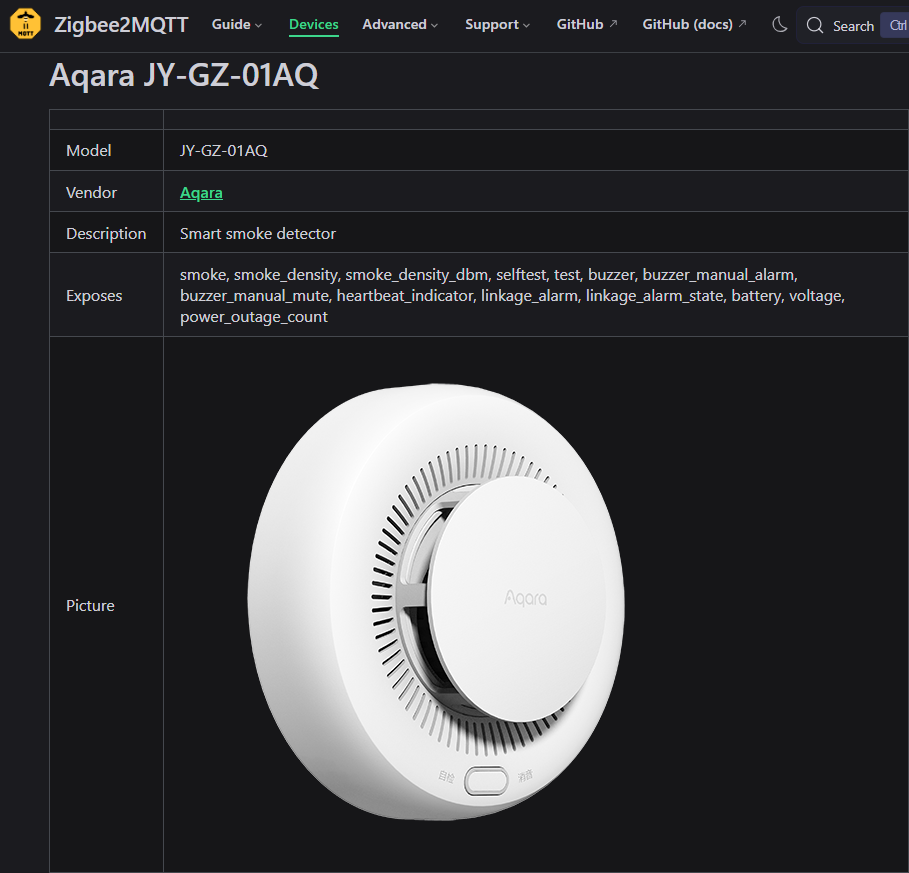
- I pass Zigbee2MQTT in mode peering.
- I support 3 times on the ‘Autotest / Test’ button of the detector to start the inclusion.
- I am monitoring the LED: it can blink to confirm pairing mode.
- I check that the equipment appears in Zigbee2MQTT with its information and “presentations”.
Once included, I rename the equipment cleanly. I keep a legible name, with the part, to avoid errors in automatisms.
🏠 Integration in Home Assistant
In Home Assistant, I find it via the MQTT integration (if I go through Zigbee2MQTT). I shall immediately check the relevant entities: smoked state, battery level, and especially test commands / possible actions.
Point that I find interesting on this model: I can trigger a self-test and, depending on the integration, pilot the Buzzer part remotely. This is a real plus if I want to validate the correct functioning without climbing a ladder.
I did not specifically delve into the presentation of the exhibitions or the Home Assistant integration, as two very well-made pages have already been put online:
- https://www.hacf.fr/aqara-detecteur-fumee-sd-s01d/
- https://blog.domadoo.fr/110100-detecteur-fumee-zigbee-3-0-aqara-sd-s01d/
⚙ Automations I am considering
- Alert : if smoke is detected, I trigger an HA (mobile) notification, turn on red lights, and switch off the VMC if relevant.
- Evacuation : if there is an alarm, I turn on the corridors in strong white and open the roller shutters (if it is safe at home).
- Maintenance : I schedule a monthly self-test, and I send a reminder if the battery goes below a threshold.
💬 My opinion after commissioning
✅ Forts: Zigbee 3.0, siren 85 dB, LED tricolor, announced long autonomy, possible integration in Home Assistant via Zigbee2MQTT, and self-test exploitable in home automation.
❌ Weak: a smoke detector remains difficult to ‘validate’ on a daily basis without intrusive tests. And as always in Zigbee, the quality of the network (routers, mesh, placement) can change the experience.
My verdict: For me, the SD-S01D makes sense if I want a connected DAAF, but driven by my home automation ecosystem. I install it, I apprehend it quickly, and I rely on simple automations to increase security.
 English
 French
 Spanish
 Chinese
 German