

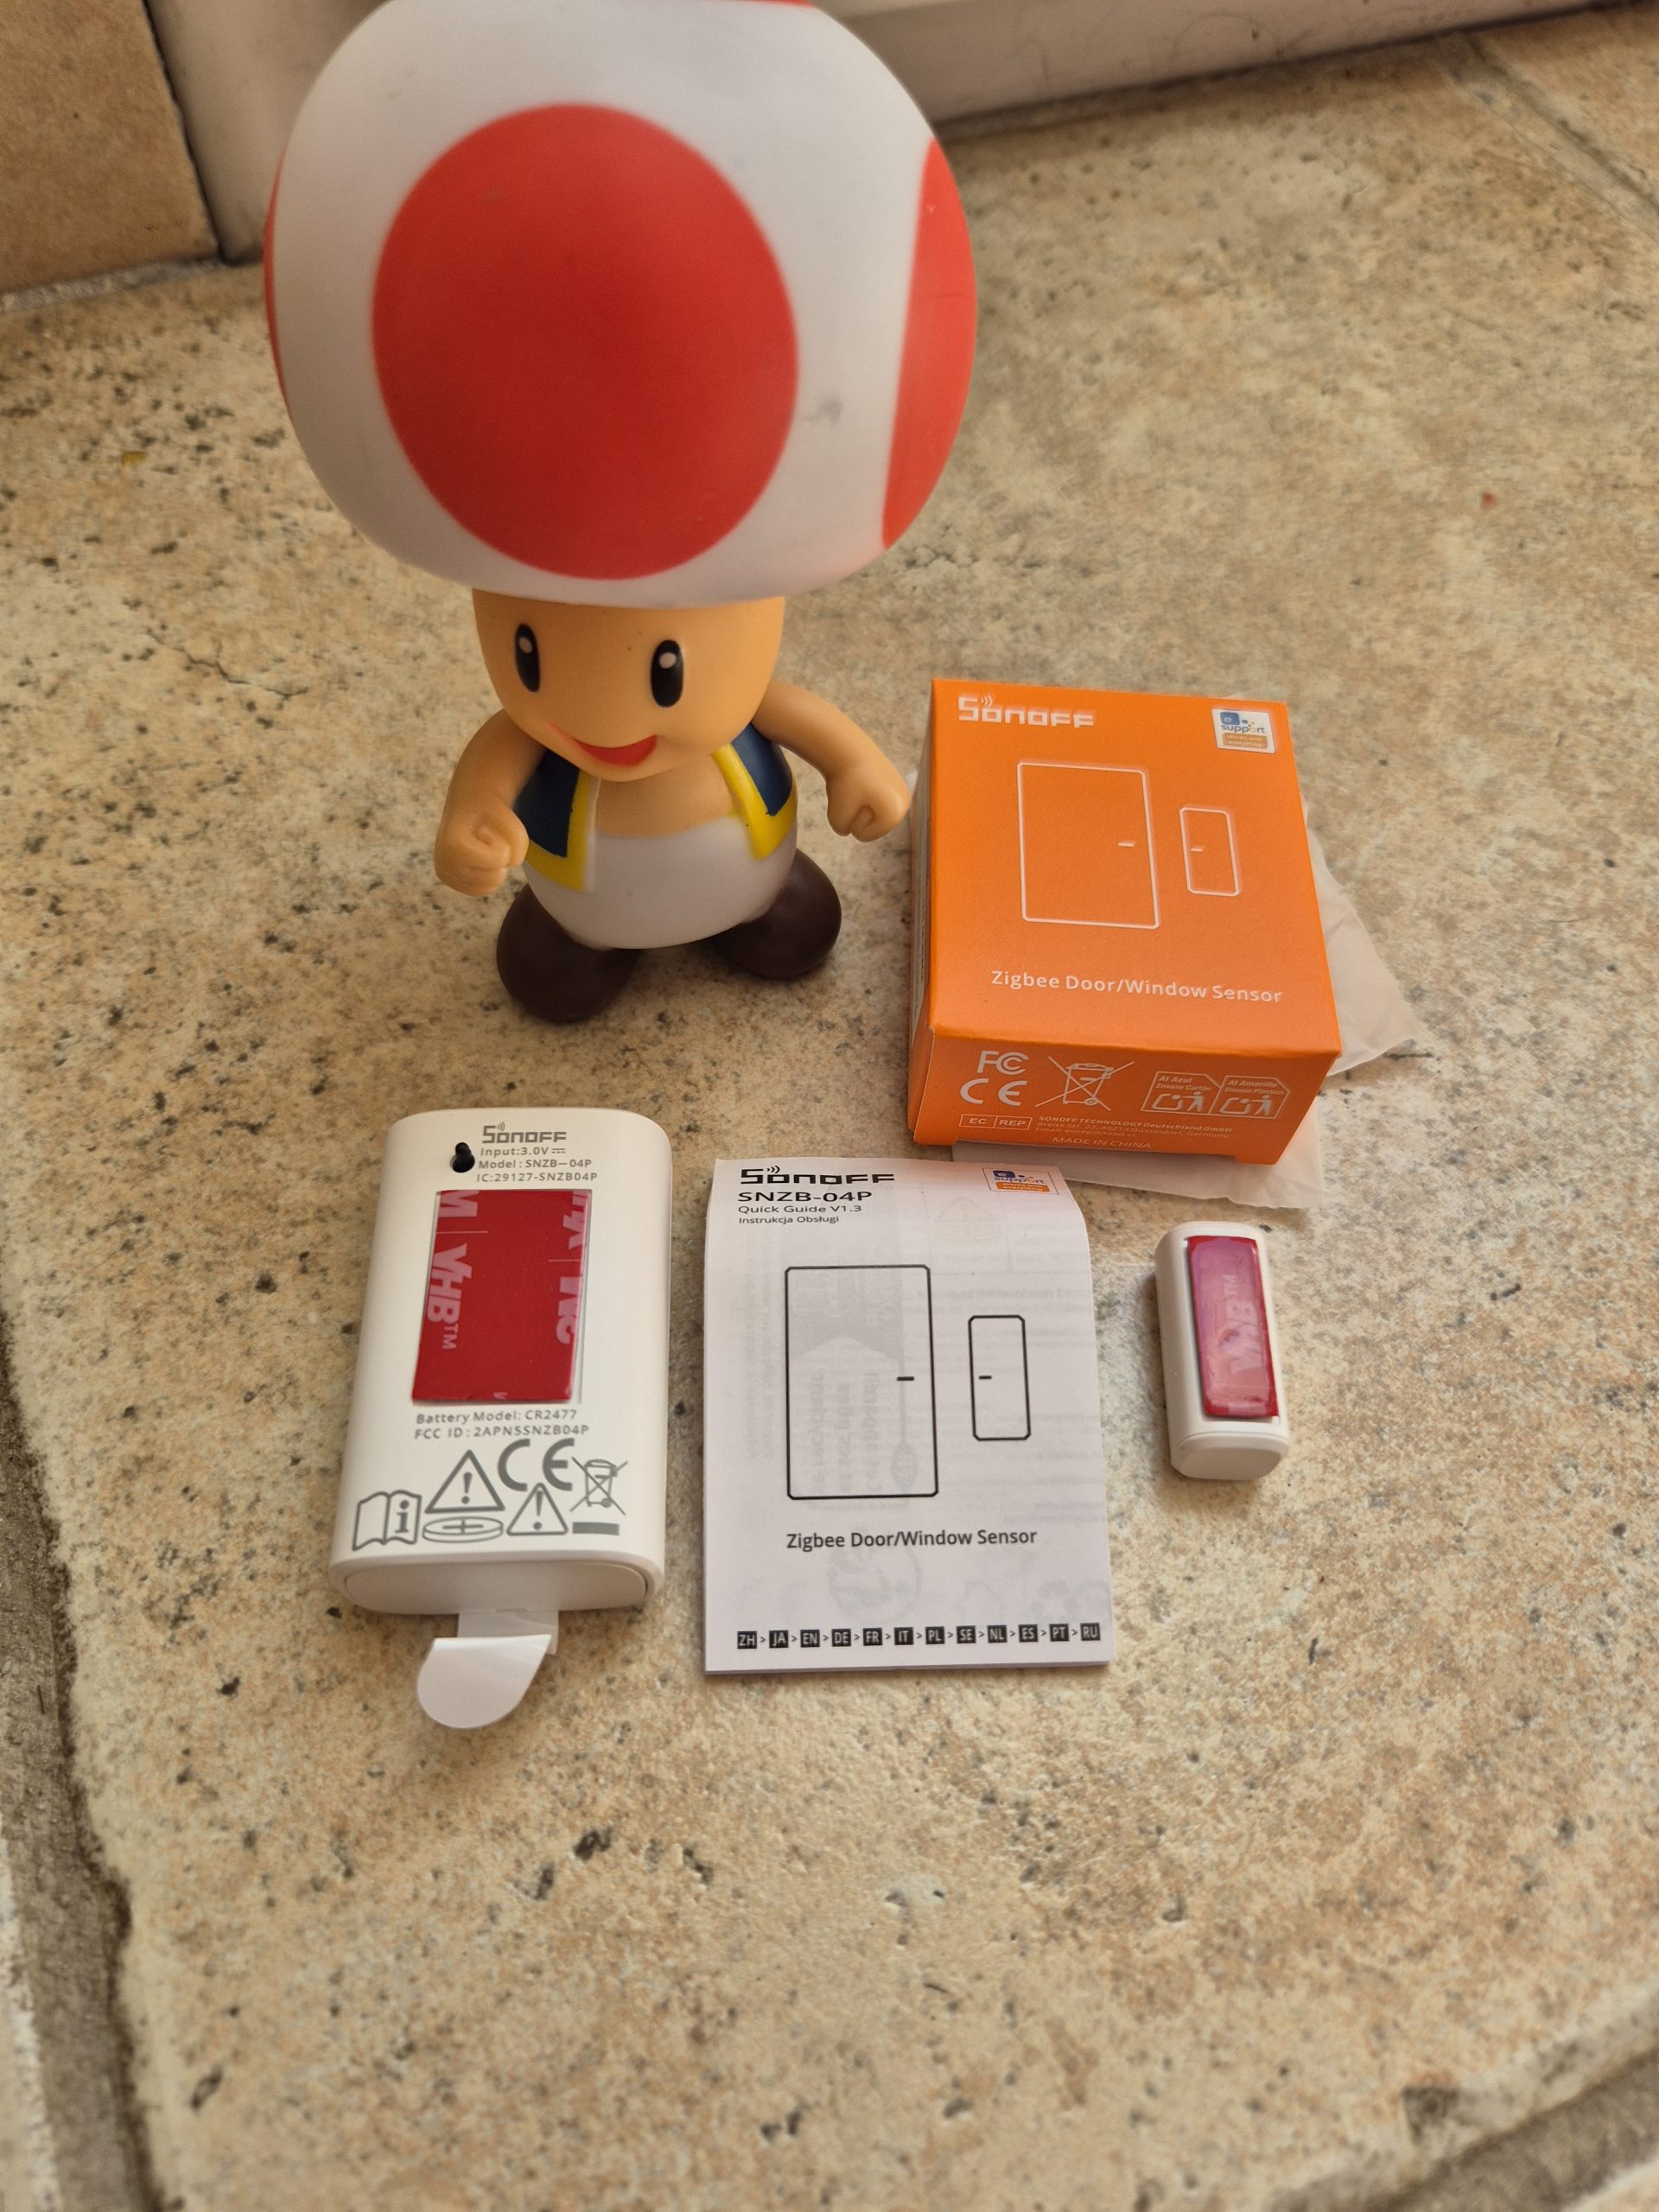
The Zigbee Sonoff aperture sensor SNZB-04P offers reliable detection for doors, windows and shutters. This detailed test covers unpacking, physical and software installation with Zigbee2MQTT and Home Assistant, possible automation and long-term monitoring. Find out why this economic model under 15 € excels in home automation Zigbee 3.0.
🔍 My unpacking of the Sonoff SNZB-04P
The sensor comes in an orange packaging characteristic of the Zigbee Sonoff range. The model SNZB-04P is well marked on the box. At the opening, I discovered compact equipment with precise dimensions: 50.5 x 32 x 21.9 mm sensor and 27 x 12 x 12.4 mm magnet, weighing only 33 g in total.
Here are the strengths noted from the first start:
- A large pairing button on top, practical without fine tool like a trombone.
- An anti-snap button to detect any sabotage attempt.
- A built-in CR2477 3V 1000 mAh battery, with a safety tab to be removed to activate it. This lithium battery offers up to 5 years of battery life depending on the manufacturer, depending on the frequency of use.
- Pre-glued 3M double-sided adhesives for immediate and resistant fastening.
- Careful white PC manufacturing quality, suitable for indoor use from -10°C to 60°C.

Here are the details in close-up images:


Where to buy this equipment?
Here is the link to the page dedicated to SNZB-04P. I referenced the sellers and prices.
🏡 My installation on a shutter
I install the sensor on an existing flap with support. I place the magnet underneath rather than opposite to respect the mechanics. The sensor uses a Hall effect to detect the magnetic field: recommended maximum distance of 20 mm (improved vs previous models), but I aim less than 1 cm for optimal reliability.


Tips for Installing Properly
For detection without false positives, follow these precise steps:
- Attach the sensor to the fixed part (frame or frame).
- Glue the magnet onto the movable part (battant or leaf).
- Keep less than 20 mm apart, ideally 1 cm maximum.
- Degrease surfaces with alcohol before gluing.
- Test 20 openings/closures to validate.
Tip: Avoid ferrous metals near the sensor, they interfere with the Zigbee signal (indoor range 30 m).
🔗 I integrate into Zigbee2MQTT
I enable pairing mode in Zigbee2MQTT (180 seconds). I remove the tab: Red LED flashes. Otherwise, I press the big button for a long time. The Zigbee 3.0 protocol (MCU EFR32MG22) ensures compatibility with Sonoff or third-party hubs.
Immediate recognition. Entities detected:
- Opening/closing without latency (binary contact state).
- Detector tearing off (tamper: "Normal" or "Altered").
- Battery visible after 24h (actual voltage to monitor, not always accurate).


I am renaming the ‘Country shutter’ device for rapid identification in the case of multi-sensors.
🏠 I add to Home Assistant
Automatic appearance via Zigbee2MQTT. Available entities:
- Open/closed state (on/off in backend).
- Battery level (initially overrated, check voltage).
- Handling/tampering (disable if double-sided too thick).

In my setup, the tamper generates false positives with the adhesive thickness. I disable it via the HA interface.
⚙ My automatisms with the sensor
In Home Assistant, I configure without code via the automation editor:
- Alert if open >10 min: persistent push notification.
- Siren if opening in alarm mode armed.
- Counter openings: entity history_stats for daily/hebdo stats.
These rules run locally, without cloud.
💡 Tips and Problem Solving
- Fixed battery 100% : Normal 24-48h, then stabilizes. Replace CR2477 if <2,7V.
- Failed pairing: Pile out 30s, reinsert, get closer to the coordinator.
- Erratic detection: Check <20mm magnet gap, relocate out of metal.
- Low reach: Add Zigbee routers (Sonoff sockets) between sensor and dongle.
💬 My verdict on SNZB-04P
This Sonoff Sensor SNZB-04P exceeds expectations at this price: Precise detection, useful tamper, Zigbee2MQTT/HA fluid integration. The CR2477 battery promises 5 years. All that remains is to allow it to run for a while to check for false positives or missed detections.
📑 My detailed manual
Check out this user manual enriched for more technical details.
📅 Tracking stack in production
Installation of kitchen shutter on 31/08/2025 with original battery CR2477. No replacement required to date. I monitor voltage via HA to anticipate.
 English
 French
 Spanish
 Chinese
 German