

My objectives
- Have a button on the dashboard to activate the portal (Order=On + pause + Off)
- Have the real state of the portal returned (open/closed)
- Link HA and Alexa to be able to say "Alexa opens the portal" for example
Background
I have a beating Came portal, Map ZL180.
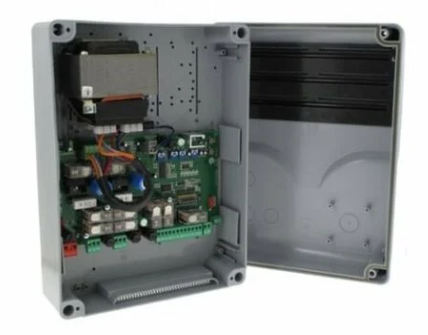
Presentation of the order card
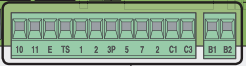
Everything will happen at the terminals of the control card at the bottom right, here is the identification of the terminals
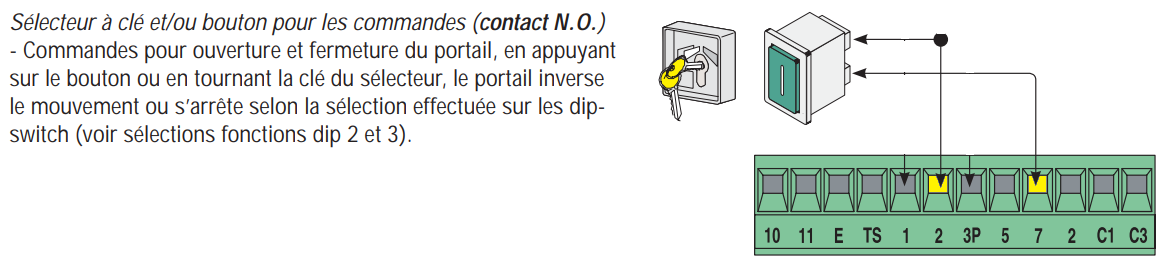
How to open/close the portal?
It is a dry contact that can be symbolised by this sequence that will open (or close) the portal:
- ON on Terminal 2 – Terminal 7
- pause 500ms
- OFF on Terminal 2 – Terminal 7
These elements are documented on page 8 of the notice:
How do I know if the portal is open or closed?
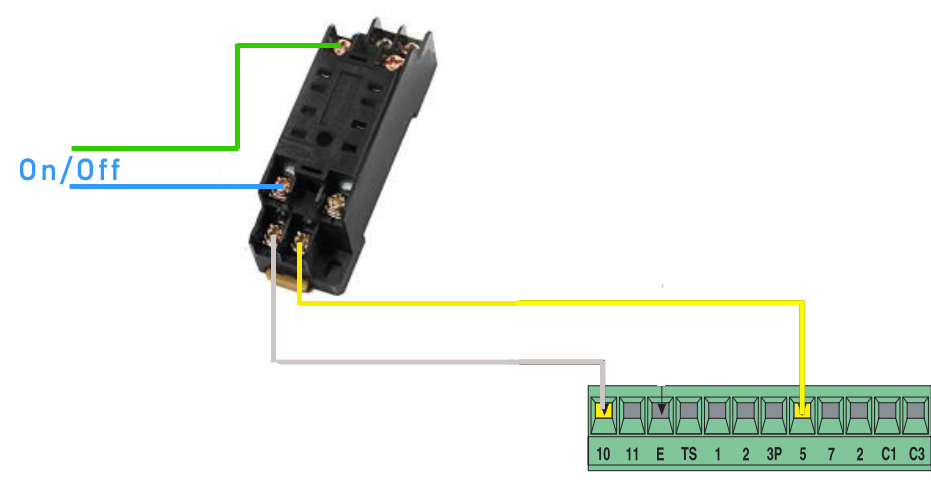
I did not find an accessible dry contact giving this information, I used an ‘open gate’ signalling device which under potential 24v between terminals 5 and 10 , this information is documented on page 6 of the notice:

Preferring to work with dry on/off contacts with no potential, i.e. open or closed circuits, I transformed this information 0/24v into on/off.
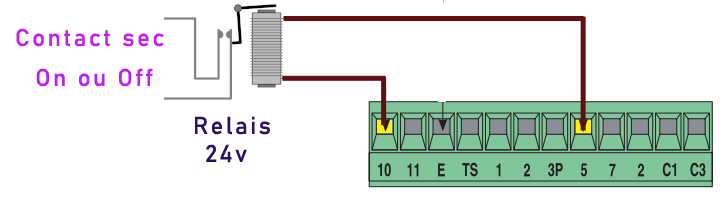
To realize this assembly, nothing more simple, 4 cables and a 24V relay. I already had a relay, so I used this one, it is an IEC255 that looks like this: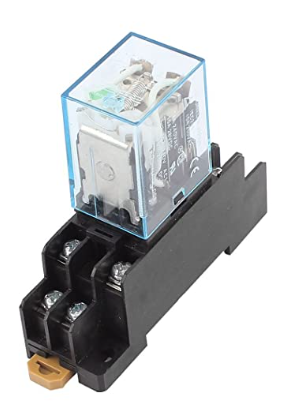
I have enough room in the Came’s platinum case to place this relay on the top right.
Here is the wiring with the support:
What home automation equipment?
At this stage, it is necessary to choose which home automation equipment will send the open/closed portal information to Home Assistant and which equipment is capable of controlling a dry contact that will trigger the opening. Ideally, the same equipment to do both.
I did several tests, initially with a door/window detector to send the open/closed portal, in Zigbee but I think that the proximity of the transfo was a concern, I do not know, it was not convincing. Then this equipment did not allow to order a relay.
I would have really preferred to use Zigbee because for me Wi-Fi is not a home automation protocol.
Finally, here is my very simple choice: A Sonoff Basic
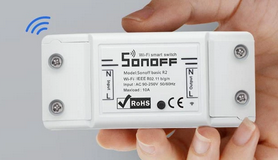
This equipment, which was worth less than €4 not long ago, costs between €5 and €6 at the time I write this on AliExpress and within 14 € on Amazon.
Be careful, I had to tinker a little, weld but for this price, it is worth it (and the cost).
Preparing the Sonoff Basic
Modify the Sonoff Basic so that the output is a dry contact
The Sonoff Basic, R2 in my case is a device that switches a relay when it is sent an On or Off command on GPIO12.

The concern in this configuration is that I send the input potential so 220V on the output, between the output terminals, so we have either 0v or 220v. This is not what I need, I just need to close a circuit (short circuit) between the output terminals. I therefore need this type of scheme:

To make this change, I made this retex:
Connect equipment
(this can be done after the software configuration, it is your choice)
Here is the complete diagram
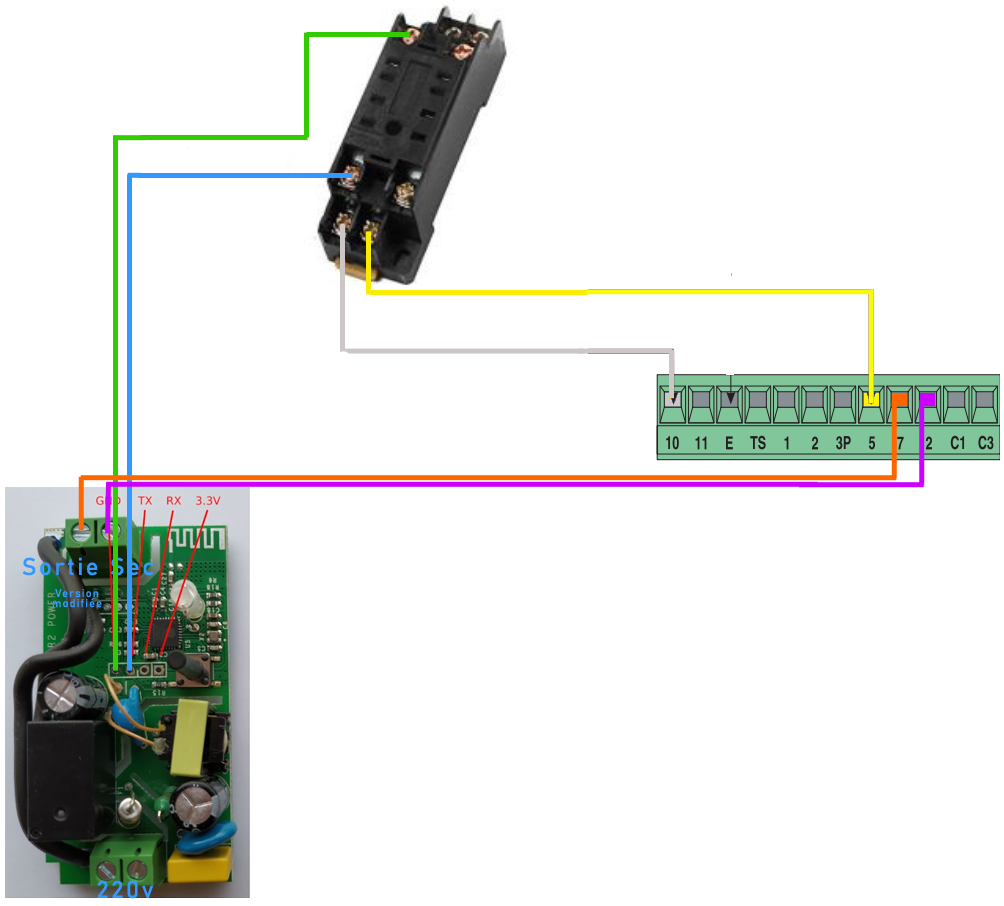
I did not forget to supply 220v to the Sonoff on the bottom terminal block and I put the relay on its black support.
Flash the Sonoff Basic and install ESP Home
Integrate Sonoff Basic into Home Assistant
Once flashed in ESP Home, the new equipment is recognized in Home Assistant in the integrations
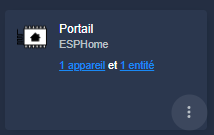
I can start configuring entities.
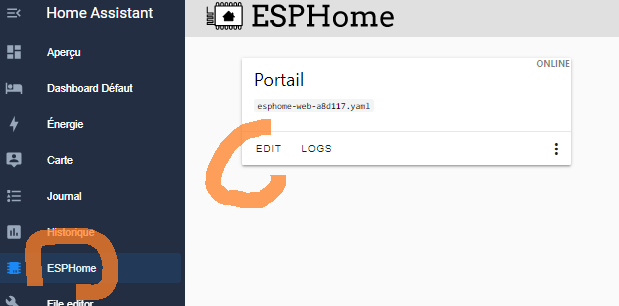
Recover information on esphome.io
It is always better to retrieve the information from the source, otherwise, many sites, tutorials or forums can give the necessary configuration elements.
For my Sonoff Basic, I'm going on
Obviously, I am not the doc, I change the led to be able to order it and I configure Rx and Tx to have two more inputs:
esphome: name: esphome-web-a8d117 friendly_name: Portal esp8266: board: esp8285 # Enable logging logger: # Enable Home Assistant API API: encryption: key: "xx" ota: binary_sensor: - platform: gpio pin: number: GPIO0 mode: input: true pullup: true inverted: true name: "Bouton" - platform: gpio pin: number: GPIO1 mode: input: true pullup: true inverted: true name: "Tx" - platform: gpio pin: number: GPIO3 mode: input: true pullup: true inverted: true name: "Rx" switch: - platform: gpio name: "Relay" pin: GPIO12 id: relay on _turn _on: - delay: 0.5s - switch.turn _off: relay - platform: gpio name: "Led" pin: GPIO13 id: led wifi: ssid: xxx password: xxx # Enable fallback hotspot (captive portal) in case wifi connection fails ap: ssid: xxx password: xxx captive _portal:
I keep the above code as a reference for other equipment but finally for my portal domotisation, I further simplify the code by deleting everything that is not useful for the project:
esphome: name: esphome-web-a8d117 friendly_name: Portal esp8266: board: esp8285 # Enable logging logger: # Enable Home Assistant API API: encryption: key: "xx/xx=" ota: binary_sensor: - platform: gpio pin: number: GPIO1 mode: input: true pullup: true inverted: true name: "Tx" switch: - platform: gpio name: "Relay" pin: GPIO12 id: relay on _turn _on: - delay: 0.5s - switch.turn _off: wifi relay: ssid: xx password: xx # Enable fallback hotspot (captive portal) in case wifi connection fails ap: ssid: esp_portail password: xx
Installing the code on the Sonoff
Then I save and then install.
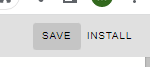
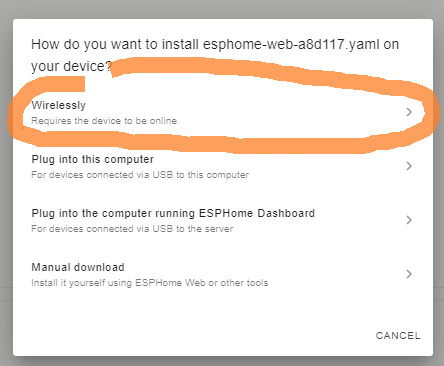
Once the installation is done, the module relaunches, you have to be a little patient.
Note: I had some problems because the !secret variables were not configured at home, I put it in plain language and it worked. The secret variables are configured at the top right of the ESP Home interface.
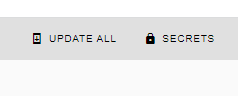
  ssid: !secret wifi_ssid
  password: !secret wifi_password
Outcome of integration
As everything went well, I find myself with several entities on his newly created ESP.
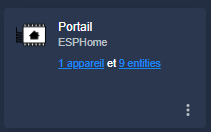
Configuring Entities on HA
Configuring the Portal Sensor
I use the Tx input (GPIO01) to detect the dry contact of the portal.
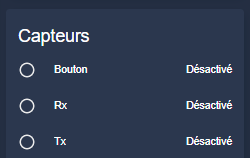
I rename this sensor to "Portal" and I assign it "Open" to have the states Open / Closed
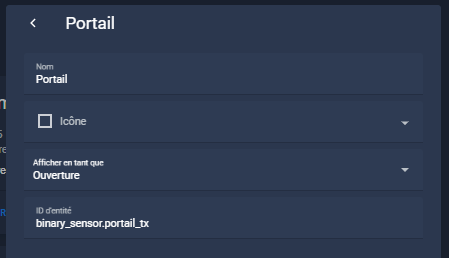
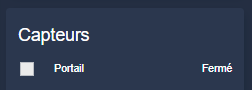

I change his ID, which will be: binary_sensor.portal_open_ferme
I disable the other two sensors (Bouton and Rx) that are not useful to me.
Configuring the Control Portal Command
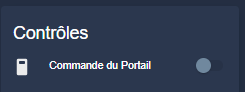
This is the relay switch that I renamed Portal Command with id: switch.portal _relais
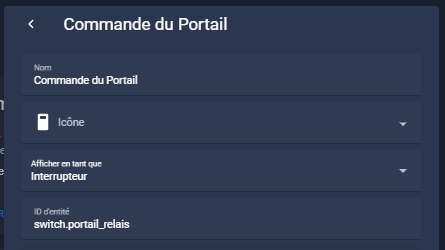
Configuring the Cover Portal
It is necessary to have a cover to allow two things:
- To have the state rising from the sensor Portal (binary_sensor.portal_open_close) this while the orders are to be passed to the control Ordering the Portal (switch.portal _relais)
- To manage the turn_off which will actually be a turn_on
The code of the cover placed in covers.yaml is as follows:
- platform: template covers: portal: device_class: window friendly_name: Single _id "Portal": cover.portal value _template: "{{ is_state('binary_sensor.portal _open_ferme', 'on') }}" open_cover: Service: switch.turn_on target: entity_id: switch.portal_relais close_cover: Service: switch.turn_on target: entity_id: switch.portal _relais icon_template: >- {% if is_state('binary_sensor.portal_ouvert_ferme', 'on') %mdi:gate-open {% else %mdi:gate {% endif %}
Note that in this code, I manage the icon to be used. The colour will be managed in the button card when the button is displayed.
I used the _class device: window because it is the closest to a portal (open or closed) but the other classes make a 4-digit code mandatory in voice command which I do not want if I want to ask Alexa to open the portal.
Creating a button card

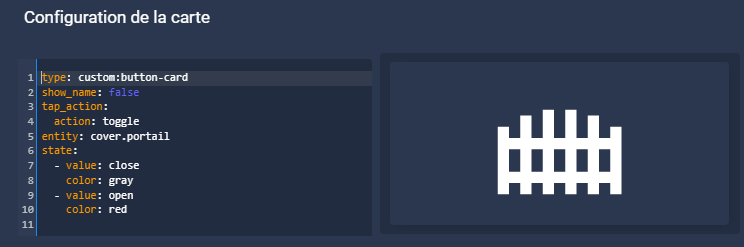
Type: custom:button-card show_name: false tap_action: Action: toggle entity: cover.portal state: -value: close color: gray - value: open color: red
Link HA and Alexa to command by voice
Saying "Alexa opens the portal" is still the grail of it all.
I still have to make the connection.
For this I go to Settings/ Voice Assistants

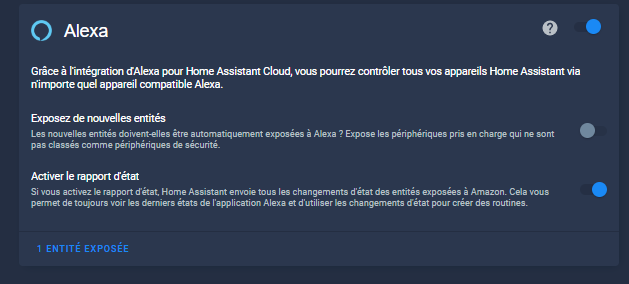
At the bottom left, I click on x exposed entity(ies)

and I live looking for my cover.portal
That’s all!
Bonus: Ping to check that the equipment is online

I have complete confidence in Wi-Fi equipment (unlike Zigbee) and I reassure myself by checking its connectivity from time to time.
For that, nothing is simpler, a small ping every 5 minutes via a binary _sensor that gives me the information on my Dashboard, I place this config in my file binary_sensor.yaml
- platform: ping host: !secret ip_portail name: ping_portal
Of course, you have to configure !secret or replace it with raw IP.
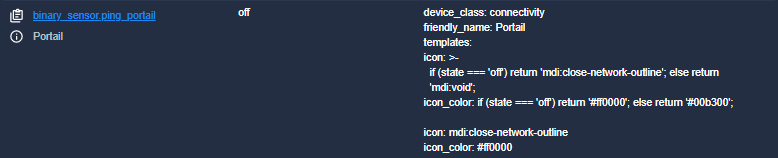
The customisation of the icon is discussed on another retex:
A question ? a remark ? a supplement ?
Use this discussion to evoke this retex:
 English
 French
 Spanish
 Chinese
 German