

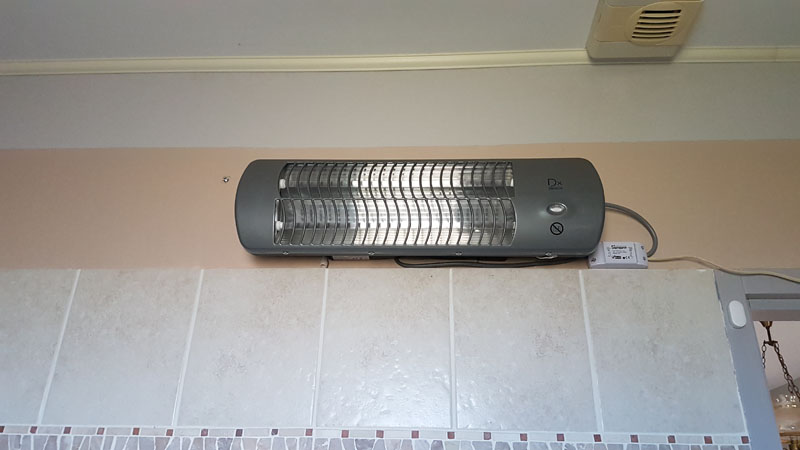
Note: one V2 of this tutorial was made with a Sonoff Basic R3
Objectives:
At a lower cost (within €10) + the price of heating (€16), I wanted to domotiser the heating of the bathroom to:
- Be able to trigger (or stop) heating via Jeedom (and therefore controlled by Google Home, Alexa, Touchscreen, Phone …)
- Be able to trigger (or stop) heating from the button on the Sonoff
- Automatically stop heating to a certain temperature and warn Jeedom to trigger information
- Automatically stop heating after a certain period of time and warn Jeedom to trigger information
- Try as much as possible to make the heating stand-alone (whether it works even without wifi or jeedom)
Necessary equipment:
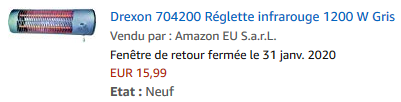
- A heater that starts when power is turned on, I ordered this one (15.99€)
- A Sonoff Basic R2 (4.16€), I ordered this one
- A Temperature/Humidity Probe, I ordered this one
- What Flash the Sonoff and install EspEasy
- Jeedom/plugin ESPEasy
Implementation
Step 1: Flashing
Flashing the Sonoff, for that, there are hundreds of tutorials, I'm not going to do one more for that. The only detail to report is that the ESP_Easy_mega-20200222_normal_ESP8285_1M.bin file must be used during Flashing because the Sonoff module used is equipped with an ESP8285.
To help you, you can look this Tuto or this Tuto or this Tuto that I did for other less documented modules
Step 2: Connecting the Sonoff to Wi-Fi
Connect the Sonoff to the local network and then integrate it into Jeedom
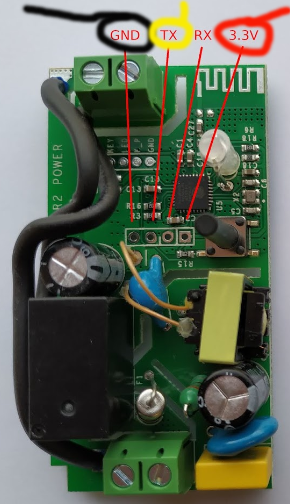
Step 3: Weld the temperature probe
- Ground Terminal on Ground (black thread)
- Vc Terminal on Vc (red thread)
- Terminal Data on Tx (yellow thread)
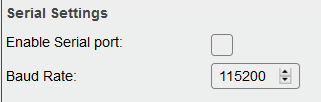
Step 4: Disable Serial Port
To do this, disable the serial port in the ESPEasy config, this allows you to recover the Rx and Tx terminals
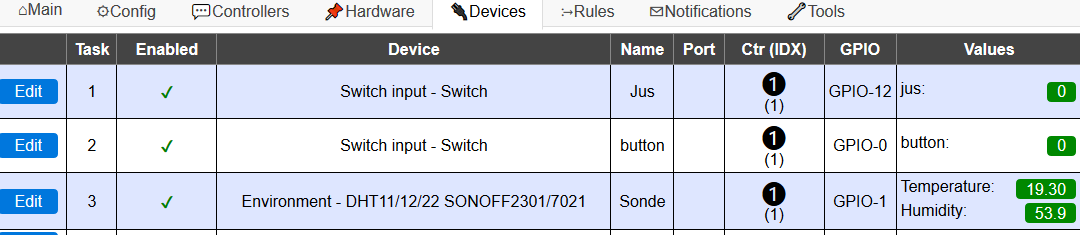
Step 5: Configure ESPEasy devices
Step 6: Configure rules
For this step, you can set your temperature values (25°c in example) or timer (1h=3600s in example)
the Probe#Temperature do
if [Sonde#Temperature]>25 do
if [juice#juice]=1
gpio,13.1
gpio,12,0
timerSet,1,0
endif
endif
endon
on button#button do
if [button#button]=1
gpio,12.1
timerSet,1,3600
else
gpio,12,0
timerSet,1,0
endif
endon
we juice#jus do
if [juice#juice]=1
gpio,13,0
timerSet,1,3600
else
gpio,13.1
timerSet,1,0
endif
endon
on System#Boot do
gpio,12,0
gpio,13.1
endon
On Rules#Timer=1 do
gpio,13.1
gpio,12,0
endon
Step 7: Configure Jeedom
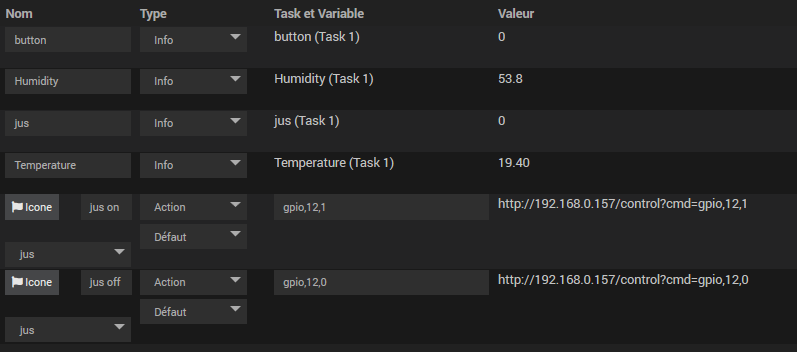
In Jeedom, in the ESPEasy plugin, you can retrieve the temperature information, the status of your relay and add an on/off command to control the relay.
Operation completed
Use this discussion for any request for precision, support or assistance:
https://community.jeedom.com/t/tuto-domotiser-le-chauffage-de-sa-salle-de-bains/18648
 English
  French
  Spanish
  Chinese
  German