

Objectives
My garage door is already motorised, I will adapt a control module to domotise it, the objective is for example to say ‘Alexa opens the garage’ or that at 9 p.m., Jeedom checks that the garage is closed, otherwise she informs me that she closes it.
Presentation of the devices
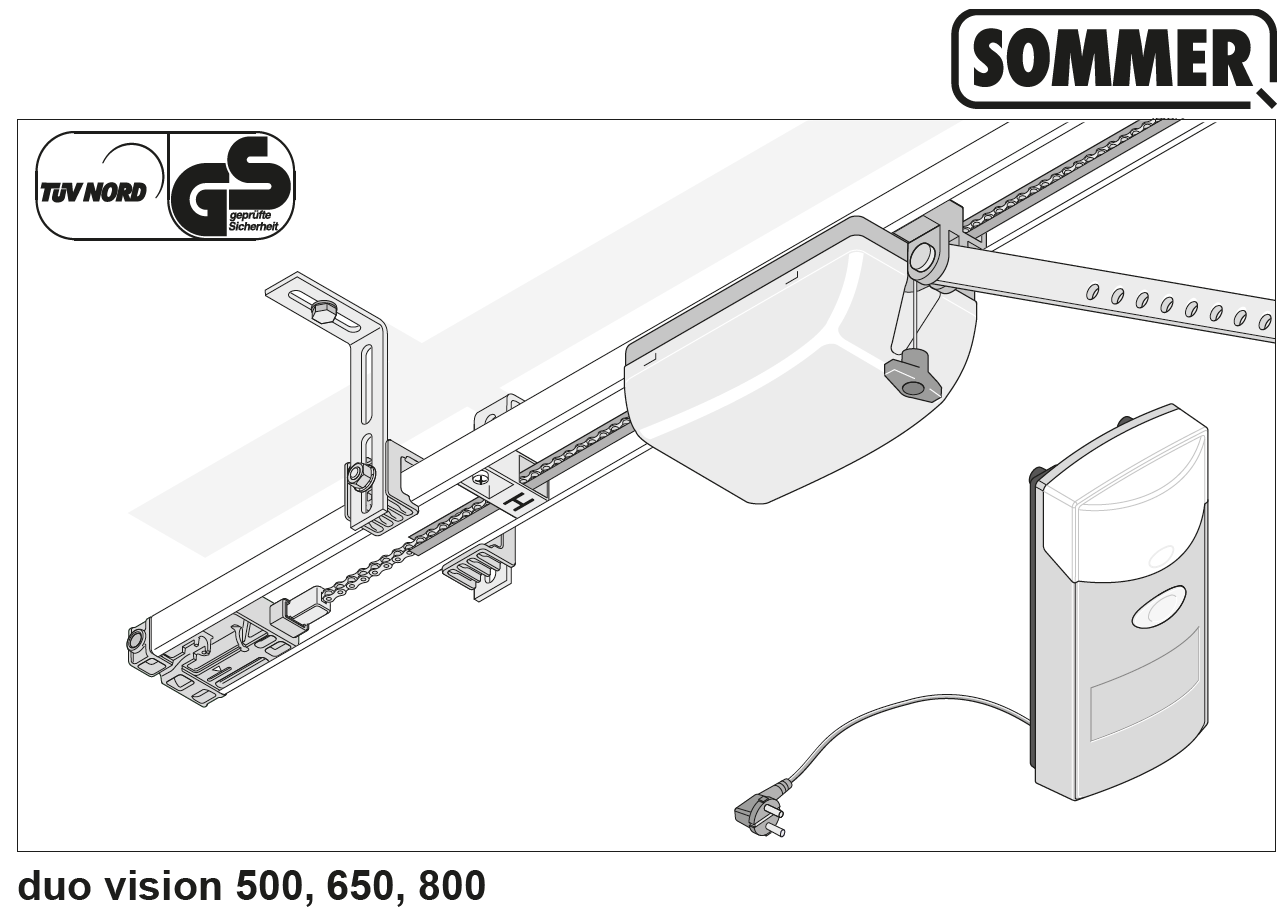
- The Garage Door is motorized with a Sommer/Duo system
- The home automation module added is a aperture sensor, purchased on Ali Express at €14.53. It is Wifi.
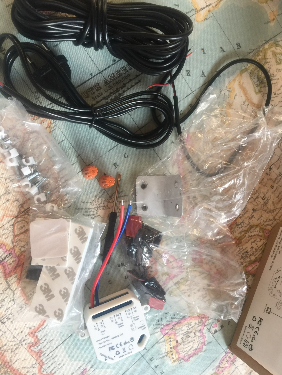
I took this kit because it comes with absolutely everything and even a lot more. There are very long cables (to cut), a whole bunch of adapters, double faces of several sizes, a screwdriver, even small fixing nails, amazing, they thought of everything. Congratulations! I received it a big week after the order.
- If you do not want to take the product I have installed, there is almost the equivalent of Thomson at Amazon at €69.90. But at this price, without cable, without any accessories, just the nu… module. We still have some progress to make …
- To complete the loop, you can find the same as the one sold at AliExpress on Amazon at the price of 29€
Connection of terminal blocks of the home automation module
Connection of the garage door control
This explanation applies to all gate, garage door or other automation systems, in principle there is always a 2-wire input somewhere to connect a push button. The push button triggers the mechanism to be opened (or closed).
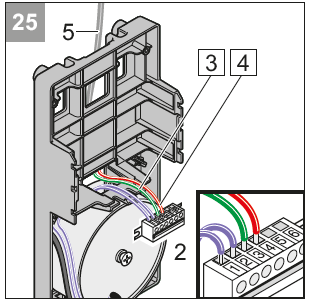
On my equipment, it is simply terminals 5 and 6 that make it possible to put this push button type contact, look for where it is present on the other marks.
For the rest of the adventure, just take two wires out of the plastic box and connect them to 5 and 6 on the terminal block.
Connection of the home automation module to the opening sensor
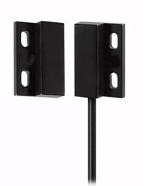
The opening sensor is wired, it is composed of two small plastic rectangles, they are magnetised together, like a standard window or door detector. Unlike micro-modules that require both parts to be almost glued to detect closure, I saw that there was latitude, it is simpler for installation.
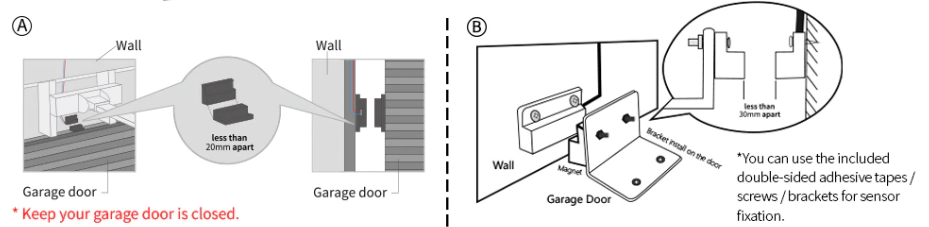
The supplied cable made 5m, largely sufficient, I have a fall that will serve me for other things, everyone will find the assembly that corresponds to the maneuver of the garage door, all options are possible:
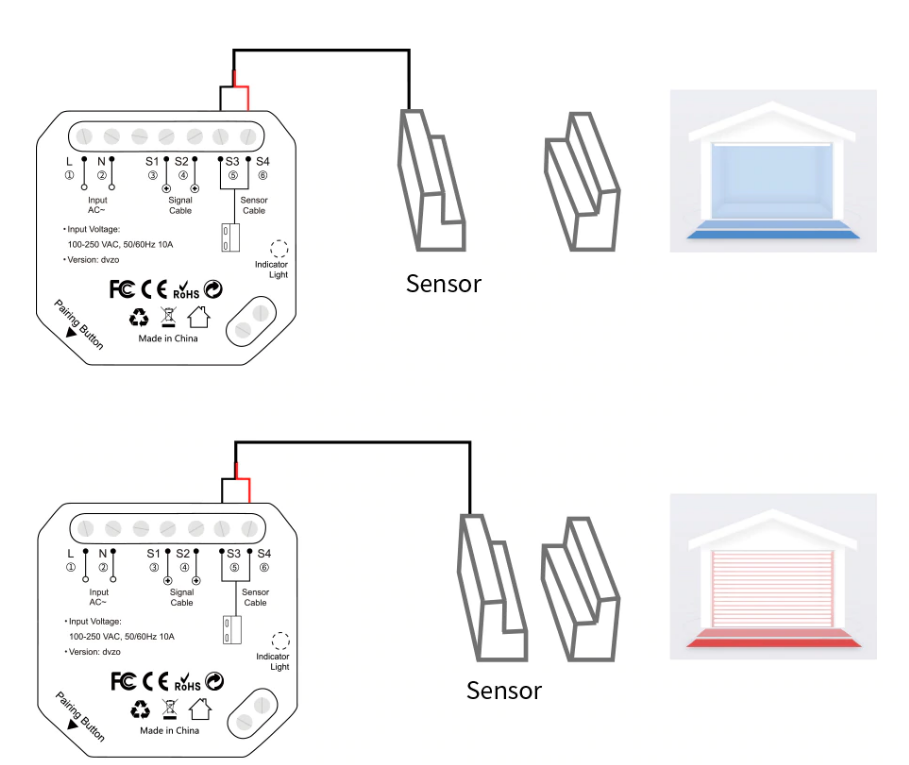
For the connection of the sensor, nothing more simple, two terminals, no sense, on terminal S3 and S4.
Power supply of the home automation module
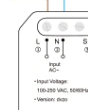
It is a standard power supply, 220v, L and N, you plug this in carefully after switching off the electricity. Since you have to open the umbrella, I will write: have this done by a professional.
Link between the home automation module and the motorization of the portal
The module will trigger an open/closed 1s/open when asked to activate the mechanism. That behaviour is therefore that of a normally open push button.
No sense of connection, just two terminals to connect between the home automation module (S1 and S2) and the engine, it depends on the model and brand.
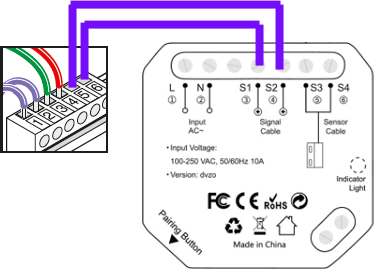
Concrete result, very clean.

Software integrations
Integration in Smart Life

You can choose between Tuya or Smart Life.
I prefer Smart Life, especially since I have the Smart Life – Alexa skill installed and functional.
Just follow the instructions for use, a small button at the bottom left launches the inclusion, a led on the right must flash … we fight a little with the module and at the end of the nth time, it’s good, it’s integrated into Smart Life.
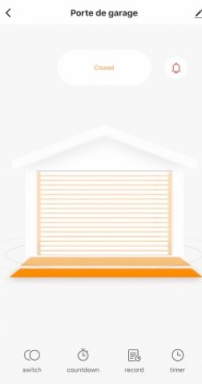
The application and its integration are really well done, you can see if the garage is open or closed, trigger the activation of automation and of course add Smart Life routines or programming.
Integration in Alexa

If like me, you have installed the Smart Life skin in Alexa, as soon as it is integrated into Smart Life, Alexa warns you that the garage door has been added to the list of equipment. Nothing to do to add it to the equipment recognised by Alexa (it’s well done!)
This is where we start to make unpleasant surprises.
We realise that the state of the garage door has not been restored in Alexa, it is detected as an actuator, so an ON OFF is all!! Too bad.
Note: : I had the same disappointment when I integrated an energy meter some time ago, only the On/Off was possible, but not the return of status or counting.
I do not know if it is Smart Life or Amazon that is blocking or has not done its part of the job, the result is disappointing, but since my garage door was already equipped with a Zigbee window detector, I know in Jeedom by this means whether the garage is open or closed. It is not this new module that will bring it back to me in Jeedom.
I tried a lot to understand and maybe find a solution, but no, it does not go back to Jeedom.
On an equivalent product, the serious site Domotic store, they confirm that the return of status does not go back, they stated:
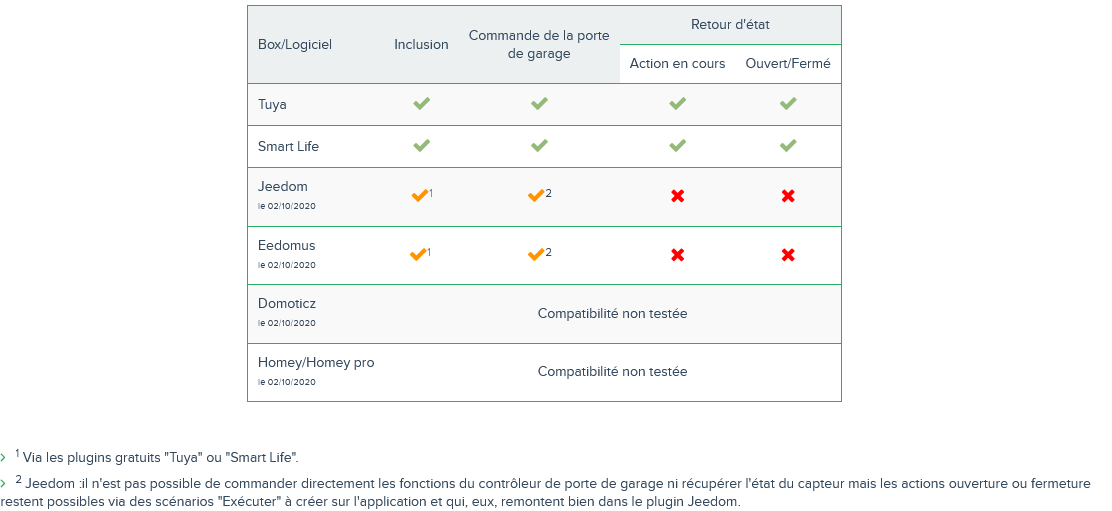
Note: : Small annotation 2 is inaccurate or incomplete. If you have connected the Skill Smart Life (or Tuya) to Alexa and use the Alexa-smartHome plugin, you can send opening or closing orders directly via this plugin. This is the subject of an integration paragraph later.
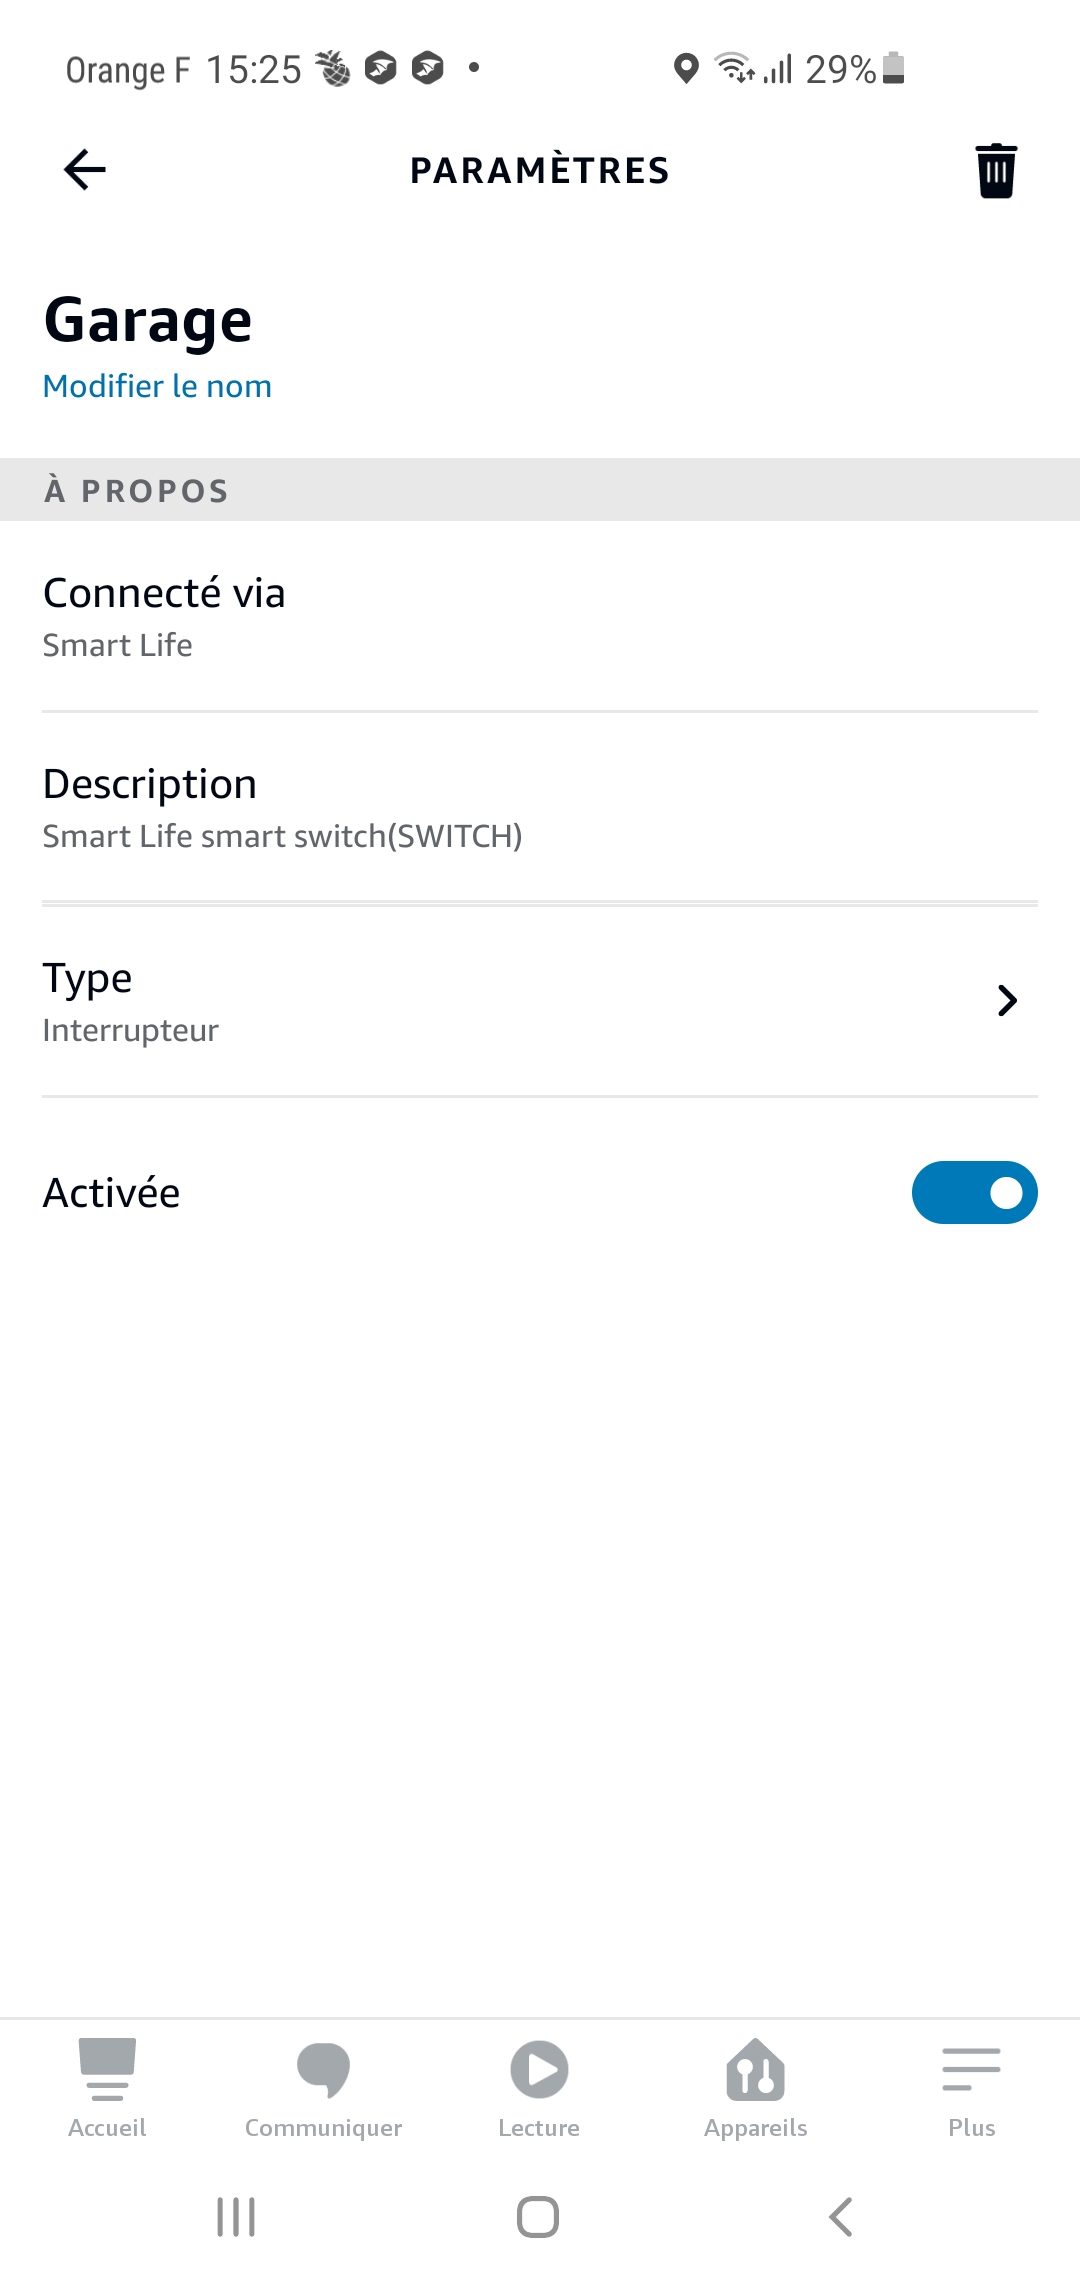
Finally, I renamed Garage Door as Garage and it appears well in Alexa equipment both on site and on the app:
 |
 |
And here's another surprise, it must come from the connection between Smart Life and Alexa. Obviously the command We have no effect and it is the command Off (thus Off) that starts the activation of the relay.
This is checked using the basic functions of the devices and I can see:
- Alexa opens the garage, Alexa’s reply: The Garage device does not take this request into account.
- Alexa closes the garage, Alexa’s reply: Agree and the garage door mechanism is activated.
- Alexa triggers the garage, Alexa’s reply: Agree and the garage door mechanism is activated.
So, to close the garage, do not worry, it is the Alexa-SmartLife link that has configured itself with the Off command.
To open the garage, we will still add the voice command Alexa, open the garage., while knowing that a Alexa Closes the Garage would open the door if the garage is closed. It will be necessary to create a routine that will serve as a rustine for the absence of a command on the Alexa-SmartLife link.
Creating a ‘Open the Garage’ routine
Go to the Routines section in the Alexa SmartPhone app, then add a routine
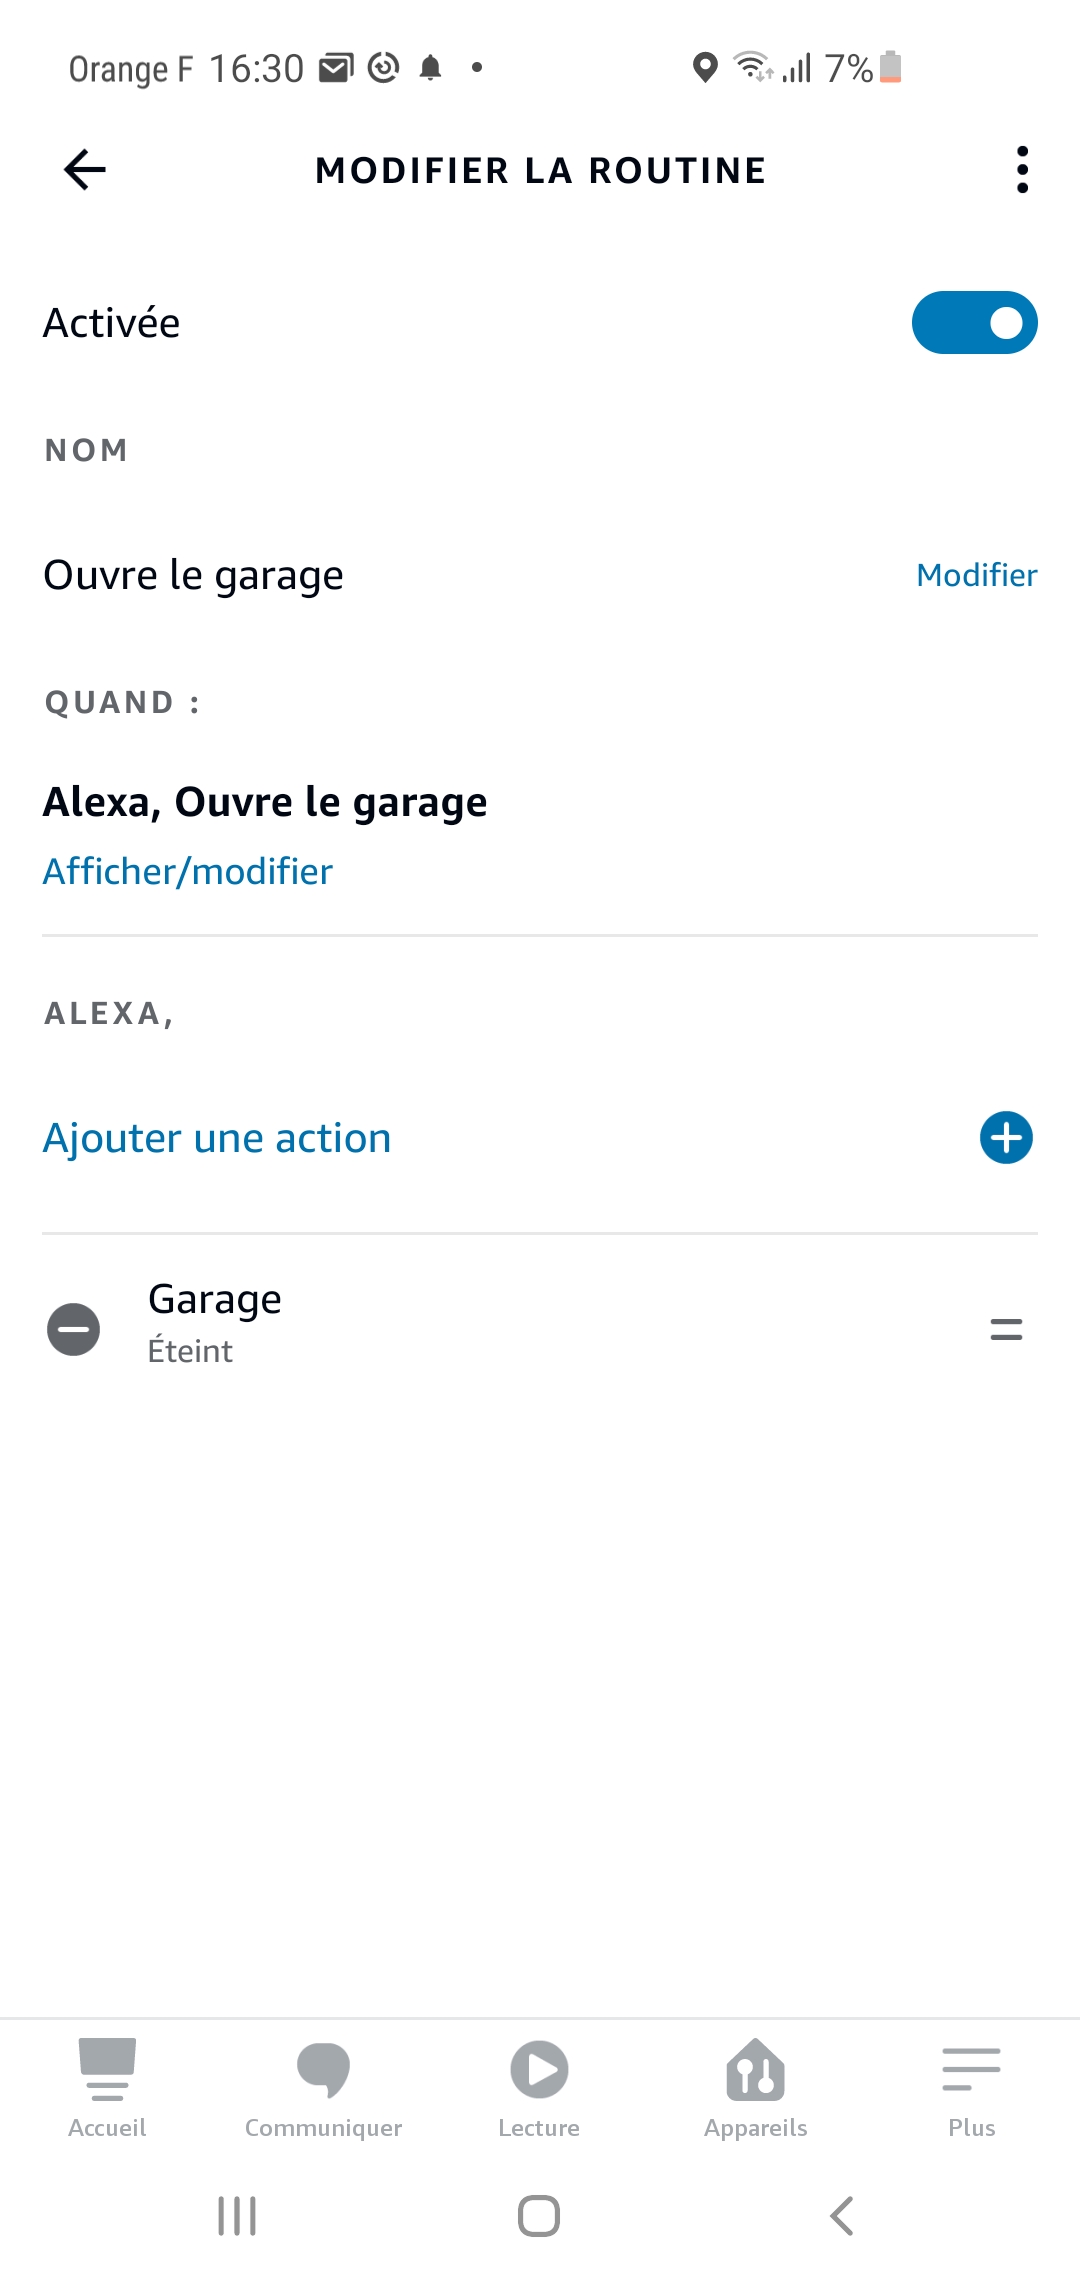 |
All this is quite simple, only small trap, it is necessary to send the command Off (as explained above since the command On is inoperative). So send the action Extinct.
At this stage, the garage door is voice-controlled and the following controls work well:
- Alexa opens the garage, Alexa’s reply: Agree and the garage door mechanism is activated
- Alexa closes the garage, Alexa’s reply: Agree and the garage door mechanism is activated.
Integration in Jeedom via Alexa-SmartHome
Alexa-smartHome, which is no longer available, makes it possible to make the link between the equipment recognised in Alexa and Jeedom, yes yes, all the equipment recognised by Alexa.

Our equipment Garage being present in Alexa devices, it is enough to launch a Scan in Alexa-API to recover it in smartHome.
Detection goes well and Garage appears in the list of equipment
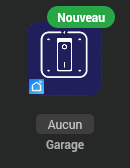
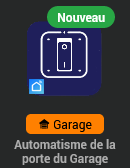
For the rest of the operations, and not to confuse with temperature, light, presence detection … I will rename this equipment by Automation of the garage door and assign it to the object Garage.
Disable unnecessary CRON
As we regretted above, the return of the garage door (open or closed) does not go back to Alexa. (either Alexa does not receive it or SmartLife does not send it to Alexa). In short, we don’t have it in Alexa. So we will not have it in Jeedom.
There is no need to use resources to launch a CRON to update Garage’s info commands, it will not recover anything, so I advise to disable the CRON, to disable a CRON, just ask it to run once at last Christmas for example.

Use of Jeedom commands
The commands created by default will be useful to us.
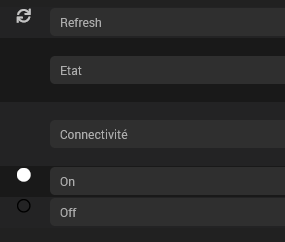
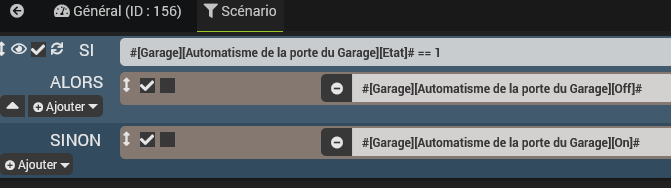
Indeed, Alexa’s smartHome API has a particular behaviour. Indeed, if we send turnOn (command On) while the endpoint is ON, nothing happens. The same goes for Off, so we will not be able to use the Off command directly to operate the automation of the garage door as in the Alexa routine, we will have to do this with a small Jeedom scenario that will test the state value and send the right order.
Creation of the Scenario: Operates Garage Door
It cannot be simpler, screenshots will suffice:

Recovery of the condition of the door (open or closed)
As explained several times above, the state of the door is not retrieved via Alexa as Alexa does not have this information.
So I will use a small Zigbee sensor that is not the subject of this tutorial to retrieve the info
 |
 |
Creation of a Virtual Small
To go to the end of the operation, we will make a small virtual which will make it possible to have on the same tile the state of the garage door and a button to trigger automation
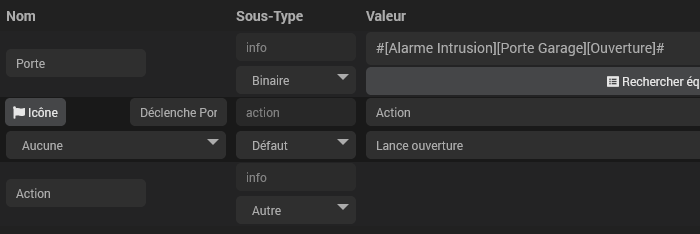
Explanation of the Virtual
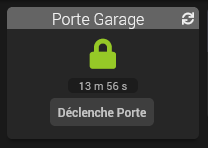
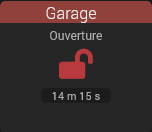
- Door represents the state of the door, I usually use a closed green padlock when it is locked and closed and an open red padlock when the garage is open, it is a logic like any other, see what you want to use like Widgets. This info command retrieves in binary format the information that comes from the small image aperture sensor just above.
- Trigger Door is an info command that doesn't do much except write "Open Launch" in the info command Action.
- Action is an info command that will serve as a trigger for the scenario that will operate the automation of the door, be careful, you have to think about adjusting Repeat identical values on Yes for the trigger to work.

Adding the trigger in the trigger scenario
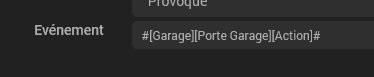
Do not forget to add the trigger on the scenario Operates Garage Door
Result of the Virtual
Bonus: Close the garage at 9pm
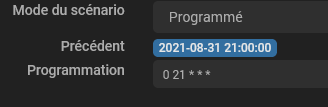
Now that everything is commissioned by Jeedom, I have added a small scenario that starts at 9 p.m. and checks if the garage is closed, if it is not, it closes it.
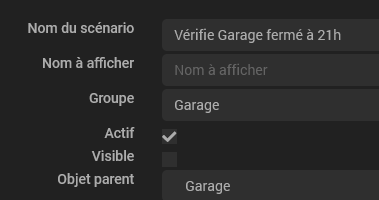

 English
  French
  Spanish
  Chinese
  German