

Objective
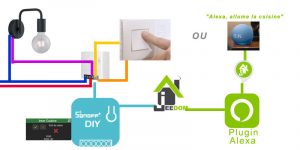
Although everything is in the title for this tutorial, here is the step-by-step installation of a domotised switch, without changing your switch and for less than €5 (price of the Sonoff Mini).
The only constraint is to have the neutral on the switch.
The lights can be controlled by home automation on the dashBoard or on a Design on Jeedom. To order them by voice, I used the Alexa plugin from Jeedom, note that the same can be done with the Google SmartHome Plugin from Jeedom.
Material
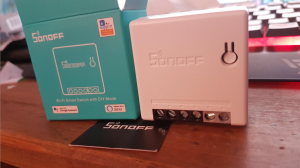
- A Sonoff Mini (less than €5 for Chinese people, reception in 3 weeks) or on Amazon:
I advise the Mini R2, even if the Mini all-round is very good, the R2 is really simpler to configure. Once configured, the two are identical.
Note: The color of the last two connectors is gray on the R2, this allows to visually differentiate them
Preparing the Sonoff Mini in DIY mode
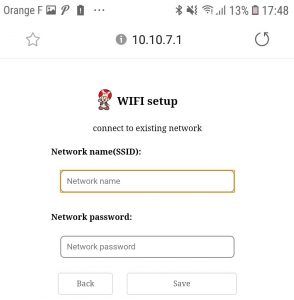
Once you have informed the sonoff of your wifi credentials, relaunch it and proceed to the next step.
Integration with Jeedom
To make the link between the Sonoff Mini and Jeedom, use the plugin Sonoff-DIY :
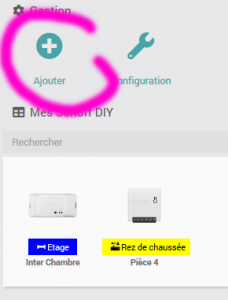
Here are the links to the explanations for
Your switch must appear in Jeedom:
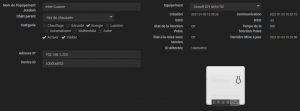
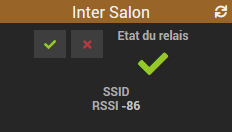
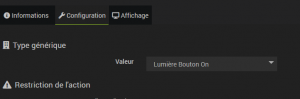
Important : For the rest, consider assigning the switch’s On and Off commands the generic type Light Button On and Light Button Off

Link Jeedom – Alexa
To control the switch by voice, the link between Jeedom and Alexa must be established.
The plugin Alexa will be necessary.
I do not discuss here the configuration of this plugin of the Jeedom team. the documentation is here.
Go to the Alexa plugin’s equipment list, search for the switch, and tick the forward box. If you want to be able to turn on the kitchen by saying ‘Alexa, turn on the kitchen’, you have to give it a name, such as cooking:

Click on Save and then launch a discovery on Amazon Alexa.
Then go back to the Alexa plugin and then Equipment, a small green OK must appear on the new line created:

 English
  French
  Spanish
  Chinese
  German