

Sonoff DIY comes in Firmware 3.6.0
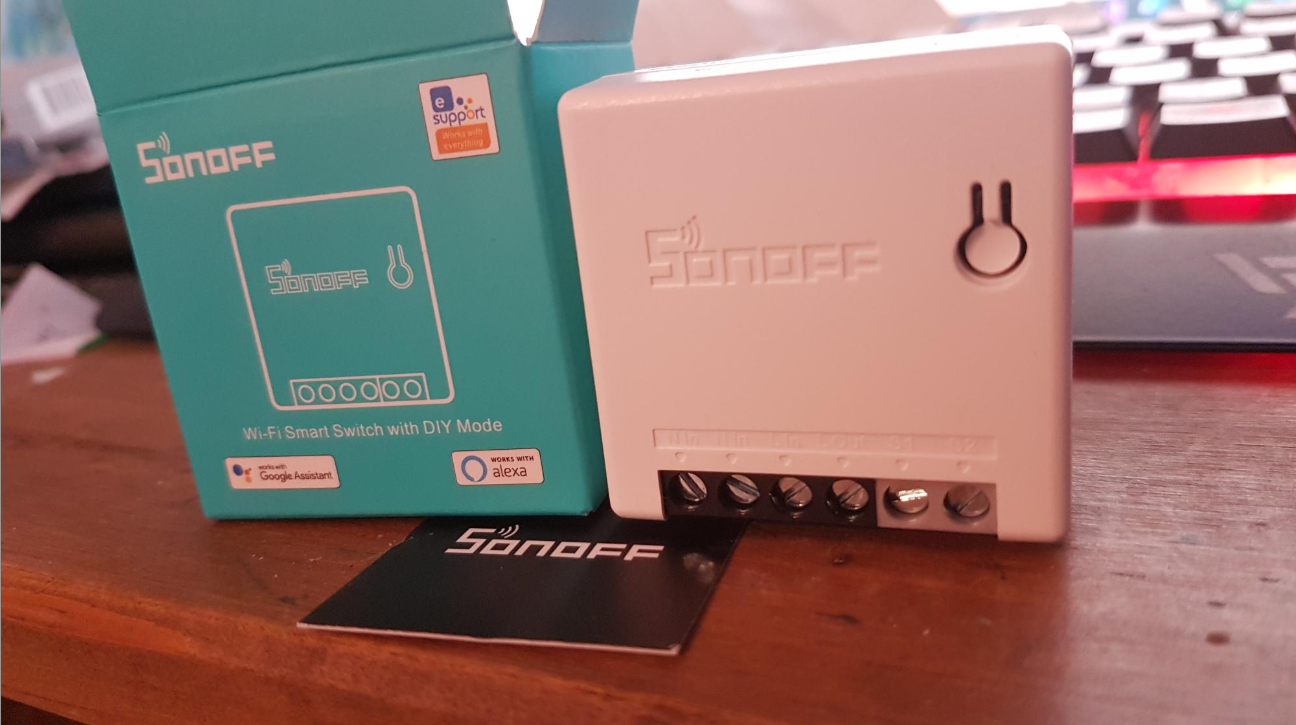
I received an order and received the latest Sonoff Mini R2, a small tutorial to configure them with Firmware 3.6.x and the Sonoff-DIY plugin
http://developers.sonoff.tech/sonoff-diy-mode-api-protocol.html#Supported-Device
This tutorial gives you the simple archi-archi procedure of this new range, it is made with Sonoff Mini R2
How the Sonoff DIY works
It has become very simple, the new Sonoff DIY R2 no longer have a rider.
Note: : If you follow this tutorial with Sonoff DIY R1 (those with antenna wire), you should know that adding the jumper is no longer useful from firmware 3.6.0.
Prepare the Sonoff in DIY mode
Here are the steps, to follow, step by step …
Unplug the Sonoff from electricity.
Be careful, any manipulation of electricity should call for caution. Please read the manufacturer's instructions.
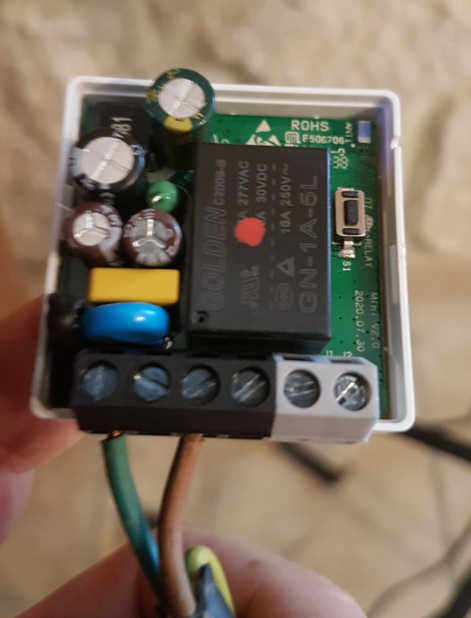
1. Connecting the Sonoff to electricity, the blue LED will either blink continuously (short on, long off) if no SSID is in memory or blink (two short on, 1 long off) if the Sonoff connects to a Wi-Fi network
2. Hold down the small black button 5s until the led flashes 2 short, 1 long and then off.
3. Keep the small black button pressed again 5s, until the blue led flashes quickly, a new Wi-Fi network is created by the Sonoff
3. Press the button for the first time to turn on the red LED
4. Using a smartphone or a Wi-Fi computer, search for available Wi-Fi networks
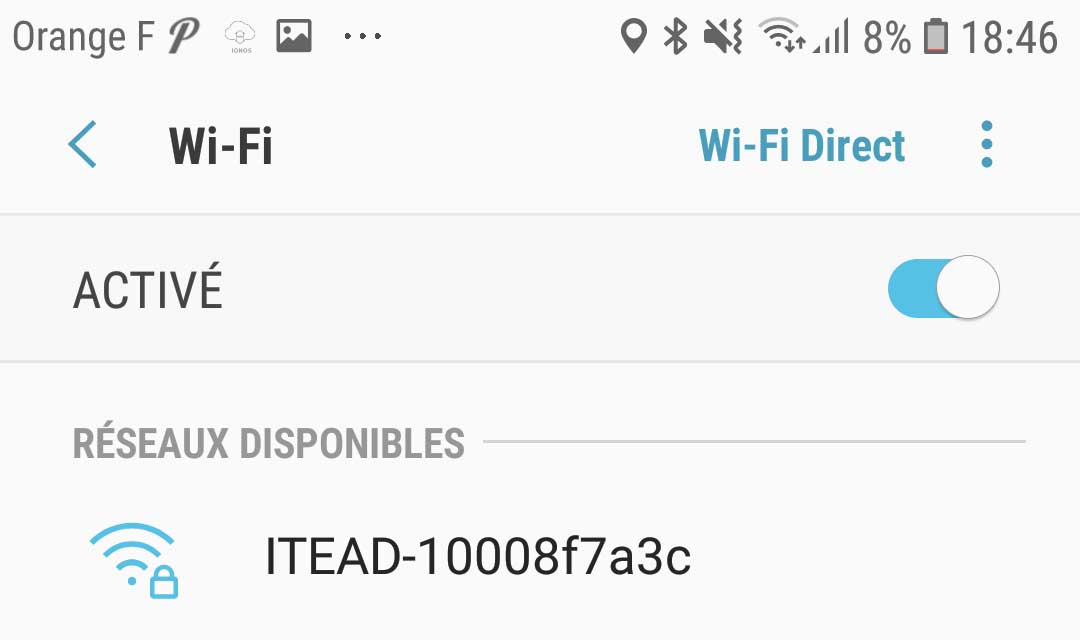 |
5. With a Wi-Fi computer or a smartphone, connect to the new access point: ITEAD - XXXX (password: 12345678)
6. Note XXXX for the plugin, 10008f7a3c in the example corresponds to the module ID (useful for Sonoff-DIY plugin)
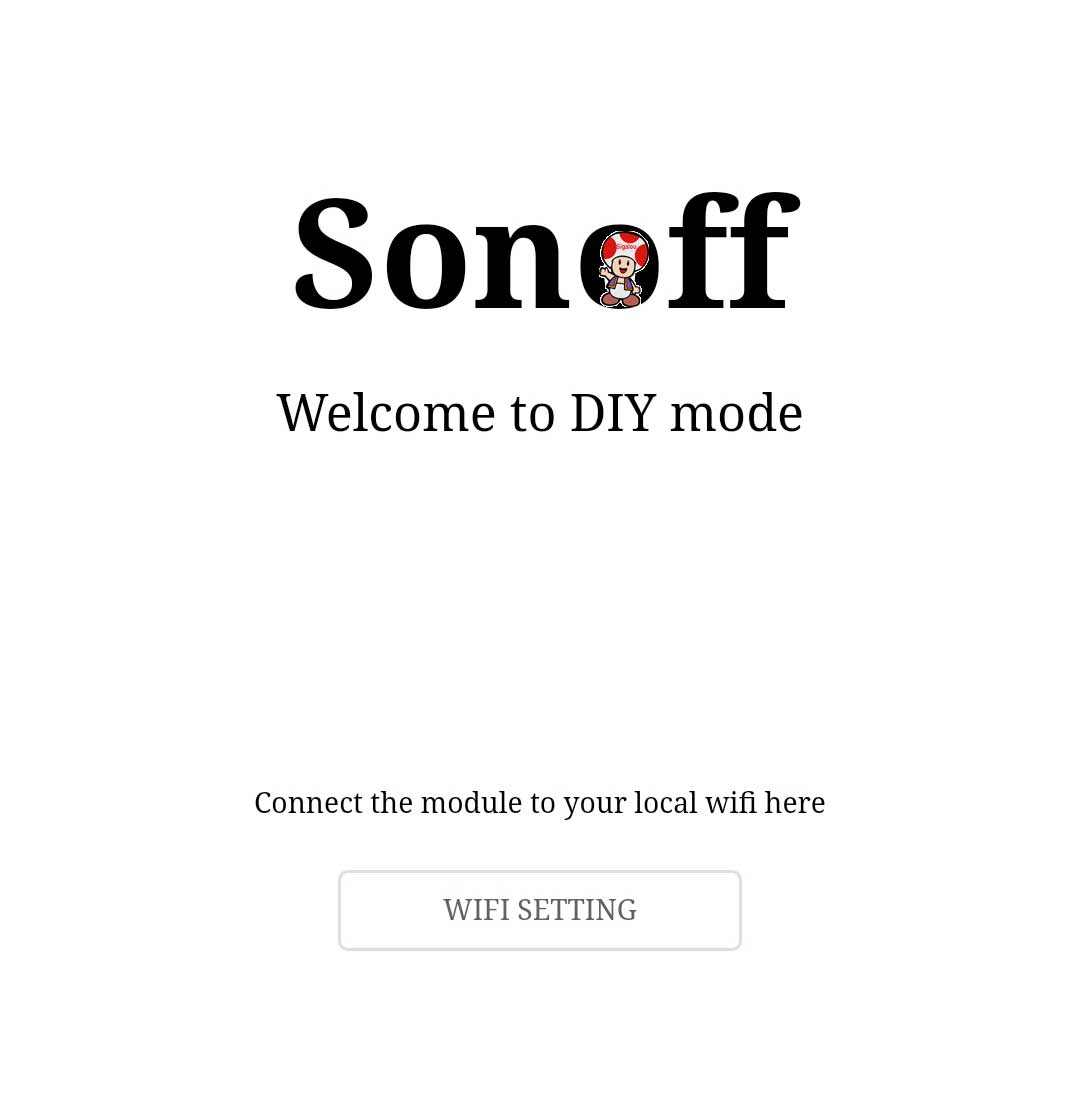
7. Once connected to the access point, go to http://10.10.7.1/ then enter your SSID and password
 |
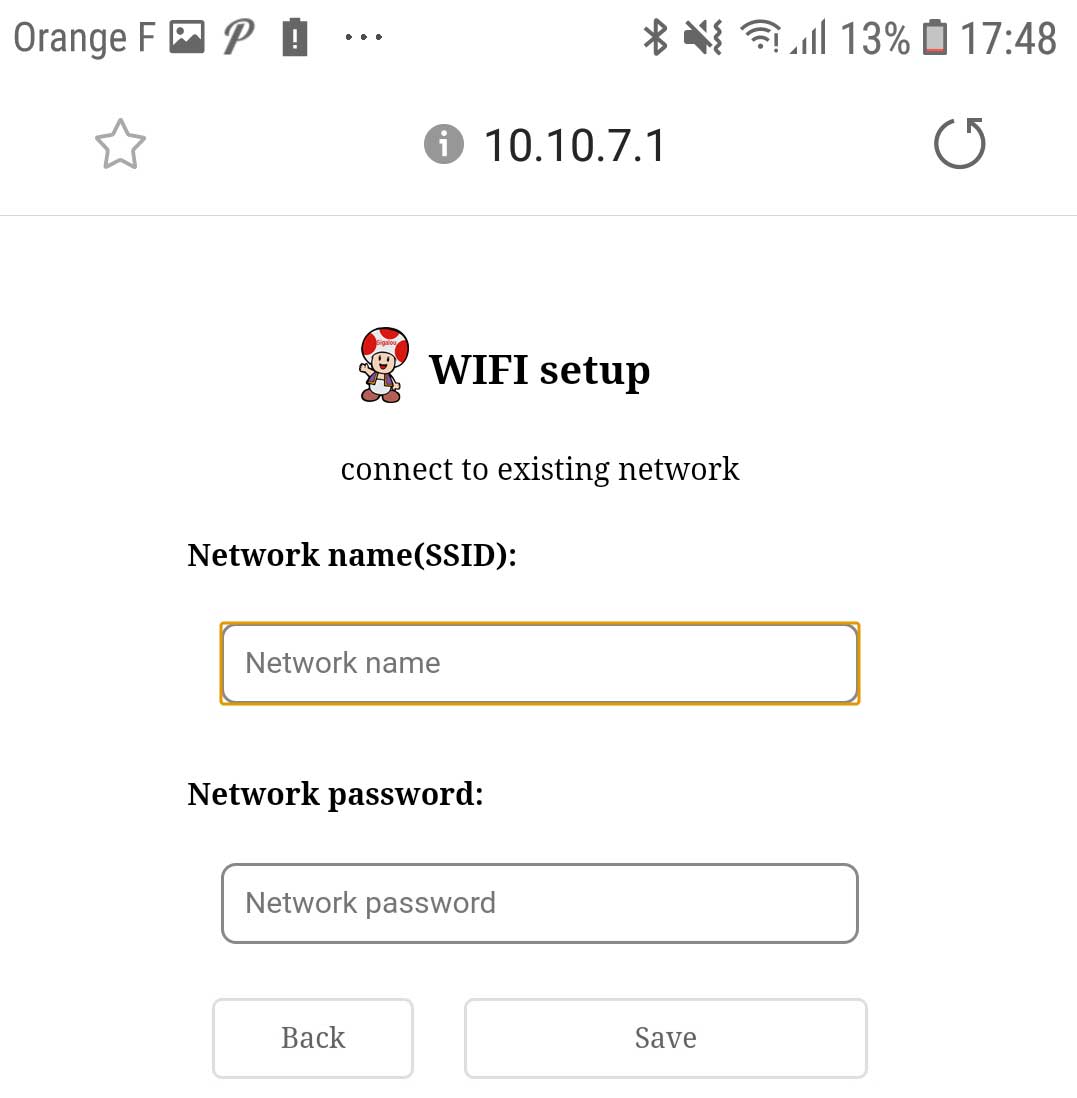 |
When you click on Save, the red LED must be cut off (we know that this is good, a reboot is carried out).
If the Red Led does not cut, start again from the beginning.
Note:
- Your WiFi network must be 2.4Ghz, 5Ghz is not compatible
 English
  French
  Spanish
  Chinese
  German